Repair Procedures
1MAN0158-H11 04-2005 CSIP Level 1
CardioMD Service Manual
6-13
Procedure Details
4.
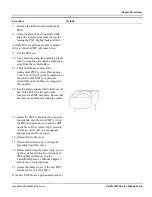
Unscrew the two alignment tools located
on the EDC bracket.
If it turns out that these tools are not located as
shown and have to be retrieved from
elsewhere, make sure they are put back as
shown in the photo on the right.
5.
In both sides of the detector, screw the
alignment tools into the locations where
the sensors were removed.
6.
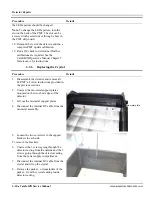
Using a 2 mm Allen key, loosen the upper
set screw on the back of each sensor
support. See the photo on the right.
7.
Remount the detector cover, this time with
only the two slotted pivot screws at top.
8.
Slide a 3 mm Allen key into each of the 4
mm screw holes, all the way through the
aligment tools and loosen the screw in the
bottom of each sensor support.
9.
With the Allen key staying in the hole
(preferably a key in the hole on both
sides), rock the cover around its pivot
points to a position where it has equal
clearance to the two end covers.
In this way, the sensor supports get aligned
with the corresponding holes in the detector
cover.
10.
Tighten the screws at the bottom of the
holes securely.
Summary of Contents for CARDIOMD
Page 1: ...CARDIOMD SERVICE MANUAL 1MAN0158 H11 04 2005 CSIP Level 1 ...
Page 10: ...Introduction x CardioMD Service Manual 1MAN0158 H11 04 2005 CSIP Level 1 ...
Page 16: ...Safe Operating Practices 1 6 CardioMD Service Manual 1MAN0158 H11 04 2005 CSIP Level 1 ...
Page 164: ...Detector Calibration Files 5 60 CardioMD Service Manual 1MAN0158 H11 04 2005 CSIP Level 1 ...
Page 328: ...Installation Procedures 9 38 CardioMD Service Manual 1MAN0158 H11 04 2005 CSIP Level 1 ...
Page 348: ...Planned Maintenance Procedures 11 6 CardioMD Service Manual 1MAN0158 H11 04 2005 CSIP Level 1 ...
Page 465: ......

