Using the SSH client to access the text-based interface
87
Programming Operations Guide
Using the SSH client to access the text-based interface
Some operations for the Business Communications Manager, such as initializing a new hard disk,
use a text-based interface. In previous versions, the Telnet application was used to access the
Business Communications Manager text menus. BCM version 3.6 software introduced the ability
to securely access the Business Communications Manager through a network connection using
SSH server software. SSH service software is from SSH Communications Security
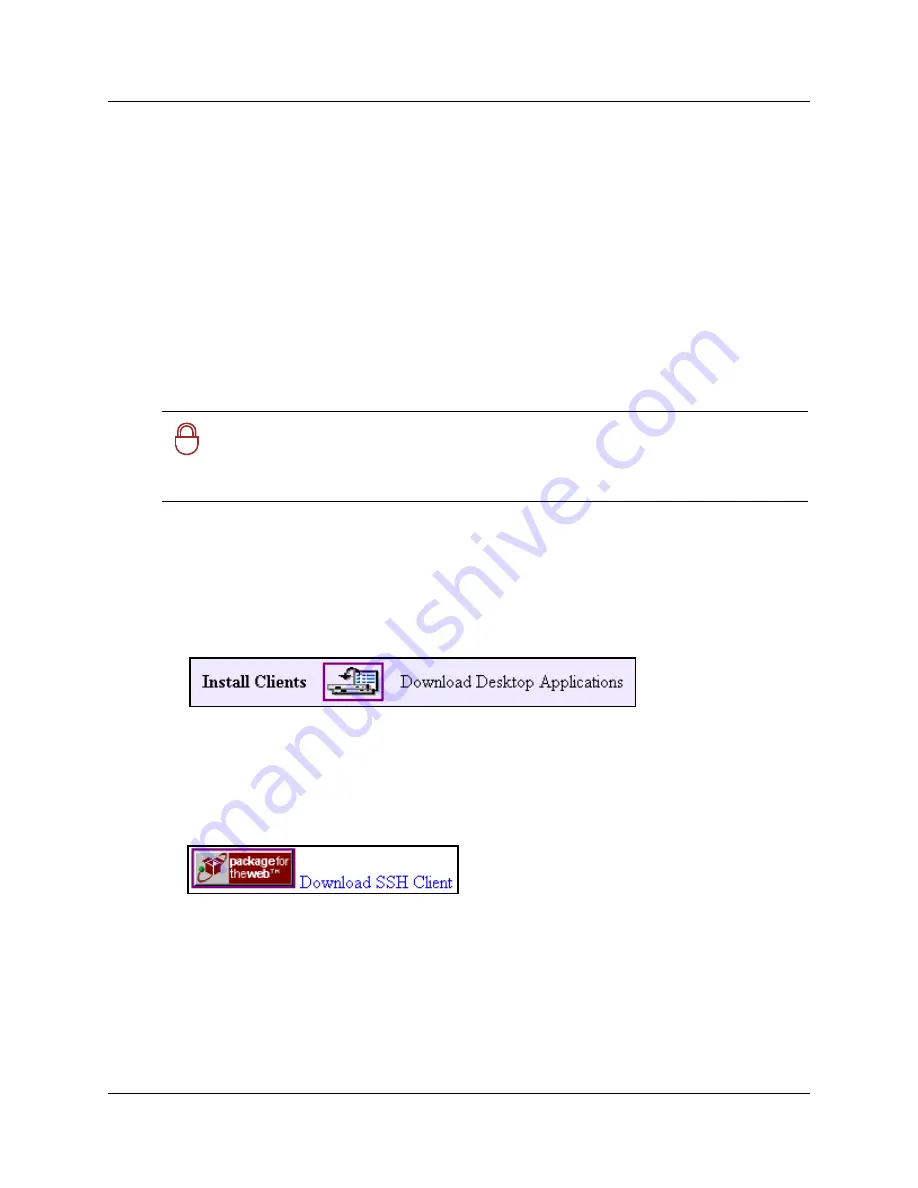
(www.ssh.com). The SSH client application, called PuTTY, can be downloaded from a link under
the Install Clients button on the Business Communications Manager first page. Refer to
Installing
PuTTY
. Refer to
“Using PuTTY” on page 88
for detailed information about using the client to
access the Unified Manager text-based menus.
Users require an administrator-level password to use either PuTTY or Telnet.
Installing PuTTY
The PuTTY application resides on your computer. It provides an access interface that allows you
to connect to the text interface used by the Business Communications Manager.
1
On the Unified Manager front page, click the Install Clients button.
2
On the resulting web page, go to the bottom of the left column.
3
Under
Administrative Tools
, click
SSH client
.
4
On the SSH Client page, click the button beside
Download SSH Client
, at the bottom of the
right pane.
The application downloads to your computer.
5
On your computer desktop, double click
Putty.exe
.
6
Follow the steps in the install Wizard to install the application.
!
Security note:
You can still use Telnet for direct connections through a crossover
cable, since network security is not an issue in this case.
If you want to use Telnet over the network, you need to manually start the service.
Refer to
“Manually activating Telnet” on page 89
.
Summary of Contents for BCM 3.7
Page 4: ...4 Software licensing N0008589 3 3...
Page 32: ...32 Contents N0008589 3 3 W 937 Index 939...
Page 46: ...46 Tables N0008589 3 3...
Page 64: ...64 How to get help N0008589 3 3...
Page 90: ...90 Manually activating Telnet N0008589 3 3...
Page 116: ...116 Delayed system restart N0008589 3 3...
Page 194: ...194 Configuring a data module N0008589 3 3...
Page 276: ...276 Setting line telco features N0008589 3 3...
Page 310: ...310 Using COS passwords N0008589 3 3...
Page 364: ...364 Enhanced 911 E911 configuration N0008589 3 3...
Page 380: ...380 Renumbering DNs N0008589 3 3...
Page 398: ...398 Saving wizard pages on your computer N0008589 3 3...
Page 458: ...458 Voice Mail settings N0008589 3 3...
Page 488: ...488 Setting system telco features N0008589 3 3...
Page 508: ...508 Other programming that affects public networking N0008589 3 3...
Page 522: ...522 PRI networking using Call by Call services N0008589 3 3...
Page 592: ...592 Monitoring Hunt groups N0008589 3 3...
Page 636: ...636 Configuring Double Density N0008589 3 3...
Page 640: ...640 Using the Network Update Wizard N0008589 3 3...
Page 666: ...666 Importing and Exporting DHCP data N0008589 3 3...
Page 722: ...722 Restarting the router N0008589 3 3...
Page 726: ...726 Important Web Cache considerations N0008589 3 3...
Page 748: ...748 Configuring an Interface with NAT N0008589 3 3...
Page 794: ...794 IPSec N0008589 3 3...
Page 818: ...818 Configuring the Policy Agent characteristics N0008589 3 3...
Page 832: ...832 Firewall rules for Business Communications Manager with Dialup interfaces N0008589 3 3...
Page 876: ...876 ISDN Programming N0008589 3 3...
Page 1004: ...1004 Index N0008589 3 3...


