Using the Unified Manager main page buttons
73
Programming Operations Guide
Accessing the Unified Manager programming interface
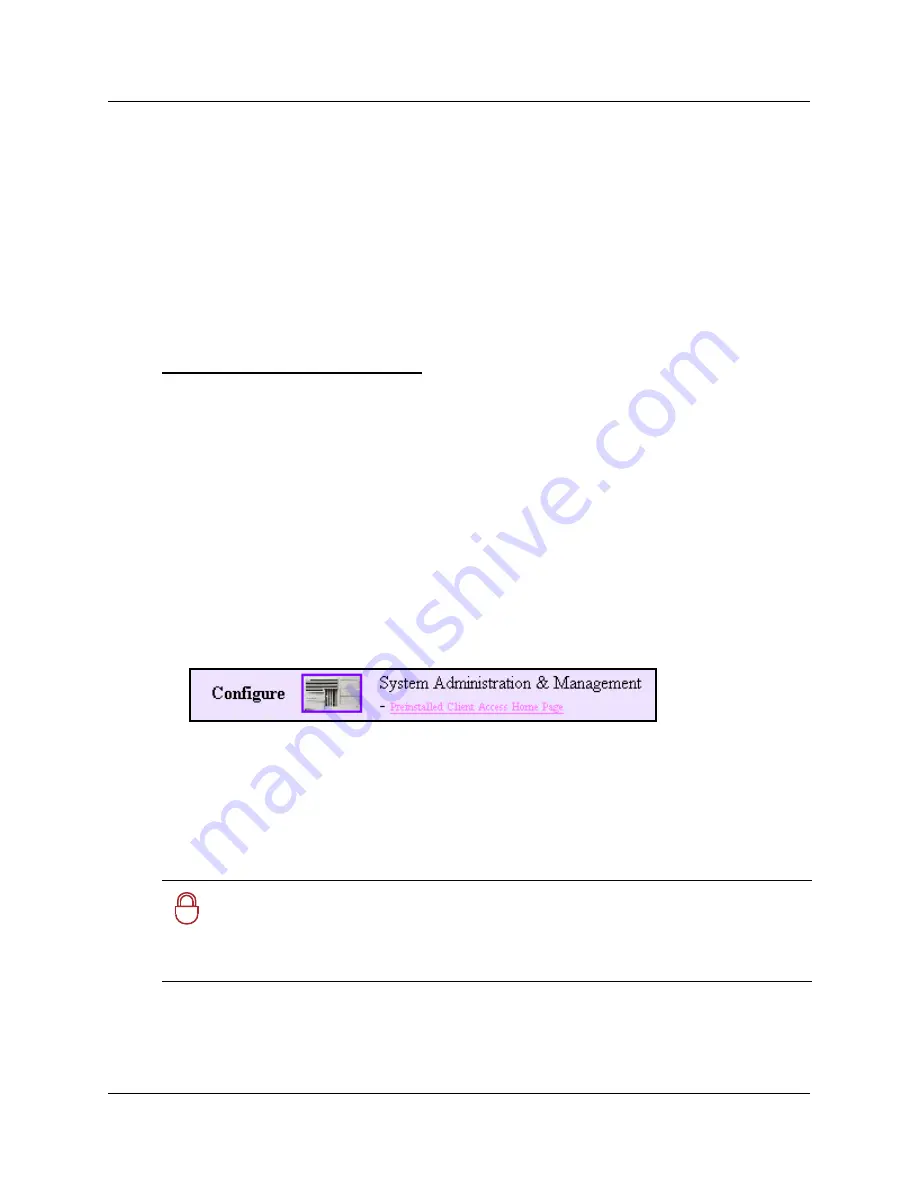
The
Configure
button accesses the Unified Manager programming interface for all services except
those controlled by the CallPilot and IVR services.
When you first install your system, you must run the Quick Start Wizard to set up your system
parameters. This wizard is described in
Chapter 3, “Configuring system parameters,” on page 103
or use the Wizard help, that can be accessed once you enter the wizards section of the Unified
Manager.
Once your system is initialized, you can access the configuration screens of the Unified Manager
using the Configure button. If you choose to preinstall the Java class files, you can use the
Preinstalled Client Access Home Page
hyperlink for the same purpose. The following two
sections describe how to use these two logon methods.
The screens that appear when you click the Configure button on the main page allow you to
program your system data settings and your telephony requirements.
•
The data networking parameters are accessed using the Services heading on Unified Manager.
For information about how to set up the data networking, refer to
Chapter 27, “Using a wizard
to change data parameters
to
Chapter 40, “Policy-enabled networking
.
•
The media bay module information is managed under the Resources menu.
•
Most of the telephony components are managed through records located under the Services
menu.
Refer to
“Finding your way around” on page 98
.
1
From the Business Communications Manager main page, click the
Configure
button.
The Unified Manager login screen appears.
2
In the
Login
box, type your login name.
The default login name is
ee_admin
.
3
In the
Password
box, type your password.
The default password is
PlsChgMe!
.
4
Click the
Login
button.
The Unified Manager software starts. Depending on your system, Unified Manager software
can take several minutes to initialize.
!
Security note:
Ensure that you change the password after you first log on to Business
Communications Manager. For information about changing passwords, and defining user
profiles, refer to
“Managing system and user security access levels” on page 117
.
If you are logging into an upgraded system, the administrator password may be different.
Summary of Contents for BCM 3.7
Page 4: ...4 Software licensing N0008589 3 3...
Page 32: ...32 Contents N0008589 3 3 W 937 Index 939...
Page 46: ...46 Tables N0008589 3 3...
Page 64: ...64 How to get help N0008589 3 3...
Page 90: ...90 Manually activating Telnet N0008589 3 3...
Page 116: ...116 Delayed system restart N0008589 3 3...
Page 194: ...194 Configuring a data module N0008589 3 3...
Page 276: ...276 Setting line telco features N0008589 3 3...
Page 310: ...310 Using COS passwords N0008589 3 3...
Page 364: ...364 Enhanced 911 E911 configuration N0008589 3 3...
Page 380: ...380 Renumbering DNs N0008589 3 3...
Page 398: ...398 Saving wizard pages on your computer N0008589 3 3...
Page 458: ...458 Voice Mail settings N0008589 3 3...
Page 488: ...488 Setting system telco features N0008589 3 3...
Page 508: ...508 Other programming that affects public networking N0008589 3 3...
Page 522: ...522 PRI networking using Call by Call services N0008589 3 3...
Page 592: ...592 Monitoring Hunt groups N0008589 3 3...
Page 636: ...636 Configuring Double Density N0008589 3 3...
Page 640: ...640 Using the Network Update Wizard N0008589 3 3...
Page 666: ...666 Importing and Exporting DHCP data N0008589 3 3...
Page 722: ...722 Restarting the router N0008589 3 3...
Page 726: ...726 Important Web Cache considerations N0008589 3 3...
Page 748: ...748 Configuring an Interface with NAT N0008589 3 3...
Page 794: ...794 IPSec N0008589 3 3...
Page 818: ...818 Configuring the Policy Agent characteristics N0008589 3 3...
Page 832: ...832 Firewall rules for Business Communications Manager with Dialup interfaces N0008589 3 3...
Page 876: ...876 ISDN Programming N0008589 3 3...
Page 1004: ...1004 Index N0008589 3 3...


