ELECTRICAL COMPONENTS: KAWASAKI POWERED GASOLINE VEHICLES
Wire Harness Diodes
Page 12a-16
2007 Carryall 295/295 SE & XRT 1550/1550 SE Gasoline, Diesel and IntelliTach M & S Manual
12A
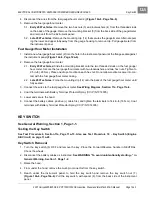
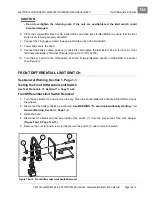
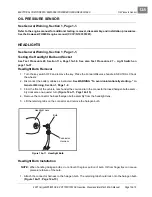
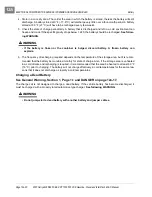
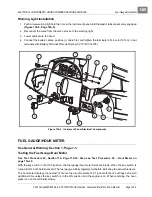
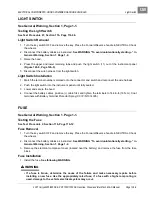
2. From the front of vehicle, reach under the cowl and insert the bulb assembly into the headlight lens.
3. Turn the bulb assembly counterclockwise one-quarter turn.
4. Connect the battery cables, positive (+) cable first, and tighten the terminals to 144 in-lb (16 N·m). Coat
terminals with Battery Terminal Protector Spray (CCI P/N 1014305).
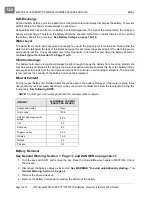
WIRE HARNESS DIODES
See General Warning, Section 1, Page 1-1.
The wire harness is equipped with several in-line diodes.
Testing the Wire Harness Diodes
See Test Procedure 8, Section 11a, Page 11a-18.
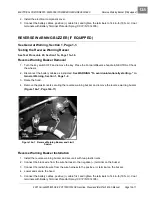
Wire Harness Diode Removal
1. Turn the key switch OFF and remove the key. Place the Forward/Reverse handle in NEUTRAL. Chock
the wheels.
2. Disconnect the battery cables as instructed.
See WARNING “To avoid unintentionally starting...” in
General Warning, Section 1, Page 1-2.
3. Locate the diode to be replaced by removing the wire conduit and tracing the wire.
4. Note the polarity of the diode, as indicated by the silver stripe on one end of the diode, and mark the wire
on the side of the silver stripe.
5. Cut the wires attached to each side of the diode and discard the diode.
Wire Harness Diode Installation
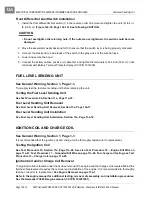
1. Slide a piece of heatshrink tubing over one of the wire ends where the diode will be attached.
2. Install the new diode using in-line wire splicing connectors. Make sure to observe polarity and place the
end of the diode with the silver stripe on the wire that was marked when the diode was removed.
3. Slide the heatshrink tubing over the diode and ensure that it will, after being activated, adequately cover
the uninsulated diode leads.
4. Activate the heatshrink by carefully applying heat to the tubing.
5. Bundle the wires into the plastic wire conduit and replace any wire ties that were removed when the wires
were traced.
6. Restore the wire harness routing to the original routing and secure the harness with wire ties as required.
7. Connect the battery cables, positive (+) cable first, and tighten the terminals to 144 in-lb (16 N·m). Coat
terminals with Battery Terminal Protector Spray (CCI P/N 1014305).
Содержание IntelliTach XRT 1550
Страница 2: ......
Страница 22: ...1...
Страница 54: ...4...
Страница 60: ...5...
Страница 90: ...6...
Страница 114: ...8...
Страница 118: ...9...
Страница 196: ...11A...
Страница 290: ...11C...
Страница 468: ...13C...
Страница 490: ...14...
Страница 498: ...15...
Страница 548: ...16...
Страница 560: ...Club Car R NOTES...
Страница 561: ...Club Car R NOTES...
Страница 562: ...Club Car R NOTES...
Страница 563: ......

