TROUBLESHOOTING AND ELECTRICAL SYSTEM: DIESEL VEHICLES
Test Procedures
Page 11c-48
2007 Carryall 295/295 SE & XRT 1550/1550 SE Gasoline, Diesel and IntelliTach M & S Manual
11C
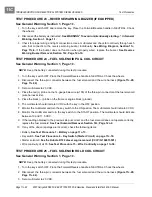
TEST PROCEDURE 31 – HOUR METER
See General Warning, Section 1, Page 1-1.
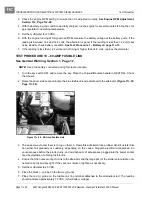
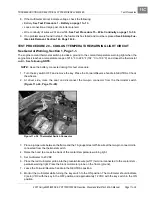
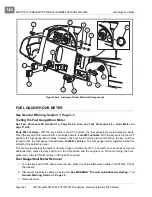
Two hour meters were used for model year 2007
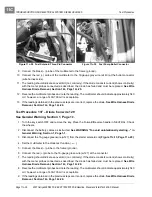
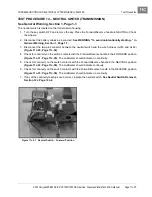
(Figure 11c-40, Page 11c-46
and
Figure 11c-41,
Page 11c-46)
. The display and the terminal configuration on the back of the meter easily denotes the type.
Follow the appropriate procedure. The display on the early 2007 meter only appears when the key switch is
ON whereas the display on the late 2007 meter is always on. The early 2007 meter has the orange wire con-
nected to terminal 1 whereas late 2007 has it connected to terminal 4 in the center of the meter. In addition,
the early 2007 meter has one terminal (3) to ground it whereas the late 2007 has two ground terminals (1 and
6) with a black jumper wire connecting them.
See following NOTE.
NOTE:
Keep the battery connected during this test procedure.
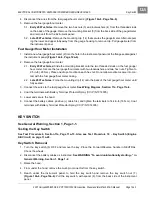
Test Procedure 31A – Hour Meter (Early 2007)
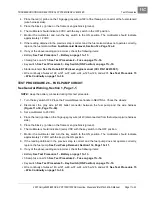
1. Place the Forward/Reverse handle in NEUTRAL. Chock the wheels.
2. Turn the key switch ON to verify the display appears.
3. Start the engine and let it idle.
See following DANGER.
ý
DANGER
• Do not operate vehicle in an enclosed area without proper ventilation. The engine produces
carbon monoxide, which is an odorless, deadly poison.
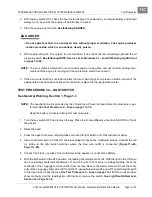
4. With engine idling, the "hour glass" icon should flash slowly. If not, check the low oil warning light and the
oil pressure switch.
See following NOTE. See also Test Procedure 27 – Low Oil Warning Light Cir-
cuit on page 11c-44.
NOTE:
The hour meter is designed to record actual engine running time and will not start adding incre-
ments until the engine is running and the oil pressure switch has opened.
5. If the hour meter still does not function after the low oil warning light, oil pressure switch, and all of the
appropriate wires have been checked for continuity, replace the fuel gauge/hour meter.
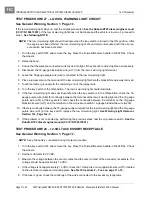
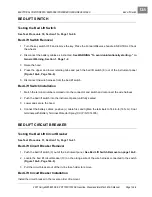
Test Procedure 31B – Hour Meter (Late 2007)
1. Place the Forward/Reverse handle in NEUTRAL. Chock the wheels.
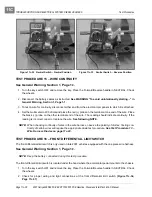
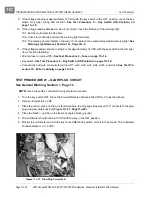
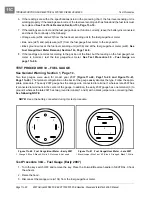
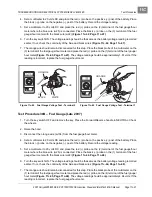
Figure 11c-44 Fuel Gauge Voltage Test - Terminal 2
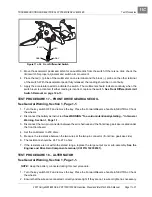
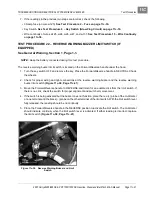
Figure 11c-45 Fuel Gauge Voltage Test - Terminal 4
2m
20
m
200
m
2k
200
200
200
200
20
2
200
m
500
20k
200k
2000
k
1000
OFF
WAVETEK
5XL
V
V
V
A
!
!
COM
200nA
MAX
1000 ---
750V
FUSED
1
4
2
6
7
BLACK
ORANGE
WHITE
20 VDC
SETTING
BLUE
2m
20
m
200
m
2k
200
200
200
200
20
2
200
m
500
20k
200k
2000
k
1000
OFF
WAVETEK
5XL
V
V
V
A
!
!
COM
200nA
MAX
1000 ---
750V
FUSED
1
4
2
6
7
ORANGE
20 VDC
SETTING
Содержание IntelliTach XRT 1550
Страница 2: ......
Страница 22: ...1...
Страница 54: ...4...
Страница 60: ...5...
Страница 90: ...6...
Страница 114: ...8...
Страница 118: ...9...
Страница 196: ...11A...
Страница 290: ...11C...
Страница 468: ...13C...
Страница 490: ...14...
Страница 498: ...15...
Страница 548: ...16...
Страница 560: ...Club Car R NOTES...
Страница 561: ...Club Car R NOTES...
Страница 562: ...Club Car R NOTES...
Страница 563: ......

