TROUBLESHOOTING AND ELECTRICAL SYSTEM: DIESEL VEHICLES
Test Procedures
Page 11c-44
2007 Carryall 295/295 SE & XRT 1550/1550 SE Gasoline, Diesel and IntelliTach M & S Manual
11C
TEST PROCEDURE 27 – LOW OIL WARNING LIGHT CIRCUIT
See General Warning, Section 1, Page 1-1.
If the low oil warning light stays on, test the oil pressure switch.
See the Kubota D722 diesel engine manual
(CCI P/N 102615501).
If the low oil warning light does not illuminate and the vehicle is low on oil, proceed to
step 1.
See following NOTE.
NOTE:
The low oil warning light should illuminate when the key switch is turned to the ON position. After
the engine has been started, the low oil warning light should remain illuminated until the oil pres-
sure switch has been activated.
1. Turn the key switch OFF and remove the key. Place the Forward/Reverse handle in NEUTRAL. Chock
the wheels.
2. Raise the hood.
3. Ensure that the wires are connected correctly and are tight. If they are not, rewire or tighten as necessary.
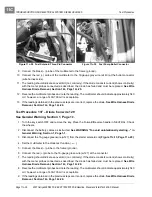
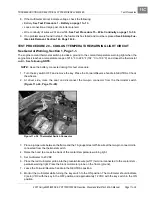
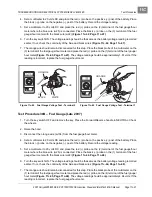
4. Disconnect the 18-gauge black/white wire (w17) from the low oil warning light terminal.
5. Leave the 18-gauge purple wire (w42) connected to the low oil warning light.
6. Place a jumper wire on the terminal of the low oil warning light where the black/white wire was removed.
7. Touch the frame (ground) with the remaining end of the jumper wire.
8. Turn the key switch to the ON position. The low oil warning light should illuminate.
9. If the low oil warning light does not illuminate when the key switch is in the ON position, check the 18-
gauge purple wire (w42) for continuity between the terminal at the low oil warning light and the 18-gauge
purple wire (w37) at the key switch. Also check the continuity between the terminal on the 18-gauge
black/white wire (w17) and the terminal on the oil pressure switch 16-gauge black/white wire (w200).
10. If there is continuity between the 18-gauge purple wire (w42) at the low oil warning light and the 18-gauge
purple wire (w37) at the key switch, replace the low oil warning light.
See Warning Light Removal,
Section 12c, Page 12c-5.
11. If the problem is not corrected by performing the previous steps, test the oil pressure switch.
See the
Kubota D722 diesel engine manual (CCI P/N 102615501).
TEST PROCEDURE 28 – 12-VOLT ACCESSORY RECEPTACLE
See General Warning, Section 1, Page 1-1.
NOTE:
Keep the battery connected during this test procedure.
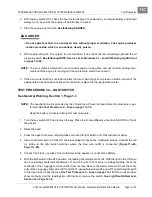
1. Turn the key switch OFF and remove the key. Place the Forward/Reverse handle in NEUTRAL. Chock
the wheels.
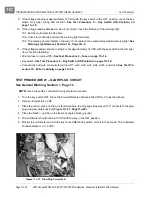
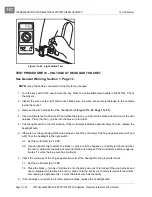
2. Set the multimeter to 20 VDC.
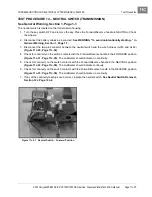
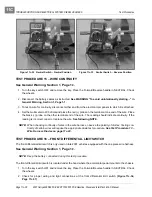
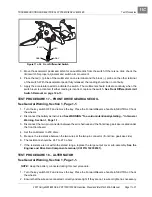
3. Measure the voltage between the center contact and the outer contact of the accessory receptacle. The
voltage should be approximately 12 VDC.
4. If the voltage is not approximately 12 VDC, check the 10-amp fuse on orange/white wire (w115) located
on the electrical component mounting plate.
See Test Procedure 2 – Fuse on page 11c-16.
5. If the fuse is good, check the continuity of the wires connected to the accessory receptacle.
Содержание IntelliTach XRT 1550
Страница 2: ......
Страница 22: ...1...
Страница 54: ...4...
Страница 60: ...5...
Страница 90: ...6...
Страница 114: ...8...
Страница 118: ...9...
Страница 196: ...11A...
Страница 290: ...11C...
Страница 468: ...13C...
Страница 490: ...14...
Страница 498: ...15...
Страница 548: ...16...
Страница 560: ...Club Car R NOTES...
Страница 561: ...Club Car R NOTES...
Страница 562: ...Club Car R NOTES...
Страница 563: ......

