CONFOCOR
3
ConfoCor 3
Carrier Position
Carl Zeiss
02/2010 M60-1-0025
e
15
•
Now you can move any chamber into the measurement position by clicking the appropriate field on
the sample carrier.
−
The selected chamber is then automatically approached via the motorized microscope stage. When
the defined position has been reached, the position of the chamber is displayed in the lower cleft
corner in the
Positions
panel and is highlighted in blue.
By pressing the
Help
button (? question mark icon) button, a
Help
window appears explaining the
work flow for orienting the Carrier.
Stage movement
The
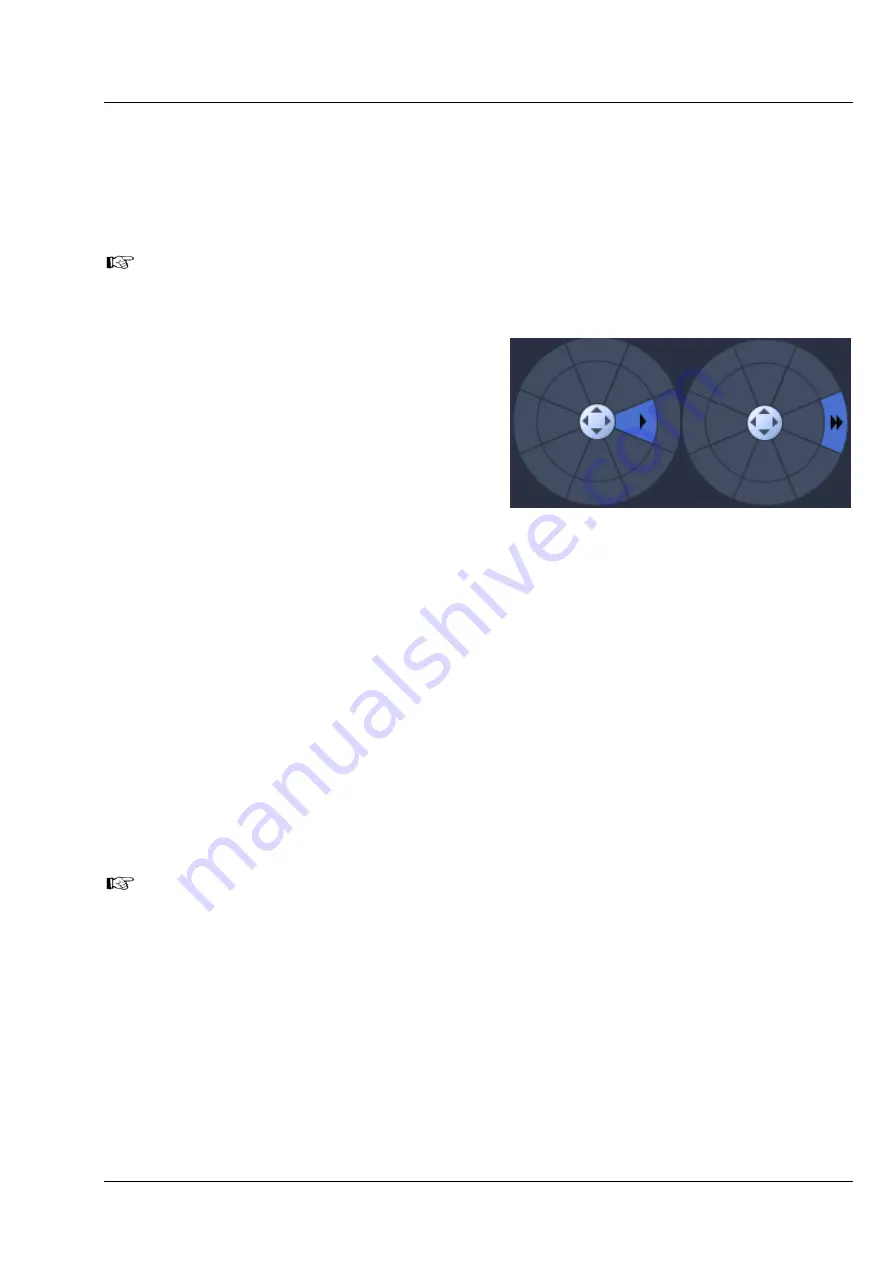
Compass Rose
allows you to move the
scanning stage in the direction of the arrows that
will become visible, when the mouse moves over a
section (see Fig. 11).
Clicking the arrow of the inner circle will cause the
stage to move with normal speed. If you press the
double arrow of the outer section the stage will
move with fast speed. The speeds are set in
Speed
pull-down menu
for the inner and outer ring
(Fig. 12). Settings become only available in the
pro
mode.
You can select between
Speed
1
,
2
and
3
.
You can define the step size by using the tabs of the
Step Size [µm]
box or typing a number. You can
move with two speeds, fast with the outer rose and slow with the inner rose. If the carrier was moved by
the compass rose or the joystick, the orientation will be lost.
The
X-Position [µm]
and
Y-Position [µm]
boxes display the current relative x and y positions of the
stage. If you type in numbers in the boxes the first click on the compass rose will move the stage to this
defined position. Further clicks will move the stage in the direction of the arrow pressed with the step
size and speed selected.
You can stop the stage from moving to a defined position by pressing the
Stop
button. In this case the
orientation of the carrier will be lost.
If the
Zero Position Set
button is pressed, the stage will be zeroed to the current position. You can
move to the zero position by pressing the
Move To Zero
button.
If the carrier is not oriented or positions are defined out of the range of the carrier, the stage might
move the sample carrier out of the objective field.
Marks
is only available in
pro
mode. It allows you to define positions in an image. You can give a
marked position a name by typing a name in the
Marks display
box. You can move to a marked
position by stage by selecting it from the drop down menu and pressing the
Move To
button. You van
remove a marked position by loading it and pressing the
Remove
button. And you can remove all
marked positions by pressing the
Remove All
button.
Fig. 12
Compass rose with mouse pointing
to an inner (left) and outer (right)
section


