LSM 710 and LSM 780
LEFT TOOL AREA AND HARDWARE CONTROL TOOLS
Systems
Acquisition Tab
Carl Zeiss
02/2010 M60-1-0025
e
55
5.2.3
Tool Group Setup Manager: Laser
Tool
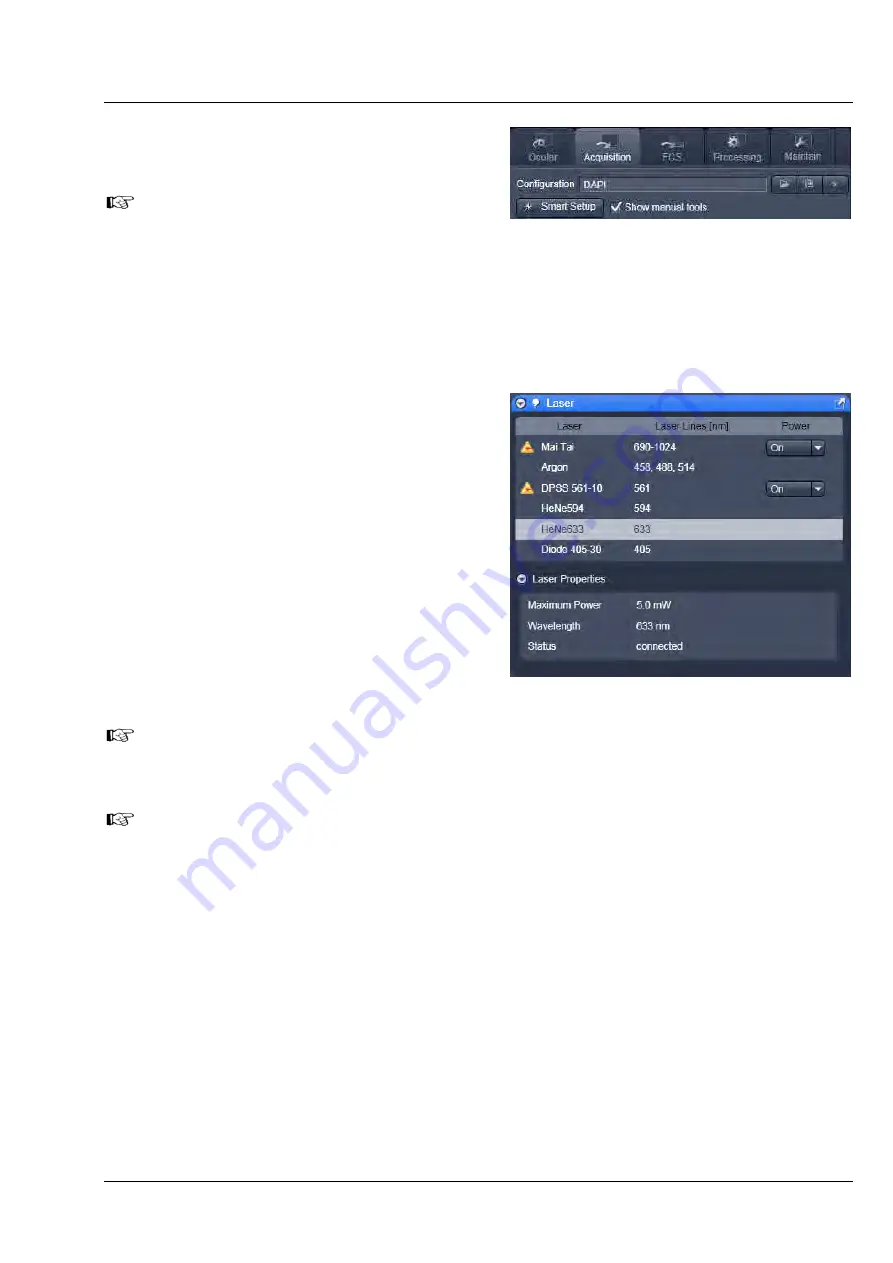
The tools
Laser
,
Imaging Setup
and
Light Path
are not displayed by default in
the software. They can be shown if the
check box
Show manual tools
is
checked.
The
Laser
tool shows the types of
Lasers
, the
Laser Lines
, and
Power
status of all lasers available
.
Clicking the arrow next to the indicated status of a
laser opens a drop down menu which enables the
user to switch between
Standby
,
On
and
Off
.
Lasers which are On or in Standby are marked with
a yellow triangle indicating laser radiation.
The additional laser information panel (available in
Show all
mode) shows the relevant and currently
set
Maximum Power
,
Wavelength
,
Status
and
Output [%]
values of the currently highlighted
laser (if these values are provided by the laser).
Click the arrow next to Laser Properties to open
this part of the window. Depending on the type of
laser the provided information may vary.
After switching on the lasers in the laser control window and their status ready the system can
be used for imaging. However, for quantitative imaging it is recommended to let the system
warm up for 2 to 3 hours.
Please bear in mind that a cooling phase of at least 5 minutes is required between switching off
of the laser via the software and switching off the entire system via the power remote switch.
Fig. 42
Show manual tools function
Fig. 43
Tool group Setup Manager: Laser tool


