Basic Operations
On-screen user interface
83
RIVAGE PM10 Operation Manual
8
SETUP
When you press this button, the SETUP screen will appear, enabling you to make basic and
user-specific settings for the RIVAGE PM10 system.
9
PATCH
When you press this button, the PATCH screen will appear, enabling you to configure in/out,
direct out, recording, and other patches.
)
CH JOB (Channel Job)
Press this button to access the CH JOB pull-down menu, in which you can copy or initialize
the channel settings, etc.
!
METER
When you press this button, the a pull-down menu will appear, enabling you to select the type
of channel block to display in the meter area from the following options (
):
• INPUT (Input channel)
Input channels 1–144, STEREO A/B channels, CUE A/B channels
• OUTPUT (Output channels)
MIX channels 1–72, MATRIX channels 1–36, STEREO A/B channels, CUE A/B channels,
DCA
• IN/OUT (Input/Output channels)
Input channels 1–144, MIX channels 1–72, MATRIX channels 1–36, STEREO A/B channels,
CUE A/B channels, DCA
• FULL SCREEN (Full-screen display)
The METER screen is displayed full-screen in the main area.
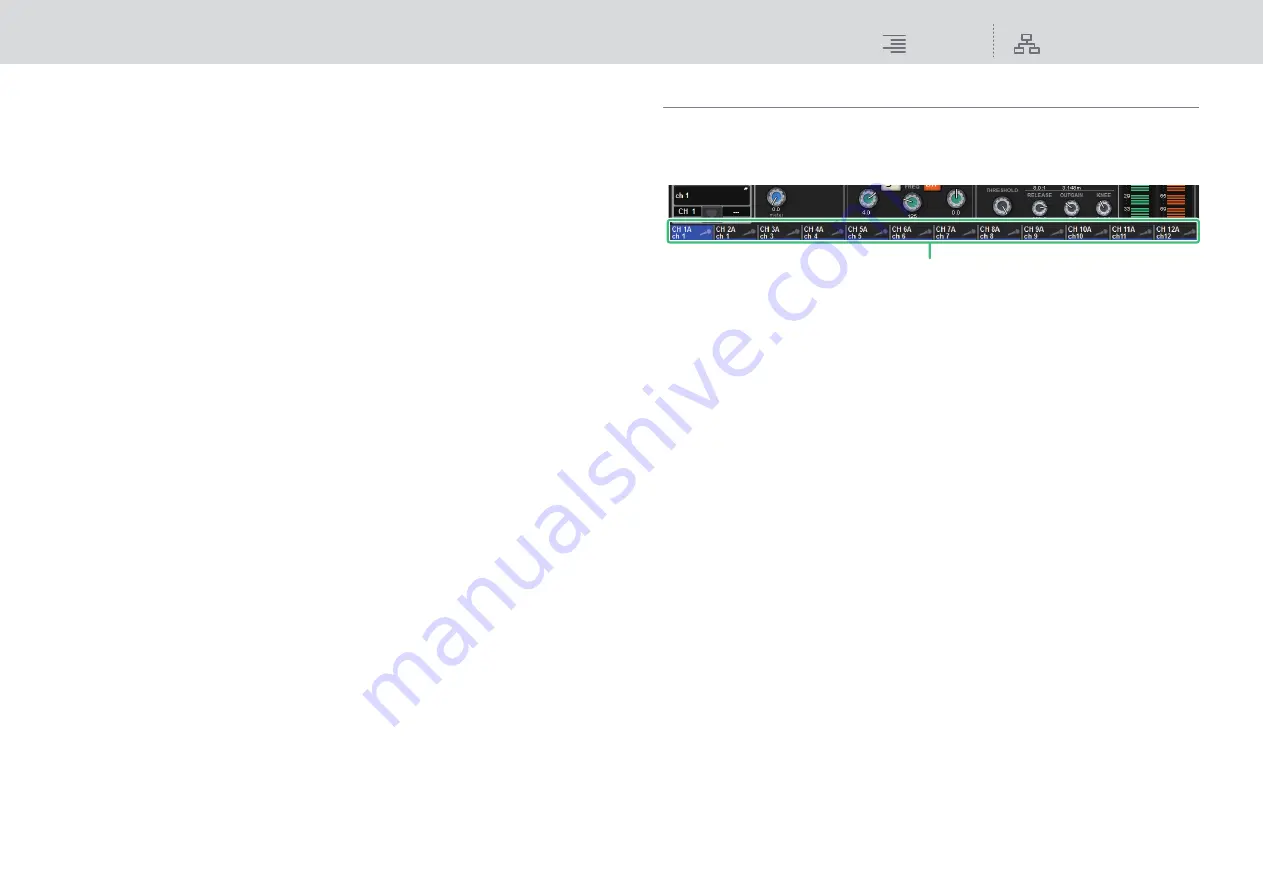
Channel name area
Press the channel name area to switch the selected channel/parameter on the screen.
If you switch fader layers, the indication in this area will reflect the change in layer selection. In this
way, you can access any channel on screen.
NOTE
Switching layers will not affect the selected channel/parameter on the screen. The 12-channel group
displayed on the OVERVIEW screen will change. However, unless you press the channel name area,
the selected channel/parameter on the screen will remain unchanged since your last press of the
[SEL] key(s). If you want to switch the selected channel/parameter on screen at the same time you
switch layers, you can configure this arrangement by selecting [FADER BANK] > [SEL] LINK in the
PREFERENCES settings.
Channel name


