Monitor
MONITOR
140
RIVAGE PM10 Operation Manual
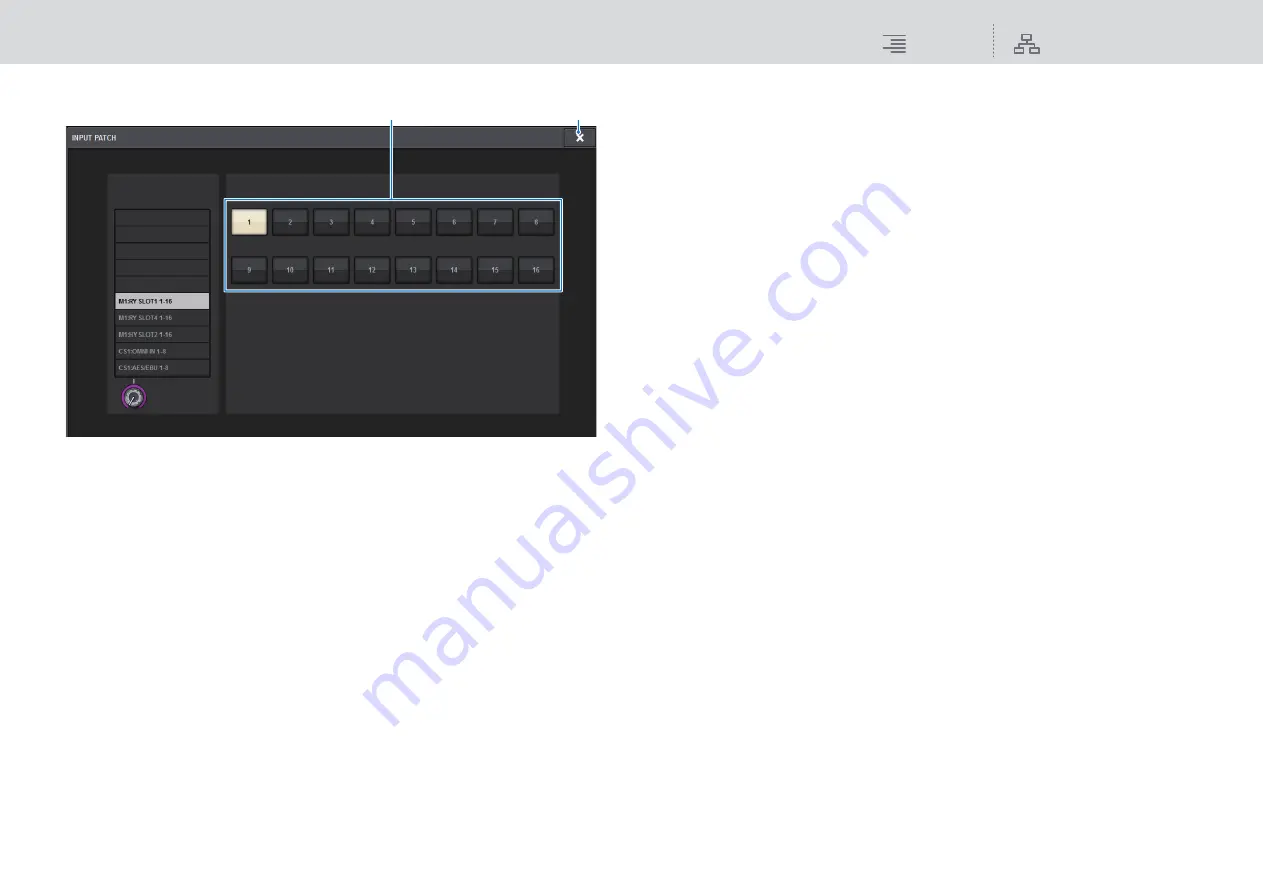
INPUT PATCH popup window
1
Input jack select buttons
Enable you to select the input jacks from which you want to monitor the signals.
2
CLOSE button
Press this button to close the popup window and return to the previous screen.
6.
Use the SOURCE SELECT DEFINE buttons to select monitor sources.
7.
To specify a port as the output destination for monitor signals L, R, and C, press
one of the OUTPUT PATCH buttons (L/R/C) on the MONITOR SETTINGS popup
window to open the OUTPUT PATCH popup window. In this window, choose
from the following monitor signal output destinations (multiple selections are
allowed).
When you have selected an output port, press the CLOSE button to close the popup window.
In the same way, specify the output ports for MONITOR OUT L, R, and C.
NOTE
If desired, you can specify output ports only for MONITOR OUT L and R to monitor through two
speakers.
8.
To enable monitoring, press the MONITOR OUTPUT button to turn it on.
The monitor source you selected in step 5 will be sent to the output destination you specified
in step 7.
NOTE
The PHONES A/B output jacks will always output the monitor signal, regardless of whether the
MONITOR OUTPUT button is on or off.
9.
To adjust the monitor level, use the corresponding MONITOR LEVEL knob
located in the UTILITY section of the top panel.
If PHONES LEVEL LINK is ON, use the MONITOR LEVEL knob and the monitor fader, as
well as the PHONES LEVEL knob to adjust the monitor level when monitoring through
headphones.
10.
Make settings for Dimmer, Delay, Monaural, and Cue Interruption as desired.
NOTE
Monitor on/off operations, selection of the monitor source, and dimmer on/off operations can
also be assigned to USER DEFINED keys (
2
1


