Patching
Changing the name
133
RIVAGE PM10 Operation Manual
5
Channel color select buttons
Enable you to select a channel color. Pressing the button will immediately apply the change. If
you select OFF, the channel color and icon will be grayed out.
6
Icon select buttons
Enable you to select a channel icon. Pressing the button will immediately apply the change.
7
Template select buttons
Enable you to selects a template. Pressing the button will immediately apply the change.
4.
Use the icon select buttons to select the icon you want to use for the channel.
You can use the channel color select buttons to select the color of the channel.
The selected icon and color are shown in the icon button in the upper part of the window.
5.
To edit the channel name based on a template name, use the template select
buttons to select a template.
The selected template will be entered in the channel name field in the upper part of the
window.
To enter the channel name directly, proceed to step 6.
NOTE
You can also add or edit characters in the channel name field after you have entered the name
from the template. If you want to quickly assign channel names that consist of a common name
plus a consecutive number, such as “Vocal 1” or “Vocal 2,” enter the name from a template first,
and then add a number.
6.
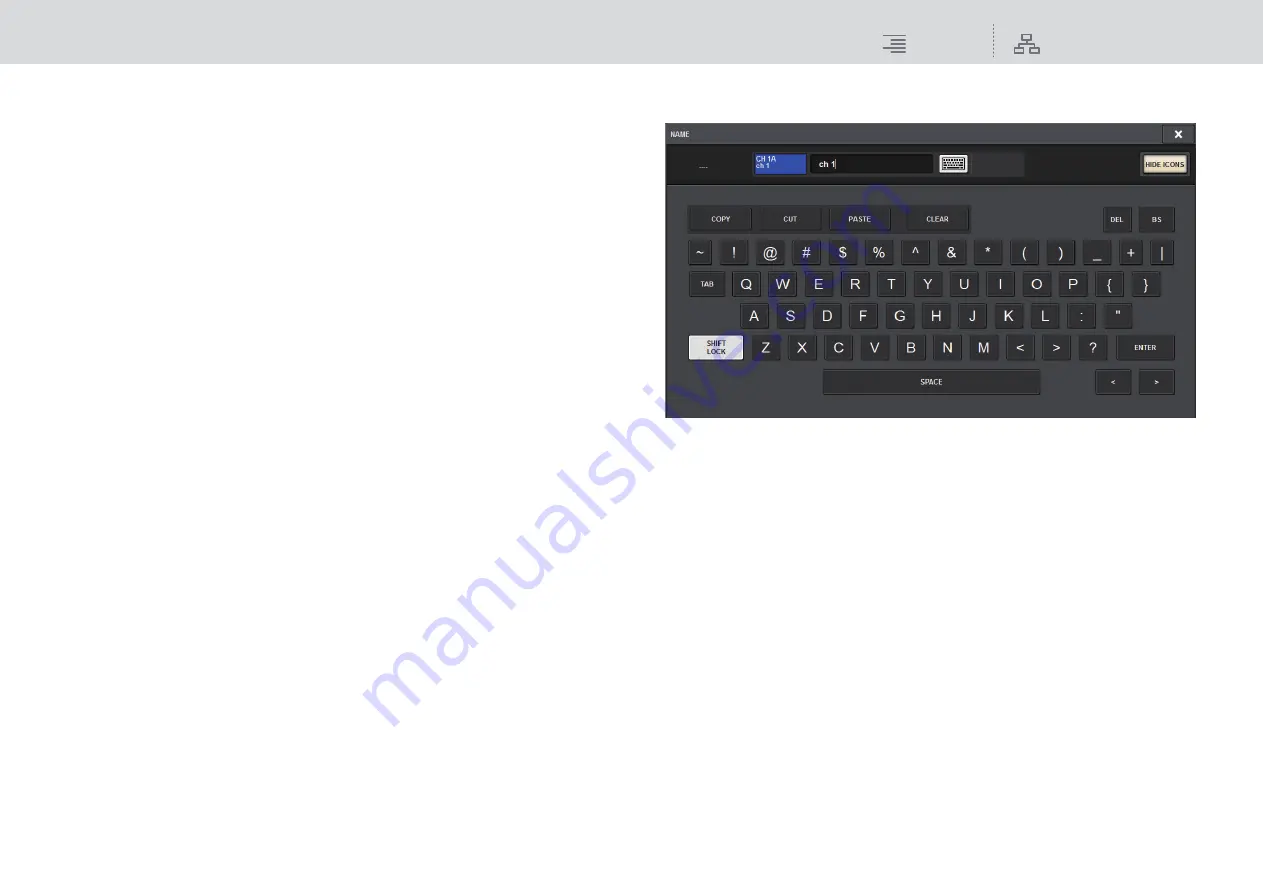
If you want to directly enter a channel name from one of the touch screens,
press the keyboard switch button in the upper part of the window.
The keyboard window will appear, allowing you to enter or edit the text. For details on how to
assign a name, refer to
.
7.
When you are finished with your input, press the X symbol in the upper right of
the window.
NOTE
Press the TAB button to switch to the next channel. You can also press the ENTER button to
close the popup window in the same way as using the “x” symbol.


