A. Using Modules
A-8
UniSite-xpi User Manual
Removing a Base
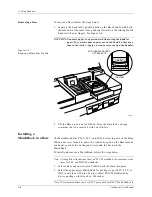
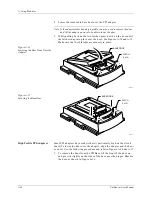
To remove a Base, follow the steps below.
1.
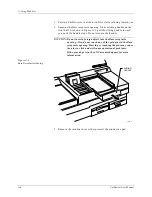
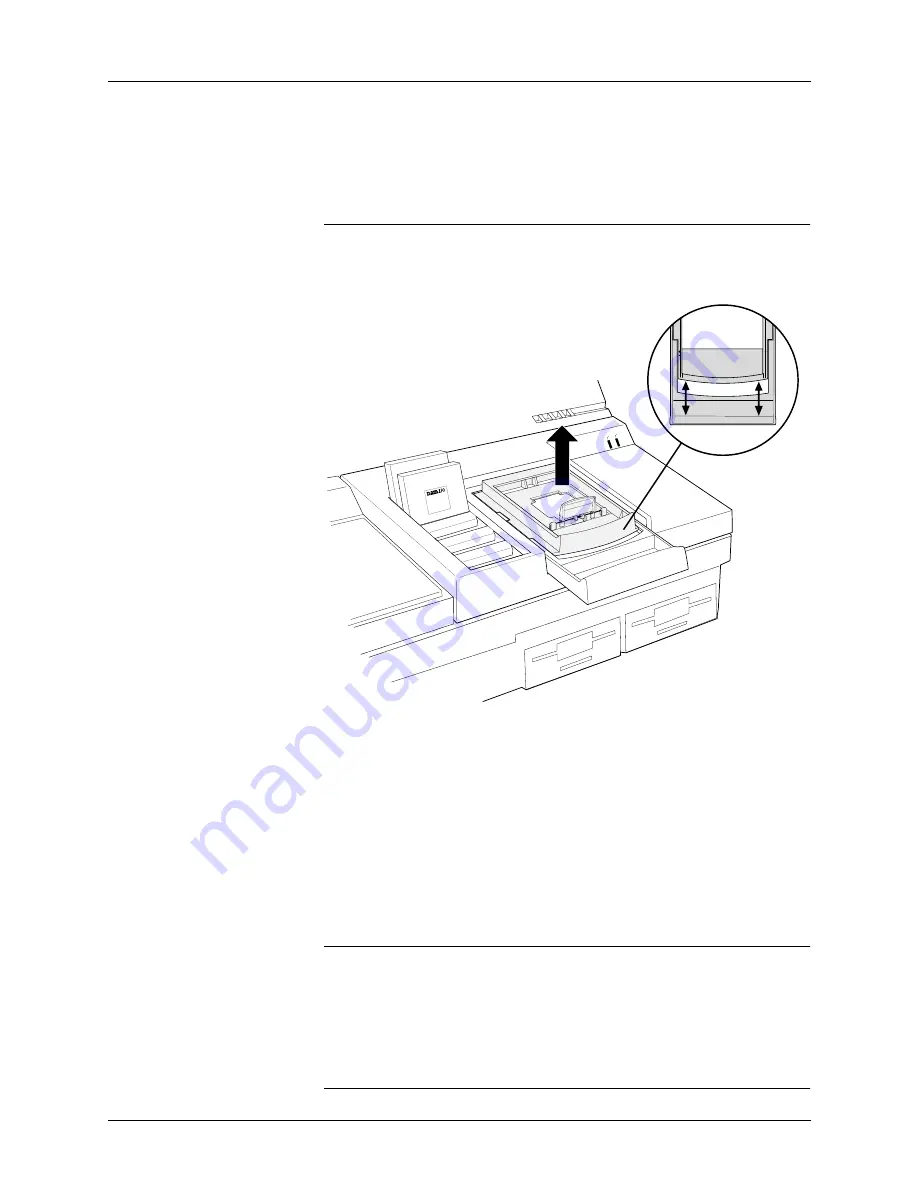
Separate the handles by pushing back on the Base handle with both
thumbs and, at the same time, pushing forward on the sliding PinSite
handle with your fingers. See Figure A-6.
CAUTION: You must apply even pressure while moving the handles
apart. If you exert uneven pressure on the handles, they may
jam in the tracks. Apply an even force to realign the handles.
2.
Lift the Base up and out of PinSite. Store the Base in the storage
container that you received with your PinSite.
Installing a
MatchBook in a Base
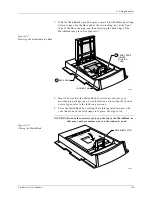
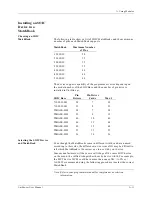
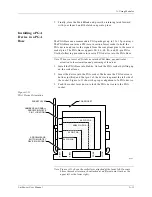
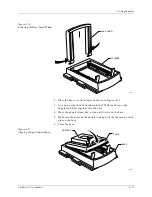
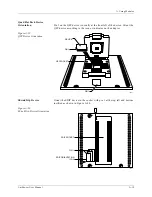
The MatchBook holds PLCC, LCC, and SOIC devices in place on the Base.
When a device is locked in place, the conductive pad on the Base forms a
conductive path between the pin drivers and the device in the
MatchBook.
To install and remove a MatchBook, follow the steps below.
Note: Although the illustrations show a PLCC MatchBook, the procedure is the
same for LCC and SOIC MatchBooks.
1.
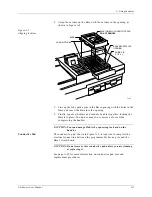
Select a Base and insert it into PinSite. Lock the Base into place.
2.
Select the appropriate MatchBook for package type (PLCC, LCC, or
SOIC) and pinout (20 pins, 28 pins). Select SOIC MatchBooks by
device package width, such as .300 inches.
Note: We recommend that you use PLCC parts with the PLCC MatchBook only.
Figure A-6
Removing a Base from PinSite
0565-2
ACTIVE
READY
44 Pin PLCC
44 Pin PLCC
WITH HANDLES APART,
LIFT BASE OUT
TOP VIEW
BASE
Summary of Contents for UniSite-xpi
Page 2: ...981 0014 UniSite Programming System User Manual Also Covering Legacy UniSite Programmers ...
Page 72: ...2 Setup and Installation 2 42 UniSite xpi User Manual ...
Page 134: ...3 Getting Started 3 62 UniSite xpi User Manual ...
Page 238: ...5 Computer Remote Control 5 10 UniSite xpi User Manual ...
Page 296: ...6 Translation Formats 6 58 UniSite xpi User Manual ...
Page 402: ...Keep Current Subscription Service 6 Keep Current ...


