2-1-(14)
Inputting Camera Images
Section 2-1
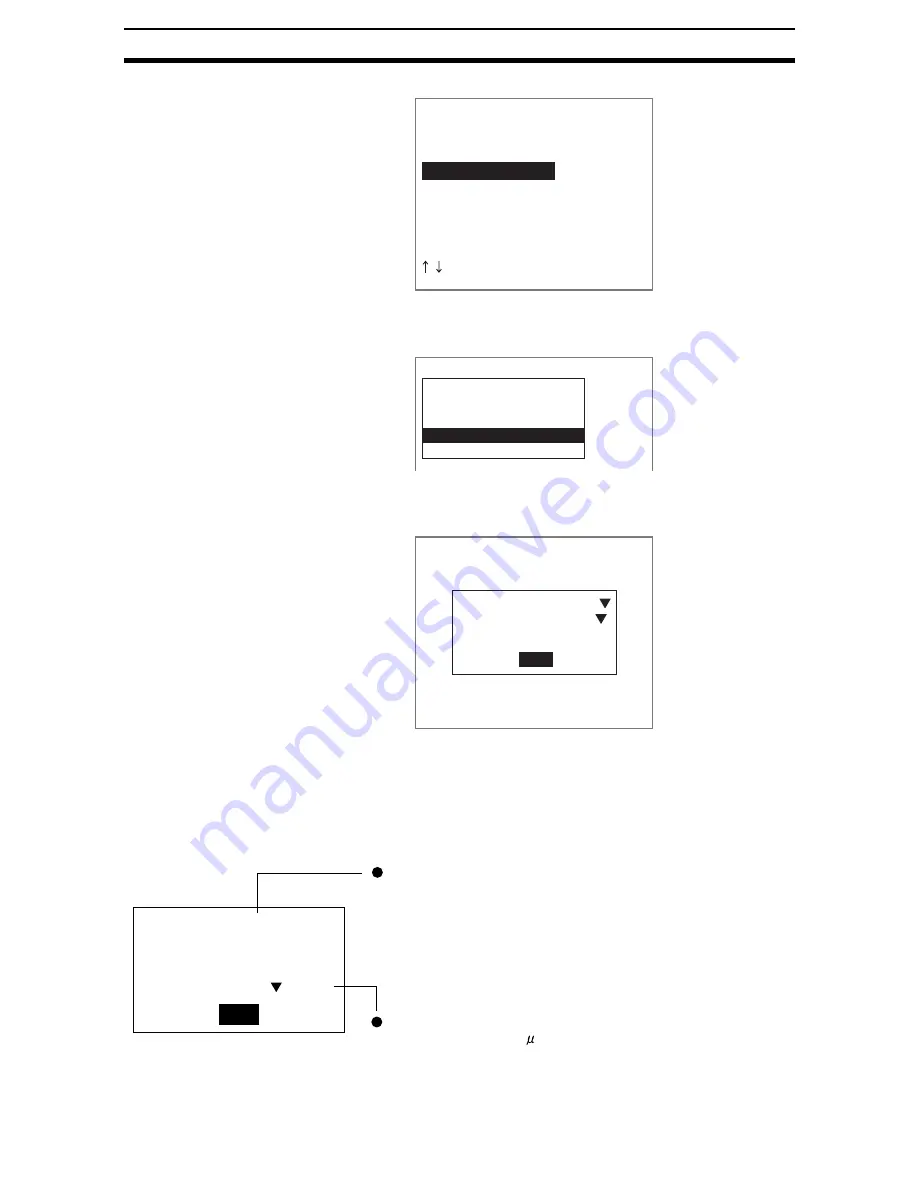
The initial Camera Settings Screen will be displayed.
2.
Select Calibration.
The initial Calibration Screen will be displayed.
3.
Select Parameter input.
The Parameter Input Screen will be displayed.
4.
Make the settings for each item.
5.
Select End.
The settings will be registered and the screen in (2.) will return.
Reference
Parameters
This screen is used to check data settings.
Camera settings
Shutter speed(Cam0)
Light control(Cam0)
Calibration(Cam0)
Shutter speed(Cam1)
Light control(Cam1)
Calibration(Cam1)
Shutter speed(Cam2)
Light control(Cam2)
Calibration(Camera0)
Sampling input
Specifying point
Specifying coordinate axis
Parameter input
Reference parameter
Parameter input
Origin
Coordinate
Magnification
:Upper left
:Left hand
:[1.00000]
End
A= 1.00000 D= 0.00000
B= 0.00000
E= 1.00000
C=255.00000
F=241.00000
Sight= 512.000mm
OK
A to F represent the calibration conversion values. The camera
coordinates are converted to physical coordinates based on these
calibration conversion values. The formulae for conversion to
physical coordinates are as follows:
X' = A
×
X + B
×
Y + C
Y' = D
×
X + E
×
Y + F
The physical unit for X direction on the screen
can be selected from m, mm, cm, and m.
(X,Y): measurement position (camera coordinates), unit: pixels
(X',Y'): conversion position (physical coordinates), units: mm
Содержание F250-UME
Страница 2: ...80 SSOLFDWLRQ 6RIWZDUH 2SHUDWLRQ 0DQXDO 5HYLVHG HFHPEHU...
Страница 3: ...iii...
Страница 337: ...2 15 4 EC Defect Section 2 15 4 Press the ENT Key The settings will be registered and the screen in 1 will return...
Страница 531: ...2 23 4 ECM Search Section 2 23 4 Press the ENT Key The settings will be registered and the screen in 1 will return...
Страница 748: ...2 49 5 Display Line Display Box Display Circle and Display Cursor Section 2 49...
Страница 798: ...4 44 Memory Card Operations Section 4 6...
Страница 998: ...7 18 Menu Hierarchy Section 7 6...


