2-13-(5)
Classification
Section 2-13
8.
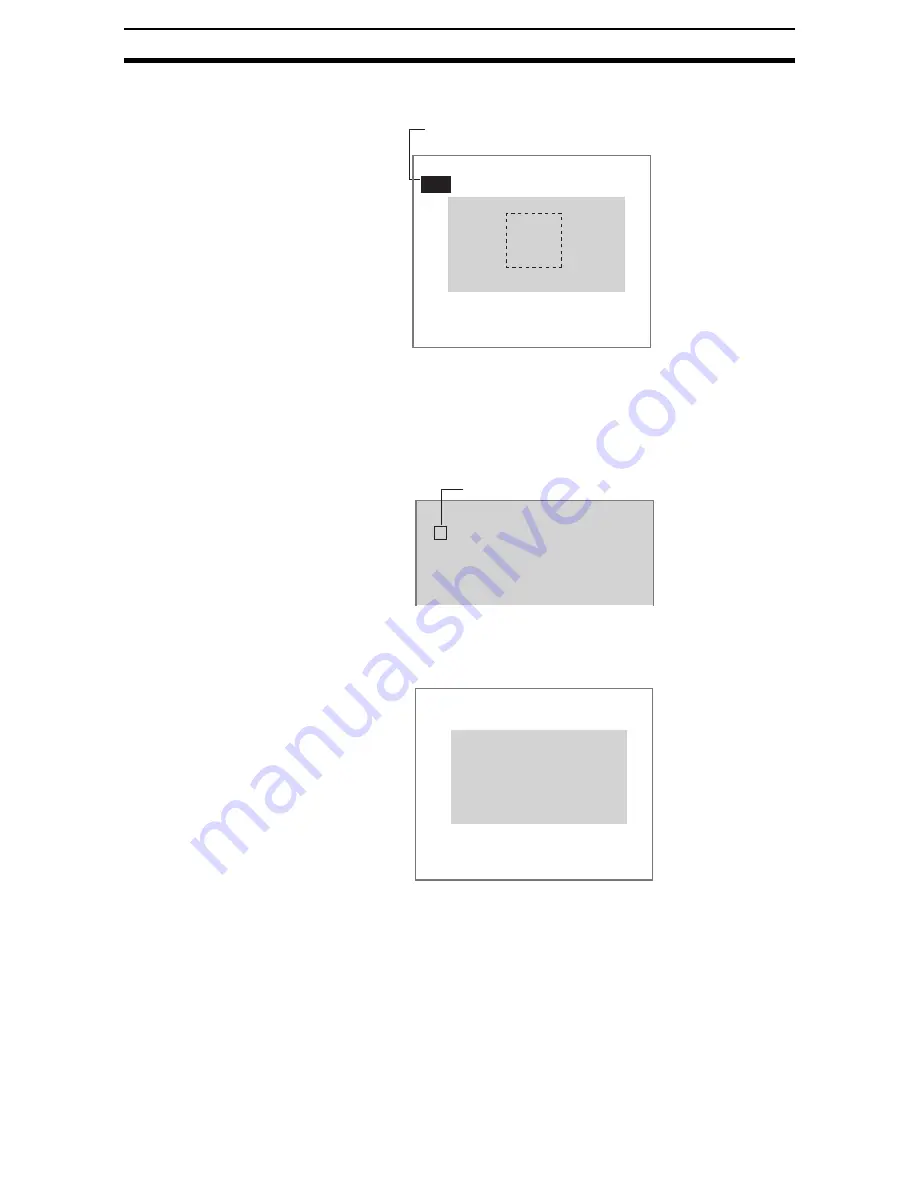
Draw the region to be registered as the model with the selected figure.
The figure will be registered.
9.
If additional figures are to be drawn, select Add.
10. Repeat steps 6 to 8 as necessary to create the desired shape.
11. After drawing is completed, select End.
The model will be registered.
The registered model is displayed as a thumbnail.
12. To register the next model, change the measurement object and press the
SHIFT+ESC Keys.
The Input Image Screen will be displayed.
13. Press the TRIG Key to refresh the image.
14. Press the ESC Key.
The screen in (11.) will return.
15. Repeat steps 3 to 11 to register further models.
A
A
Model registration
Add
Figure0
End
Once three figures have been drawn,
Add will no longer be displayed.
0
1
2
3
4
Model registration
A
Registered model
B
B
Input image
ESC:End TRG:Input image
Содержание F250-UME
Страница 2: ...80 SSOLFDWLRQ 6RIWZDUH 2SHUDWLRQ 0DQXDO 5HYLVHG HFHPEHU...
Страница 3: ...iii...
Страница 337: ...2 15 4 EC Defect Section 2 15 4 Press the ENT Key The settings will be registered and the screen in 1 will return...
Страница 531: ...2 23 4 ECM Search Section 2 23 4 Press the ENT Key The settings will be registered and the screen in 1 will return...
Страница 748: ...2 49 5 Display Line Display Box Display Circle and Display Cursor Section 2 49...
Страница 798: ...4 44 Memory Card Operations Section 4 6...
Страница 998: ...7 18 Menu Hierarchy Section 7 6...


