Replacement
7-73
11.
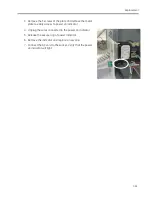
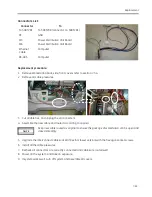
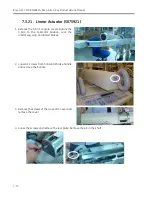
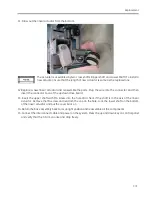
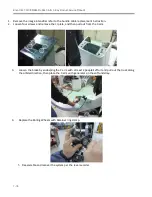
Draw out the linear actuator from the bottom.
The actuator is assembled by two cross shafts (Upper shaft and Lower Shaft). To install a
new actuator, insure that the length of new actuator is same as the replaced one.
12.
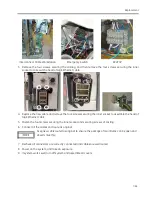
Replace a new linear actuator and reassemble the parts. Plug the wire into the connector. And then
insert the connector to J4 of the up down drive board.
13.
Insert the upper shaft with M4 screw into the hole and check if the shaft is in the axis of the linear
actuator. Remove the M4 screw and reattach the cap on the hole. Lock the lower shaft on the bottom
of the linear actuator and put the cover back on.
14.
Return the base assembly back to its upright position and reassemble all the components.
15.
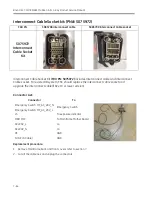
Connect the interconnect cable and power on the system. Press the up and down key on control panel
and verify that the C-Arm can rise and drop freely.
Summary of Contents for Brivo OEC 715
Page 2: ......
Page 19: ...Chapter1 Introduction and Safety...
Page 41: ...Introduction and Safety 23 46 54 20 18 26...
Page 55: ...Chapter2 System Overview...
Page 137: ...Chapter3 Installation...
Page 212: ...Chapter4 Calibration...
Page 275: ...Brivo OEC 715 785 865 Mobile C Arm X Ray Product Service Manual 4 64...
Page 284: ...Chapter5 Software...
Page 326: ...Software 5 43 2 Click on install to continue 3 Click Next to continue...
Page 335: ...Chapter6 Troubleshooting...
Page 408: ...Chapter7 Replacement...
Page 418: ...Replacement 7 11 166...
Page 488: ...Chapter8 Periodic Maintenance...
Page 502: ...Periodic Maintenance 8 15...
Page 505: ...Chapter9 Technical Reference...
Page 521: ...Technical Reference 9 17 Vertical configuration 1 5m Vertical configuration 1m...
Page 526: ...11 Appendix System Schematics...

