Brivo OEC 715/785/865 Mobile C-Arm X-Ray Product Service Manual
3-38
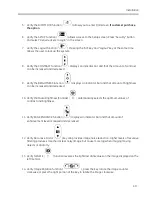
15.
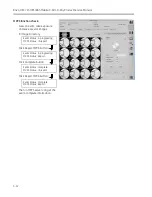
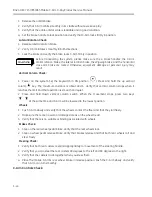
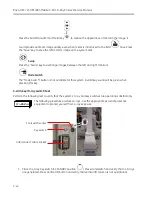
Verify ZOOM function (
) displays a square region of interest (ROI) box and that you can
magnify the ROI.
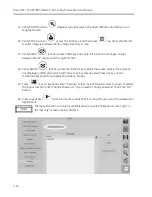
16.
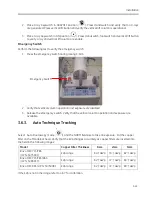
Verify SAVE function (
), press the SAVE key. And then press
key. Verify that the left
monitor image is previewed in the Image Directory screen.
17.
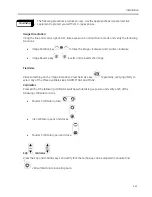
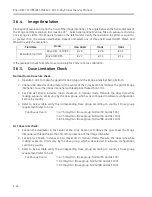
Verify SWAP (
)
function, press SWAP
key and verify this function exchanges images
between the left monitor and the right monitor.
18.
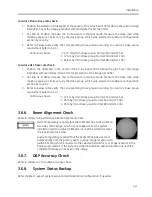
Verify BLANK (
) function, press the “Blank” key to blank the screen quickly if the screens
are displaying information which will not be seen by someone else. Press any key on the
membrane keyboard to re-display the screens’ images
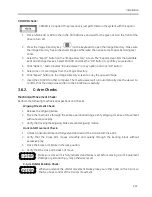
19.
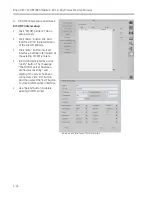
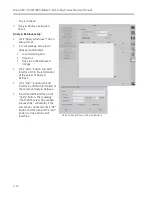
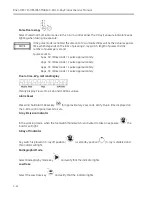
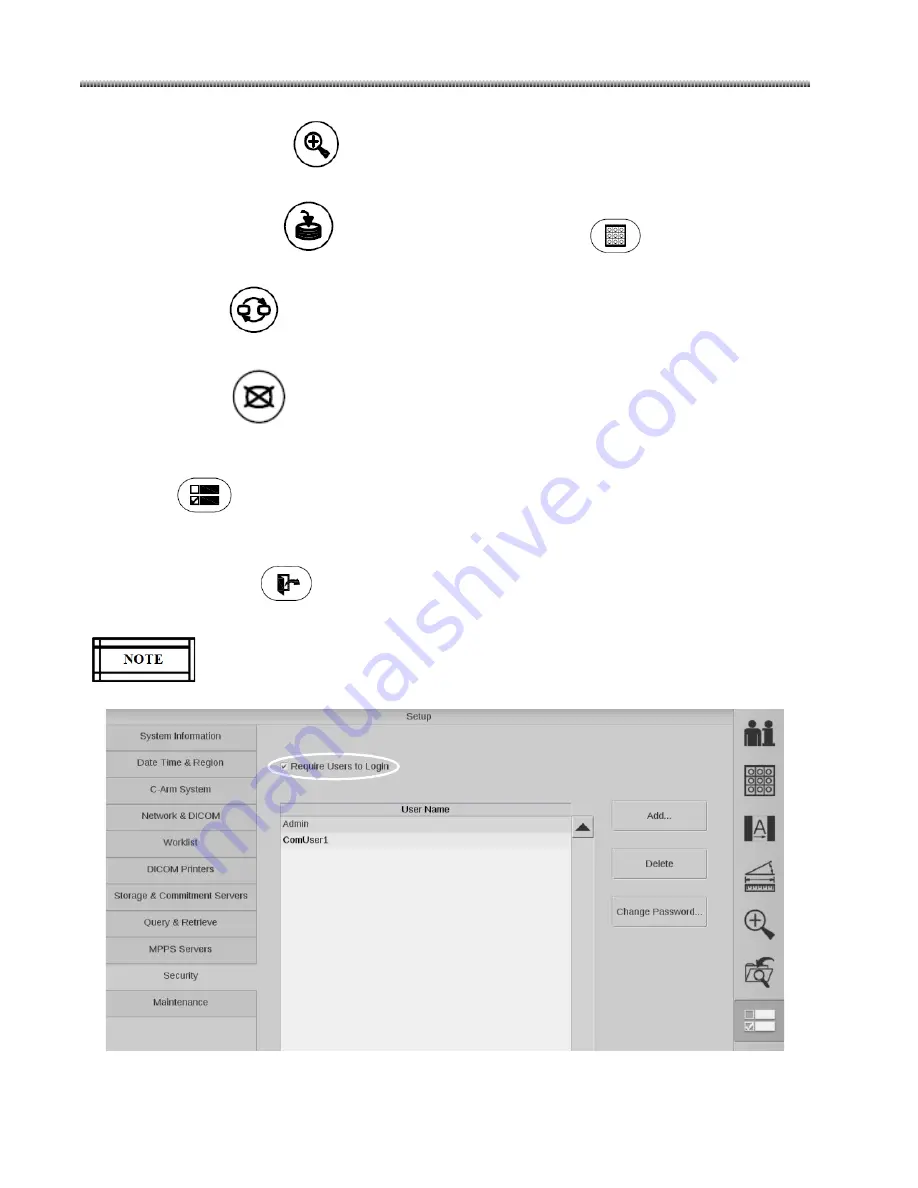
Press
key on keyboard. Enter “Security” screen. Select “Require Users to Login” to enable
the logout function. Click “Change Password…” if you need to change password. Then Click “OK”
button.
20.
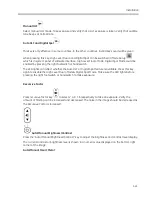
Press Logout key (
) at the same time. Verify that it can log the user out of the workstation
applications.
The logout function can only be available when you select “Require Users to Login” in
the “Security” screen of setup interface.
Summary of Contents for Brivo OEC 715
Page 2: ......
Page 19: ...Chapter1 Introduction and Safety...
Page 41: ...Introduction and Safety 23 46 54 20 18 26...
Page 55: ...Chapter2 System Overview...
Page 137: ...Chapter3 Installation...
Page 212: ...Chapter4 Calibration...
Page 275: ...Brivo OEC 715 785 865 Mobile C Arm X Ray Product Service Manual 4 64...
Page 284: ...Chapter5 Software...
Page 326: ...Software 5 43 2 Click on install to continue 3 Click Next to continue...
Page 335: ...Chapter6 Troubleshooting...
Page 408: ...Chapter7 Replacement...
Page 418: ...Replacement 7 11 166...
Page 488: ...Chapter8 Periodic Maintenance...
Page 502: ...Periodic Maintenance 8 15...
Page 505: ...Chapter9 Technical Reference...
Page 521: ...Technical Reference 9 17 Vertical configuration 1 5m Vertical configuration 1m...
Page 526: ...11 Appendix System Schematics...

