Replacement
7-71
5.
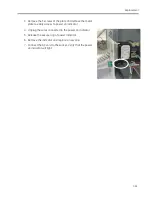
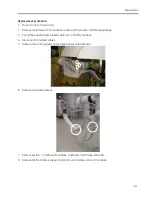
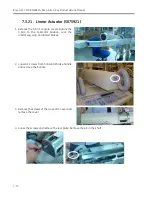
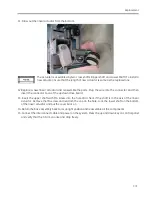
Put a wood block or equivalent to under console to prevent the base from tilting backward.
6.
Loosen the screws on cable holder and release
the cable. Draw out the C-Arm and Cross-arm
assembly slowly.
7.
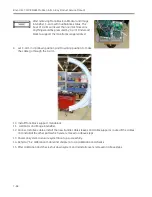
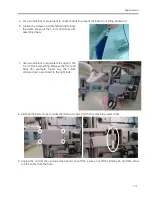
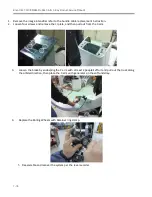
Use a wood block or equivalent to support the
C-arm. Place something between the floor and
base (for example: foam). Lay the C-Arm
console down as pictured to the right side.
8.
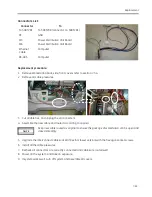
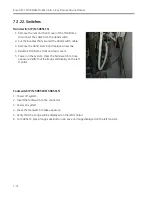
Remove the bottom cover under the linear actuator. And then remove the lower shaft.
9.
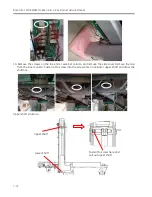
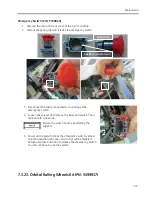
Unplug the J4 from the up down drive board. Cut off the 2 wires. Cut off the binding tie and then draw
out the cable from the hole.
Summary of Contents for Brivo OEC 715
Page 2: ......
Page 19: ...Chapter1 Introduction and Safety...
Page 41: ...Introduction and Safety 23 46 54 20 18 26...
Page 55: ...Chapter2 System Overview...
Page 137: ...Chapter3 Installation...
Page 212: ...Chapter4 Calibration...
Page 275: ...Brivo OEC 715 785 865 Mobile C Arm X Ray Product Service Manual 4 64...
Page 284: ...Chapter5 Software...
Page 326: ...Software 5 43 2 Click on install to continue 3 Click Next to continue...
Page 335: ...Chapter6 Troubleshooting...
Page 408: ...Chapter7 Replacement...
Page 418: ...Replacement 7 11 166...
Page 488: ...Chapter8 Periodic Maintenance...
Page 502: ...Periodic Maintenance 8 15...
Page 505: ...Chapter9 Technical Reference...
Page 521: ...Technical Reference 9 17 Vertical configuration 1 5m Vertical configuration 1m...
Page 526: ...11 Appendix System Schematics...

