Installation
3-41
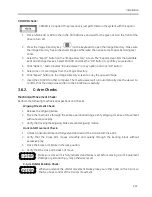
The following procedure produces X-rays. Use the appropriate personal protective
equipment to protect yourself from X-ray exposure.
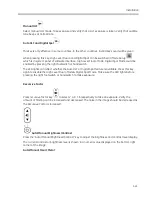
Image Orientation
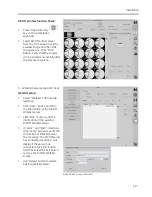
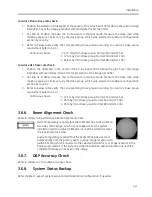
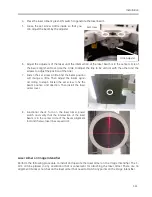
Using the line pair tool as a phantom, take exposure in normal Fluoro mode and verify the following
functions:
•
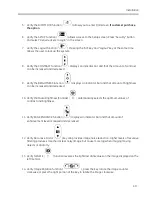
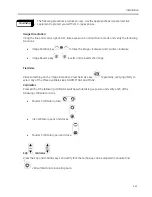
Image Rotation key
rotates the image clockwise and counter-clockwise.
•
Image Reverse key
inverts and reinverts the image.
Field size
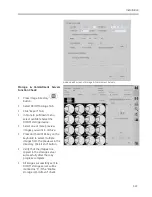
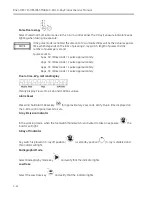
Place something on the Image Intensifier. Press field size key
repeatedly, verifying ability to
select any of the three available sizes: NORM, MAG1 and MAG2.
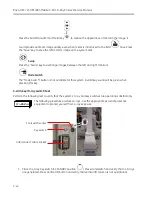
Collimator
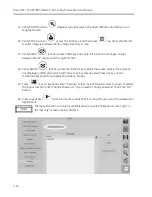
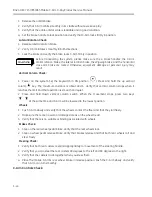
Press each of the following collimator switches while taking exposure and verify each of the
following collimator actions.
•
Shutter Collimator rotate.
•
Iris Collimator opens and closes.
•
Shutter Collimator open and close.
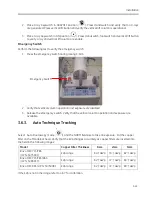
kVp
, mA/mAs
Press the kVp and mA/mAs keys and verify that the technique can be adjusted manually. And
LED will illuminate indicating Auto.
WARNING
Summary of Contents for Brivo OEC 715
Page 2: ......
Page 19: ...Chapter1 Introduction and Safety...
Page 41: ...Introduction and Safety 23 46 54 20 18 26...
Page 55: ...Chapter2 System Overview...
Page 137: ...Chapter3 Installation...
Page 212: ...Chapter4 Calibration...
Page 275: ...Brivo OEC 715 785 865 Mobile C Arm X Ray Product Service Manual 4 64...
Page 284: ...Chapter5 Software...
Page 326: ...Software 5 43 2 Click on install to continue 3 Click Next to continue...
Page 335: ...Chapter6 Troubleshooting...
Page 408: ...Chapter7 Replacement...
Page 418: ...Replacement 7 11 166...
Page 488: ...Chapter8 Periodic Maintenance...
Page 502: ...Periodic Maintenance 8 15...
Page 505: ...Chapter9 Technical Reference...
Page 521: ...Technical Reference 9 17 Vertical configuration 1 5m Vertical configuration 1m...
Page 526: ...11 Appendix System Schematics...

