Replacement
7-39
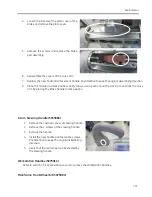
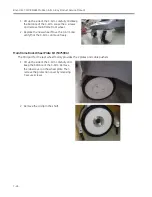
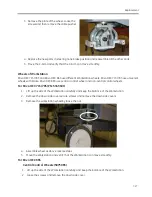
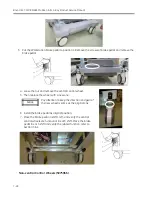
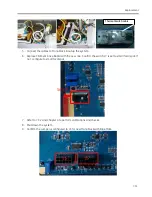
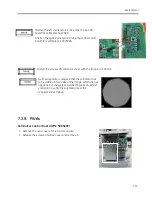
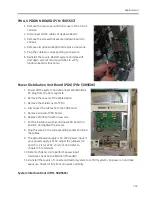
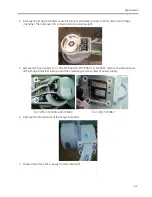
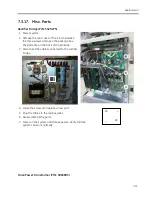
PWA, UPDOWN BOARD (P/N: 5085607)
1.
Remove the rear cover and front cover of the C-Arm
console.
2.
Disconnect all the cables of Updown Board.
3.
Remove the screws that secure Updown board to
chassis.
4.
Remove old Updown Board and replace a new one.
5.
Plug the cables to corresponding connectors.
6.
Reinstall the covers. Restart system and press lift
and down vertical column switches to verify
Updown board is functional.
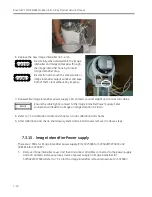
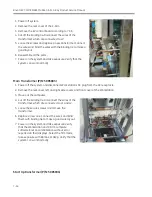
Power Distribution Unit Board (PDU) (P/N: 5085606)
1.
Power off the system and disconnect Workstation’s
AC plug from the AC receptacle.
2.
Remove the covers of the Workstation.
3.
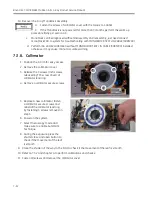
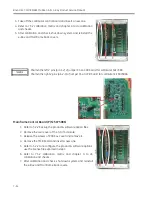
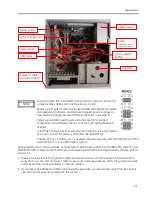
Remove the shield cover of PDU
4.
Disconnect the cables from the PCB board.
5.
Remove screws of PDU board.
6.
Replace PDU board with a new one.
7.
Put the insulation washer and new PDU board on
position and tighten the screws.
8.
Plug the wires in the corresponding socket and bind
the cables.
9.
The default power supply is AC 220V power input. If
your power supply is 110V, adjust the jumpers (J2
and J3). J2 is for 220V, J3 is for 110V. Refer to
chapter 3.5 for details.
10.
Refer to chapter 4.9 to perform power input
tolerance check and calibration (if needed).
11.
Reinstall the covers of console and restart system to confirm system can power on and take
exposure. Check all functions can work normally.
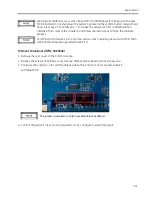
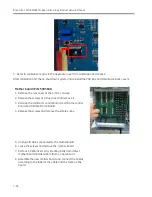
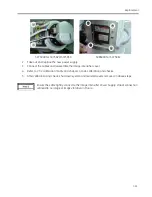
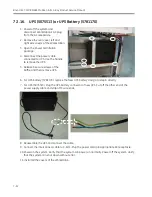
System Interface Board (P/N: 5085605)
Summary of Contents for Brivo OEC 715
Page 2: ......
Page 19: ...Chapter1 Introduction and Safety...
Page 41: ...Introduction and Safety 23 46 54 20 18 26...
Page 55: ...Chapter2 System Overview...
Page 137: ...Chapter3 Installation...
Page 212: ...Chapter4 Calibration...
Page 275: ...Brivo OEC 715 785 865 Mobile C Arm X Ray Product Service Manual 4 64...
Page 284: ...Chapter5 Software...
Page 326: ...Software 5 43 2 Click on install to continue 3 Click Next to continue...
Page 335: ...Chapter6 Troubleshooting...
Page 408: ...Chapter7 Replacement...
Page 418: ...Replacement 7 11 166...
Page 488: ...Chapter8 Periodic Maintenance...
Page 502: ...Periodic Maintenance 8 15...
Page 505: ...Chapter9 Technical Reference...
Page 521: ...Technical Reference 9 17 Vertical configuration 1 5m Vertical configuration 1m...
Page 526: ...11 Appendix System Schematics...

