1791
1
3
S
yst
em
O
p
er
at
ion and Man
agem
ent
SMASH can perform many types of operations defined by CIM (Common
Information Model) profiles. X57A2, X55R3, and X55S3, and X55R4 server blade
models support CIM profiles shown in the table below. See DMTF Web site for
details about CIM profiles.
http://dmtf.org/standards/profiles
CIPM profiles
#
DSP
CIM profile
Organization
Version
1
DSP1004
Base Server
DMTF
1.0.0 or later
2
DSP1006
SMASH Collection
DMTF
1.0.0 or later
3
DSP1007
SM CLP Admin Domain
DMTF
1.0.0 or later
4
DSP1009
Sensors
DMTF
1.0.0 or later
5
DSP1011
Physical Asset
DMTF
1.0.0 or later
6
DSP1012
Boot Control
DMTF
1.0.0 or later
7
DSP1013
Fan
DMTF
1.0.0 or later
8
DSP1015
Power Supply
DMTF
1.0.0 or later
9
DSP1018
Service Processor
DMTF
1.0.0 or later
10
DSP1022
CPU
DMTF
1.0.0 or later
11
DSP1026
System Memory
DMTF
1.0.0 or later
12
DSP1033
Profile Registration
DMTF
1.0.0 or later
13
DSP1034
Simple Identity Management
DMTF
1.0.0 or later
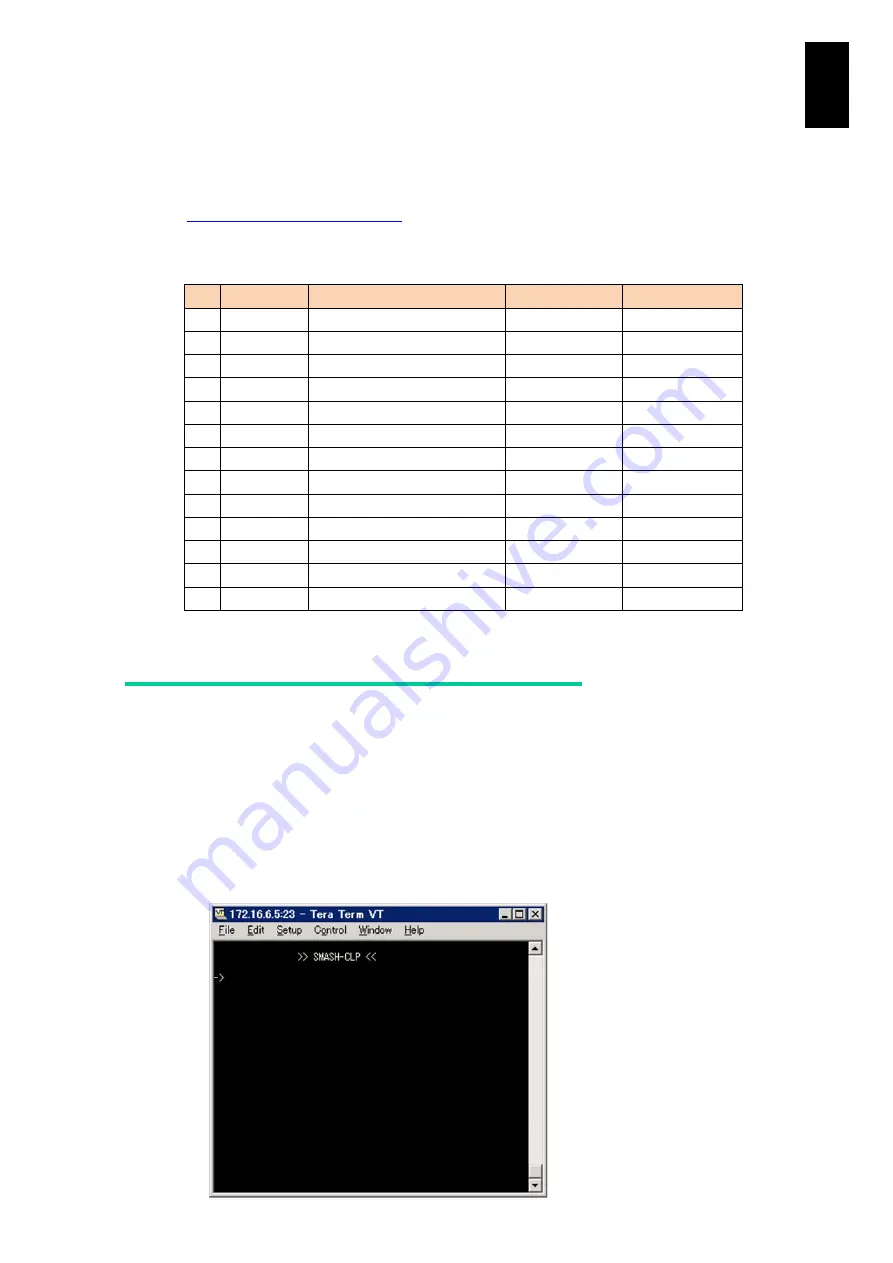
Connection to SMASH-CLP
SMASH-CLP (Command Line Protocol) is available using terminal software on a
console terminal connected via Telnet or SSH. Steps for connection are as follows.
1 Start the terminal software on a console terminal, and connect to a server blade,
on which you use SMASH-CLP, via Telnet or SSH. See Chapter 6 > LC
Command > P: partition network setting for the server blade IP address.
2 Type a user name and password in connection via Telnet or SSH to connect to
SMASH-CLP. See Chapter 5 > Initial Settings with Server Blade Web Console >
User Account Configuration for how to set a user name and password.
Summary of Contents for Compute Blade 2000
Page 1: ...MK 99BDS2K001 16 Hitachi Compute Blade 2000 User s Guide ...
Page 42: ...xlii Precautions for Safe Use Rear View of A1 A2 Chassis ...
Page 43: ...xliii Precautions for Safe Use Rear View of A2 Chassis ...
Page 44: ...xliv Precautions for Safe Use Server Blade ...
Page 45: ...xlv Precautions for Safe Use I O Slot Expansion Unit ...
Page 46: ...xlvi Precautions for Safe Use I O Module ...
Page 47: ...xlvii Precautions for Safe Use AC Power Input Module ...
Page 51: ...li How to Use the Manuals This page is intentionally left blank ...
Page 61: ...10 1 Before Use ...
Page 64: ...13 2 How to Use the System Equipment Rear view of A1 chassis Rear view of A2 chassis ...
Page 93: ...42 2 How to Use the System Equipment ...
Page 123: ...72 3 Connecting the System Equipment and Powering On ...
Page 272: ...221 5 Server Blade Setup 3 Check Del and click Go The following screen appears 4 Click Yes ...
Page 345: ...294 5 Server Blade Setup 12 Click Next The following screen appears ...
Page 351: ...300 5 Server Blade Setup 3 Check Delete and click Go The following screen appears 4 Click Yes ...
Page 426: ...375 5 Server Blade Setup 3 Check Delete and click Go The following screen appears 4 Click Yes ...
Page 430: ...379 5 Server Blade Setup 3 Click Go Hotspare is set to the specified hard disk ...
Page 479: ...428 5 Server Blade Setup ...
Page 717: ...666 6 Management Module Settings Details of a physical partition ...
Page 722: ...671 6 Management Module Settings Server blade details view ...
Page 723: ...672 6 Management Module Settings ...
Page 732: ...681 6 Management Module Settings Management module details view ...
Page 745: ...694 6 Management Module Settings Optional Physical WWN list view ...
Page 748: ...697 6 Management Module Settings Optional Physical WWN initialization view ...
Page 751: ...700 6 Management Module Settings ...
Page 754: ...703 6 Management Module Settings Power status details view ...
Page 767: ...716 6 Management Module Settings ...
Page 768: ...717 6 Management Module Settings ...
Page 769: ...718 6 Management Module Settings ...
Page 814: ...763 6 Management Module Settings Power status trend view partition ...
Page 817: ...766 6 Management Module Settings Access log display view ...
Page 819: ...768 6 Management Module Settings WWN change log display view ...
Page 879: ...828 7 Configuring the LAN Switch Module Link aggregation adding editing screen ...
Page 899: ...848 8 Configuring the 10 Gb DCB Switch Module ...
Page 919: ...868 10 Configuring the Fibre Channel Switch Module ...
Page 1535: ...1484 12 Logical partitioning manager ...
Page 1877: ...1826 14 14 When You Need Help ...
Page 1925: ...16 Glossary ...


