


Chapter 6: Using the Web Interface
138
Device
Description
LHX 40
Schroff
®
LHX-40 heat exchanger.
Power CIM
Only Raritan PDUs support the connection to a Raritan
power CIM or digital KVM. SRC does NOT support this
feature so you can ignore this option.
When the SRC detects the connection of any listed device, it replaces
'Feature Port' in the menu with that device's name and shows that
device's data/settings instead. See
Asset Strip
(on page 139),
External
Beeper
(on page 148),
Schroff LHX/SHX
(on page 149) and Power CIM.
When no devices are detected, the SRC displays the name 'Feature Port"
and the Feature Port page shows the message "No device is currently
connected."
Open the Feature Port page by clicking it in the
Menu
(on page 104).
From this page, you can enable or disable this port's detection capability,
or force it to show a specific device's data/settings even though no device
is detected.
Note: You must enable the LHX/SHX support for the SRC to detect the
presence of a supported Schroff
®
LHX/SHX heat exchanger. See
Miscellaneous
(on page 314).
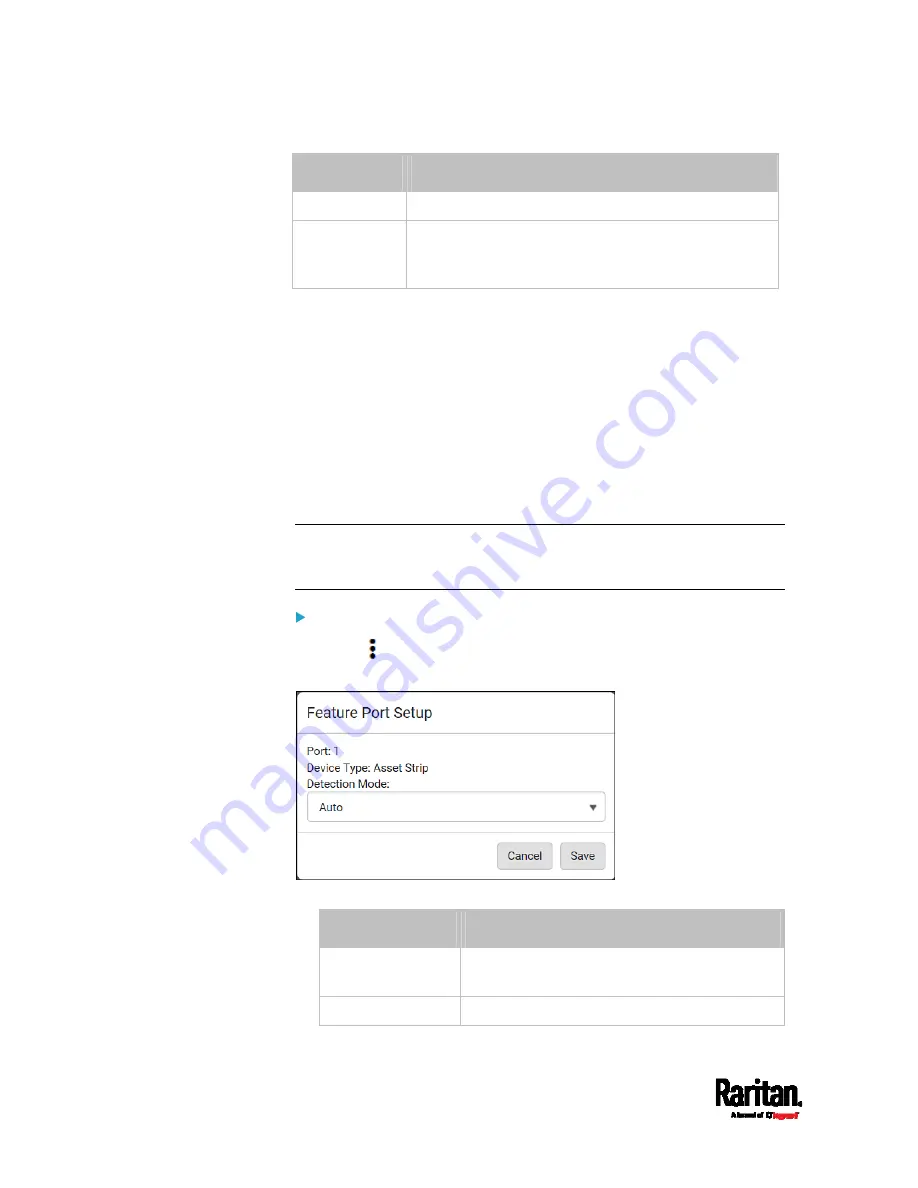
To configure the feature port:
1.
Click
on the top-right corner. The Feature Port Setup dialog
appears.
2.
Click the Detection Mode field, and select one mode.
Mode
Description
Auto
Enable the port to automatically detect the
device connection.
Disabled Disable
the
port's detection capability.
Содержание Raritan SRC-0100
Страница 42: ...Chapter 3 Initial Installation and Configuration 30 Number Device role Master device Slave 1 Slave 2 Slave 3...
Страница 113: ...Chapter 6 Using the Web Interface 101 4 To return to the main menu and the Dashboard page click on the top left corner...
Страница 114: ...Chapter 6 Using the Web Interface 102...
Страница 128: ...Chapter 6 Using the Web Interface 116 Go to an individual sensor s or actuator s data setup page by clicking its name...
Страница 290: ...Chapter 6 Using the Web Interface 278 If wanted you can customize the subject and content of this email in this action...
Страница 291: ...Chapter 6 Using the Web Interface 279...
Страница 301: ...Chapter 6 Using the Web Interface 289 6 Click Create to finish the creation...
Страница 311: ...Chapter 6 Using the Web Interface 299...
Страница 312: ...Chapter 6 Using the Web Interface 300 Continued...
Страница 625: ...Appendix H RADIUS Configuration Illustration 613 Note If your SRC uses PAP then select PAP...
Страница 626: ...Appendix H RADIUS Configuration Illustration 614 10 Select Standard to the left of the dialog and then click Add...
Страница 627: ...Appendix H RADIUS Configuration Illustration 615 11 Select Filter Id from the list of attributes and click Add...
Страница 630: ...Appendix H RADIUS Configuration Illustration 618 14 The new attribute is added Click OK...
Страница 631: ...Appendix H RADIUS Configuration Illustration 619 15 Click Next to continue...
Страница 661: ...Appendix I Additional SRC Information 649...


