Chapter 6: Using the Web Interface
268
4.
By default, the SMTP server specified on the SMTP Server page will
be the SMTP server for performing this action.
To use a different SMTP server, select the 'Use custom SMTP server'
checkbox. The fields for customized SMTP settings appear. For
information on each field, see
Configuring SMTP Settings
(on page
5.
Select the webcam that is capturing the images you want sent in the
email.
6.
Adjust the values of the following:
Number of snapshots - the number of snapshots to be taken
when the event occurs. For example, you can specify 10 images
be taken once the event triggers the action.
Snapshots per mail - the number of snapshots to be sent at one
time in the email.
Time before first snapshot - the amount of time in seconds
between when the event is triggered and the webcam begins
taking snapshots.
Time between snapshots - the amount of time in seconds
between when each snapshot is taken.
7.
If needed, you can customize the subject and messages sent via this
email.
Select the 'Custom subject' checkbox, and enter the text you
prefer as this email's subject.
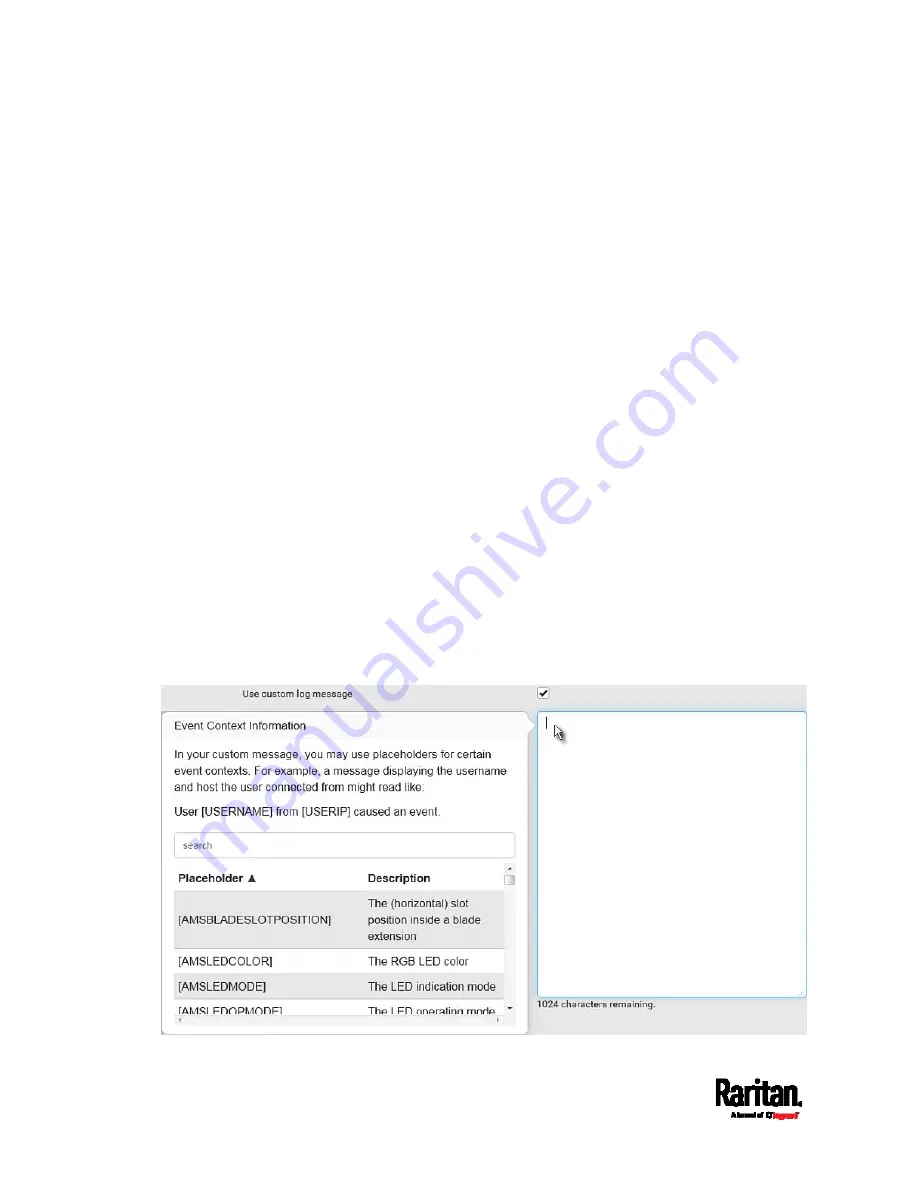
Select the 'Use custom log message' checkbox, and then create a
custom message up to 1024 characters in the provided field.
Содержание Raritan SRC-0100
Страница 42: ...Chapter 3 Initial Installation and Configuration 30 Number Device role Master device Slave 1 Slave 2 Slave 3...
Страница 113: ...Chapter 6 Using the Web Interface 101 4 To return to the main menu and the Dashboard page click on the top left corner...
Страница 114: ...Chapter 6 Using the Web Interface 102...
Страница 128: ...Chapter 6 Using the Web Interface 116 Go to an individual sensor s or actuator s data setup page by clicking its name...
Страница 290: ...Chapter 6 Using the Web Interface 278 If wanted you can customize the subject and content of this email in this action...
Страница 291: ...Chapter 6 Using the Web Interface 279...
Страница 301: ...Chapter 6 Using the Web Interface 289 6 Click Create to finish the creation...
Страница 311: ...Chapter 6 Using the Web Interface 299...
Страница 312: ...Chapter 6 Using the Web Interface 300 Continued...
Страница 625: ...Appendix H RADIUS Configuration Illustration 613 Note If your SRC uses PAP then select PAP...
Страница 626: ...Appendix H RADIUS Configuration Illustration 614 10 Select Standard to the left of the dialog and then click Add...
Страница 627: ...Appendix H RADIUS Configuration Illustration 615 11 Select Filter Id from the list of attributes and click Add...
Страница 630: ...Appendix H RADIUS Configuration Illustration 618 14 The new attribute is added Click OK...
Страница 631: ...Appendix H RADIUS Configuration Illustration 619 15 Click Next to continue...
Страница 661: ...Appendix I Additional SRC Information 649...


