


Chapter 6: Using the Web Interface
272
b.
Type the key and value.
c.
Repeat the same steps to enter more arguments as needed.
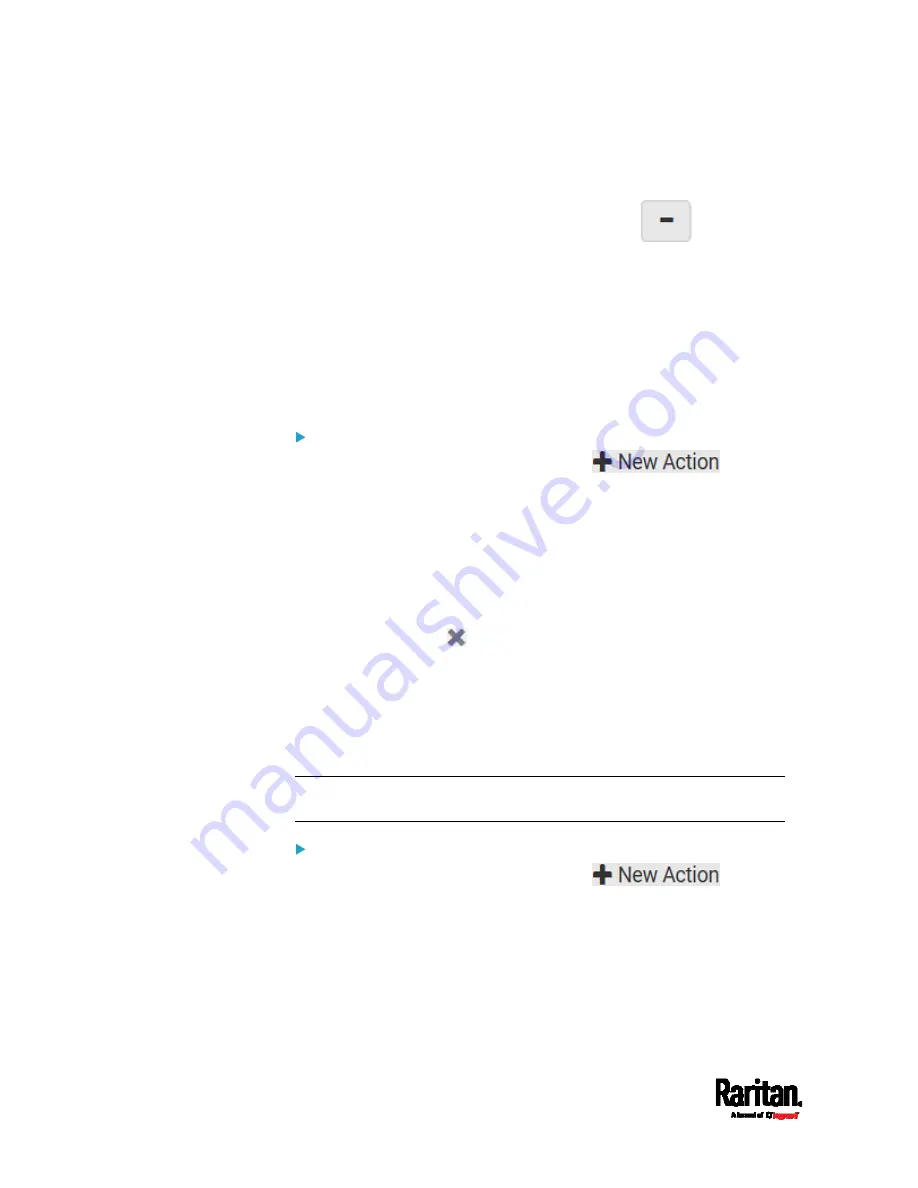
To remove any existing argument, click
adjacent to
it.
Switch LHX/SHX
If Schroff LHX/SHX Support is enabled, the LHX/SHX-related actions will
be available. See
Miscellaneous
(on page 314).
Use this action to switch the LHX/SHX on or off when, for example,
temperature thresholds are reached.
Operation:
1.
Choose Device Settings > Event Rules >
.
2.
Select 'Switch LHX/SHX' from the Action list.
3.
In the Operation field, select 'Turn LHX/SHX on' or 'Turn LHX/SHX
off.'
4.
In the Available LHX/SHX field, select the LHX/SHX device to be
turned on or off. To select all available LHX/SHX devices, click Select
All.
To remove any LHX/SHX device from the Selected LHX/SHX field,
click that device's
. To remove all devices, click Deselect All.
Switch Peripheral Actuator
If you have any actuator connected to the SRC, you can set up the SRC so
it automatically turns on or off the system controlled by the actuator
when a specific event occurs.
Note: For information on connecting actuators, see
DX2 Sensor
Packages
(on page 38).
Operation:
1.
Choose Device Settings > Event Rules >
.
2.
Select 'Switch peripheral actuator' from the Action list.
3.
In the Operation field, select an operation for the selected
actuator(s).
Turn on: Turns on the selected actuator(s).
Turn off: Turns off the selected actuator(s).
Содержание Raritan SRC-0100
Страница 42: ...Chapter 3 Initial Installation and Configuration 30 Number Device role Master device Slave 1 Slave 2 Slave 3...
Страница 113: ...Chapter 6 Using the Web Interface 101 4 To return to the main menu and the Dashboard page click on the top left corner...
Страница 114: ...Chapter 6 Using the Web Interface 102...
Страница 128: ...Chapter 6 Using the Web Interface 116 Go to an individual sensor s or actuator s data setup page by clicking its name...
Страница 290: ...Chapter 6 Using the Web Interface 278 If wanted you can customize the subject and content of this email in this action...
Страница 291: ...Chapter 6 Using the Web Interface 279...
Страница 301: ...Chapter 6 Using the Web Interface 289 6 Click Create to finish the creation...
Страница 311: ...Chapter 6 Using the Web Interface 299...
Страница 312: ...Chapter 6 Using the Web Interface 300 Continued...
Страница 625: ...Appendix H RADIUS Configuration Illustration 613 Note If your SRC uses PAP then select PAP...
Страница 626: ...Appendix H RADIUS Configuration Illustration 614 10 Select Standard to the left of the dialog and then click Add...
Страница 627: ...Appendix H RADIUS Configuration Illustration 615 11 Select Filter Id from the list of attributes and click Add...
Страница 630: ...Appendix H RADIUS Configuration Illustration 618 14 The new attribute is added Click OK...
Страница 631: ...Appendix H RADIUS Configuration Illustration 619 15 Click Next to continue...
Страница 661: ...Appendix I Additional SRC Information 649...


