Chapter 5: Introduction to SRC Components
73
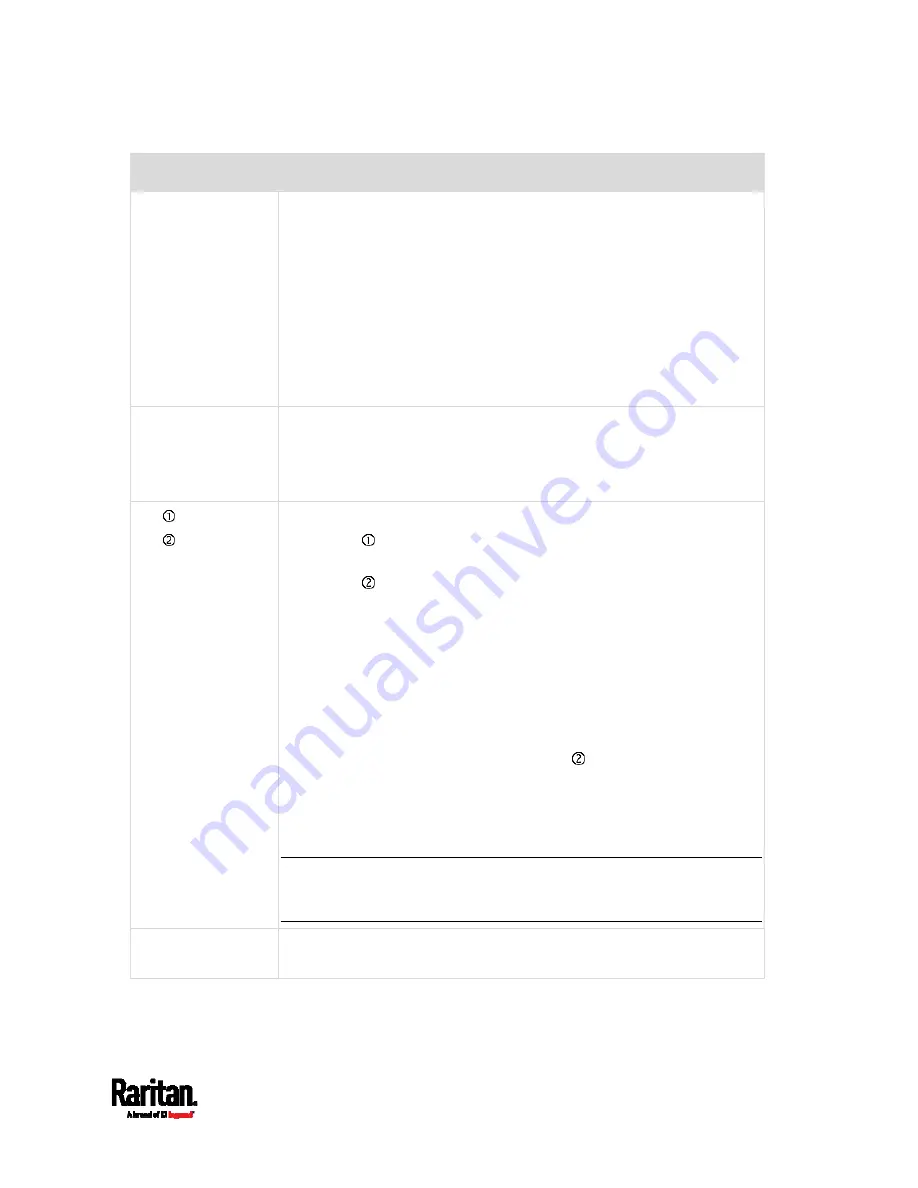
Port
Used for...
CONSOLE/
MODEM
(RJ-45)
Establishing a serial connection between the SRC and a computer or
modem.
You need a third-party RJ-45 to DB9 adapter/cable for the
connection(s). Note that the RJ-45 to DB9 adapter/cable for connecting
a computer is different from the one for connecting a modem. For
details, refer to:
RJ45-to-DB9 Cable Requirements for Computer Connections
(on
page 22)
RJ45-to-DB9 Cable Requirements for Modem Connections
(on
page 637)
SENSOR
(RJ-45)
Connection to one of the following devices:
Raritan's environmental sensor package(s).
Raritan's sensor hub, which expands the number of a sensor
port to four ports.
ETH 10/100/1000,
ETH 10/100
SRC has two Ethernet ports.
ETH 10/100/1000 (marked in
green) supports up to 1000 Mbps.
This is "ETH1".
ETH 10/100 (marked in
white) supports up to 100 Mbps. This is
"ETH2".
Connecting the SRC to your company's network via a standard network
patch cable (Cat5e/6). This connection is necessary to administer or
access the SRC remotely.
There are two small LEDs adjacent to the port:
Green indicates a physical link and activity.
Yellow indicates communications at 10/100 BaseT speeds.
Note that the yellow LED of the ETH 10/100 port has NO
function so it will not be lit regardless of the communication
status.
You can use either Ethernet port for network connection or cascading.
See
Extended Cascading with SRC Devices
(on page 29).
Note: Network connection to this port is not required if wireless
connection is preferred, or if the SRC is a slave device in the cascading
configuration.
EXPANSION
NO function now
Reserved for future use
Содержание Raritan SRC-0100
Страница 42: ...Chapter 3 Initial Installation and Configuration 30 Number Device role Master device Slave 1 Slave 2 Slave 3...
Страница 113: ...Chapter 6 Using the Web Interface 101 4 To return to the main menu and the Dashboard page click on the top left corner...
Страница 114: ...Chapter 6 Using the Web Interface 102...
Страница 128: ...Chapter 6 Using the Web Interface 116 Go to an individual sensor s or actuator s data setup page by clicking its name...
Страница 290: ...Chapter 6 Using the Web Interface 278 If wanted you can customize the subject and content of this email in this action...
Страница 291: ...Chapter 6 Using the Web Interface 279...
Страница 301: ...Chapter 6 Using the Web Interface 289 6 Click Create to finish the creation...
Страница 311: ...Chapter 6 Using the Web Interface 299...
Страница 312: ...Chapter 6 Using the Web Interface 300 Continued...
Страница 625: ...Appendix H RADIUS Configuration Illustration 613 Note If your SRC uses PAP then select PAP...
Страница 626: ...Appendix H RADIUS Configuration Illustration 614 10 Select Standard to the left of the dialog and then click Add...
Страница 627: ...Appendix H RADIUS Configuration Illustration 615 11 Select Filter Id from the list of attributes and click Add...
Страница 630: ...Appendix H RADIUS Configuration Illustration 618 14 The new attribute is added Click OK...
Страница 631: ...Appendix H RADIUS Configuration Illustration 619 15 Click Next to continue...
Страница 661: ...Appendix I Additional SRC Information 649...


