


584
You can use either the reset button or the command line interface (CLI)
to reset the SRC.
Important: Exercise caution before resetting the SRC to its factory
defaults. This erases existing information and customized settings,
such as user profiles, threshold values, and so on. Only firmware
upgrade history is retained.
Alternative:
Another method to reset it to factory defaults is to use the web interface.
See
Resetting All Settings to Factory Defaults
(on page 340).
In This Chapter
Using the Reset Button ........................................................................... 583
Using the CLI Command ......................................................................... 584
Using the Reset Button
An RS-232 serial connection to a computer is required for using the
reset button.
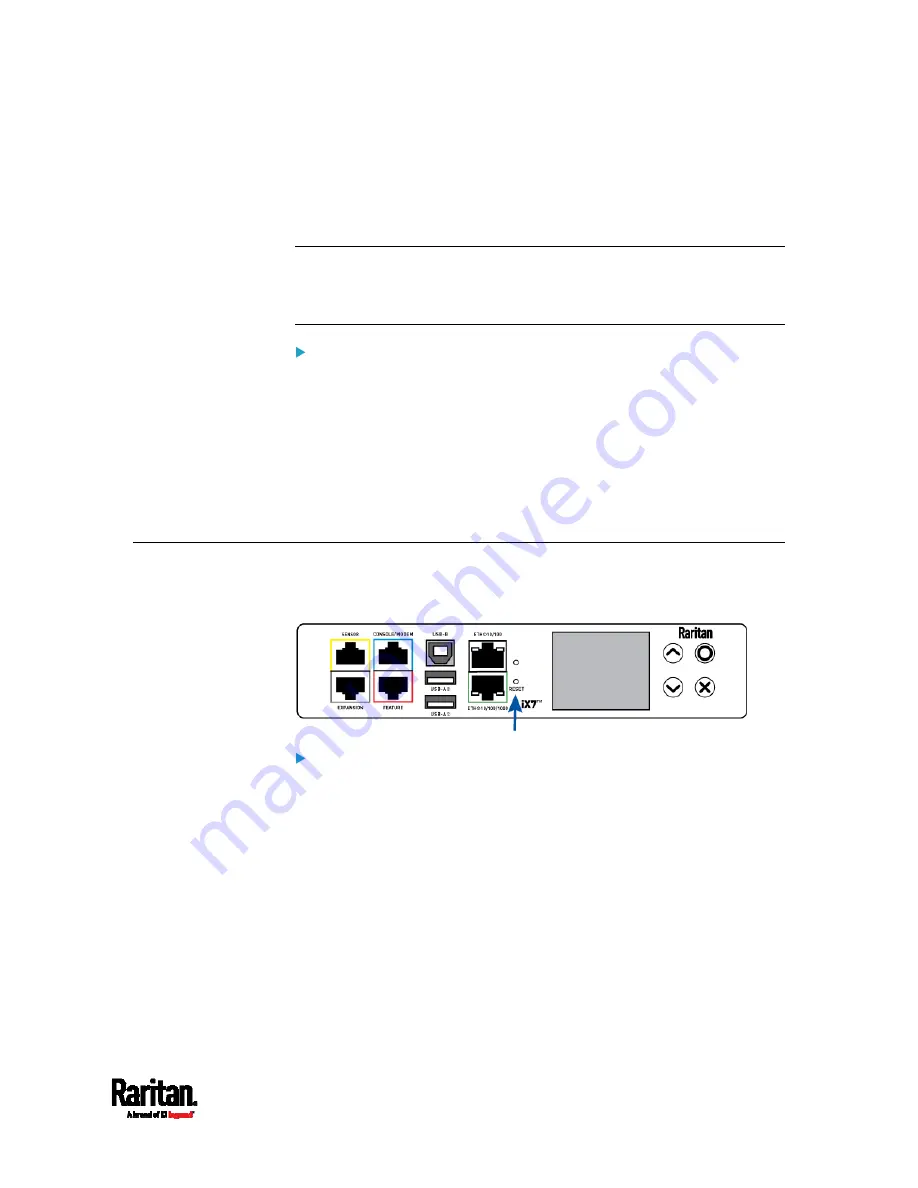
To reset to factory defaults using the reset button:
1.
Connect a computer to the SRC. See
Connecting the SRC to a
Computer
(on page 21).
2.
Launch a terminal emulation program such as Kermit or PuTTY, and
open a window on the SRC. For information on the serial port
configuration, see Step 2 of
Initial Network Configuration via CLI
(on page 657).
3.
Press (and release) the Reset button of the SRC device while
pressing the Esc key of the keyboard several times in rapid
succession. A prompt (=>) should appear after about one second.
4.
Type
defaults to reset the SRC to its factory defaults.
5.
Wait until the reset is complete.
Appendix E Resetting to Factory Defaults
Содержание Raritan SRC-0100
Страница 42: ...Chapter 3 Initial Installation and Configuration 30 Number Device role Master device Slave 1 Slave 2 Slave 3...
Страница 113: ...Chapter 6 Using the Web Interface 101 4 To return to the main menu and the Dashboard page click on the top left corner...
Страница 114: ...Chapter 6 Using the Web Interface 102...
Страница 128: ...Chapter 6 Using the Web Interface 116 Go to an individual sensor s or actuator s data setup page by clicking its name...
Страница 290: ...Chapter 6 Using the Web Interface 278 If wanted you can customize the subject and content of this email in this action...
Страница 291: ...Chapter 6 Using the Web Interface 279...
Страница 301: ...Chapter 6 Using the Web Interface 289 6 Click Create to finish the creation...
Страница 311: ...Chapter 6 Using the Web Interface 299...
Страница 312: ...Chapter 6 Using the Web Interface 300 Continued...
Страница 625: ...Appendix H RADIUS Configuration Illustration 613 Note If your SRC uses PAP then select PAP...
Страница 626: ...Appendix H RADIUS Configuration Illustration 614 10 Select Standard to the left of the dialog and then click Add...
Страница 627: ...Appendix H RADIUS Configuration Illustration 615 11 Select Filter Id from the list of attributes and click Add...
Страница 630: ...Appendix H RADIUS Configuration Illustration 618 14 The new attribute is added Click OK...
Страница 631: ...Appendix H RADIUS Configuration Illustration 619 15 Click Next to continue...
Страница 661: ...Appendix I Additional SRC Information 649...


