


Chapter 6: Using the Web Interface
311
5.
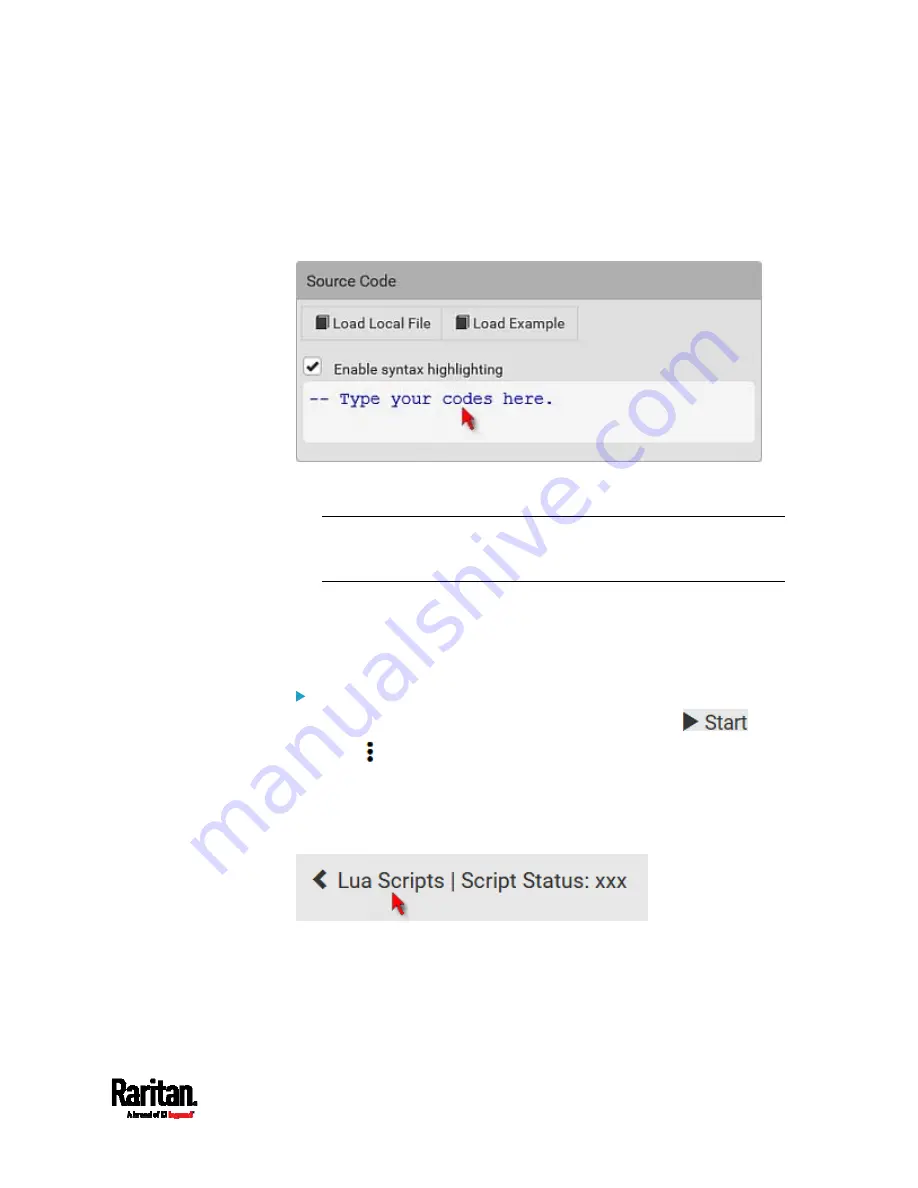
In the Source Code section, do one of the following. It is
recommended to leave the Enable Syntax Highlighting checkbox
selected unless you do not need different text colors to identify
diverse code syntaxes.
To write a Lua script, type the codes in the Source Code section.
To load an existing Lua script file, click Load Local File.
To use one of Raritan's Lua script examples, click Load Example.
Warning: The newly-loaded script will overwrite all existing codes in
the Source Code section. Therefore, do not load a new script if the
current script meets your needs.
6.
If you chose to load a script or Raritan's example in the previous step,
its codes are then displayed in the Source Code section. Double
check the codes. If needed, modify the codes to meet your needs.
7.
Click Create.
Next steps:
To execute the newly-added script immediately, click
, or
click
> Start With Arguments. See
Manually Starting or
Stopping a Script
(on page 311).
To add more scripts, first return to the scripts list by clicking "Lua
Scripts" on the top (see below) or in the
Menu
(on page 104), and
then repeat the above steps.
Содержание Raritan SRC-0100
Страница 42: ...Chapter 3 Initial Installation and Configuration 30 Number Device role Master device Slave 1 Slave 2 Slave 3...
Страница 113: ...Chapter 6 Using the Web Interface 101 4 To return to the main menu and the Dashboard page click on the top left corner...
Страница 114: ...Chapter 6 Using the Web Interface 102...
Страница 128: ...Chapter 6 Using the Web Interface 116 Go to an individual sensor s or actuator s data setup page by clicking its name...
Страница 290: ...Chapter 6 Using the Web Interface 278 If wanted you can customize the subject and content of this email in this action...
Страница 291: ...Chapter 6 Using the Web Interface 279...
Страница 301: ...Chapter 6 Using the Web Interface 289 6 Click Create to finish the creation...
Страница 311: ...Chapter 6 Using the Web Interface 299...
Страница 312: ...Chapter 6 Using the Web Interface 300 Continued...
Страница 625: ...Appendix H RADIUS Configuration Illustration 613 Note If your SRC uses PAP then select PAP...
Страница 626: ...Appendix H RADIUS Configuration Illustration 614 10 Select Standard to the left of the dialog and then click Add...
Страница 627: ...Appendix H RADIUS Configuration Illustration 615 11 Select Filter Id from the list of attributes and click Add...
Страница 630: ...Appendix H RADIUS Configuration Illustration 618 14 The new attribute is added Click OK...
Страница 631: ...Appendix H RADIUS Configuration Illustration 619 15 Click Next to continue...
Страница 661: ...Appendix I Additional SRC Information 649...


