


Chapter 6: Using the Web Interface
103
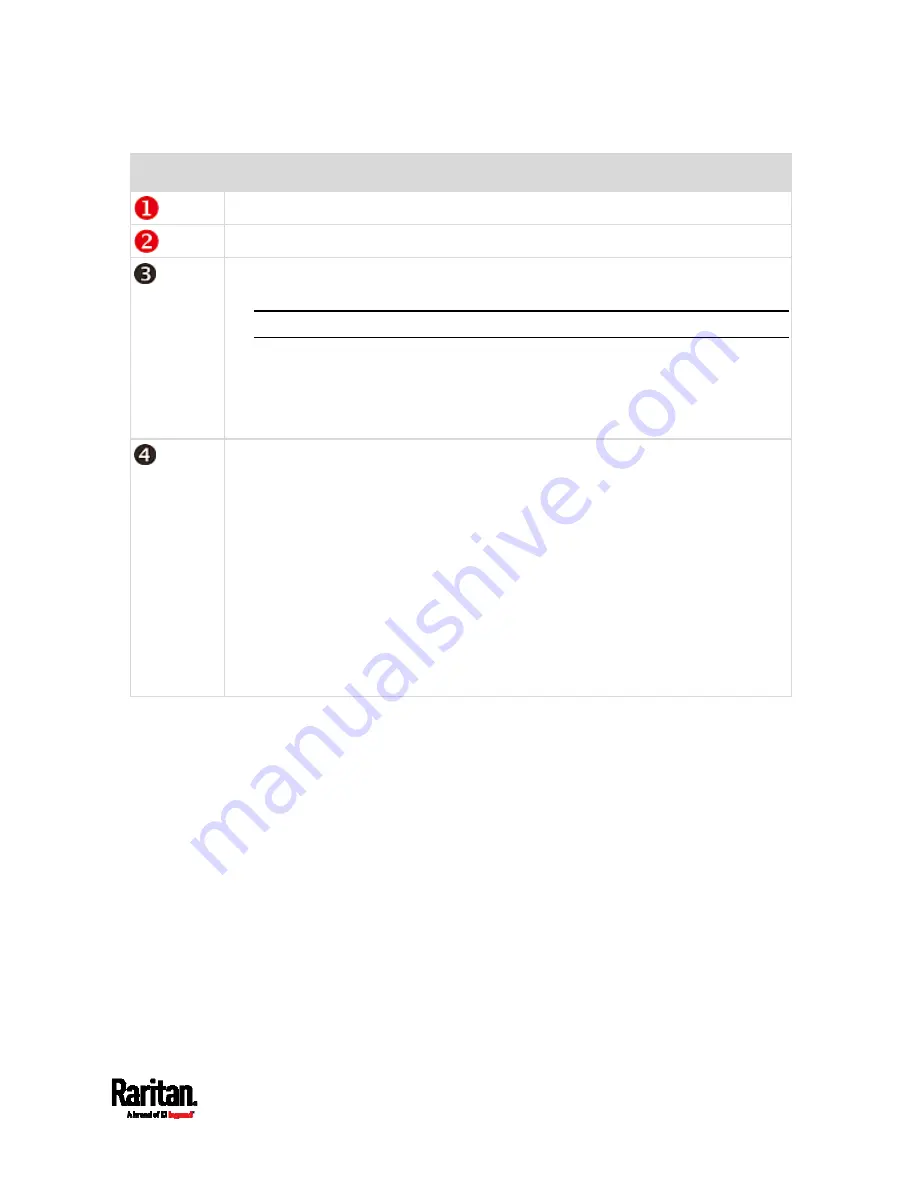
Number
Web interface element
Menu
(on page 104)
Data/setup page of the selected menu item.
Left side:
- SRC device name.
Note: To customize the device name, see
SRC
(on page 113).
Right side:
- Displayed language, which is English (EN) by default. You can change it.
- Your login name, which you can click to view your user account settings.
- Logout button.
From top to bottom --
Your SRC model.
Current firmware version.
Online Documentation: link to the online help of SRC.
- See
Browsing through the Online Help
(on page 672).
Raritan Support: link to Raritan Technical Support webpage.
Date and time of your user account's last login.
- Click Last Login to view your login history.
SRC system time, which is converted to the time zone of your computer or
mobile device.
- Click Device Time to open the Date/Time setup page.
Содержание Raritan SRC-0100
Страница 42: ...Chapter 3 Initial Installation and Configuration 30 Number Device role Master device Slave 1 Slave 2 Slave 3...
Страница 113: ...Chapter 6 Using the Web Interface 101 4 To return to the main menu and the Dashboard page click on the top left corner...
Страница 114: ...Chapter 6 Using the Web Interface 102...
Страница 128: ...Chapter 6 Using the Web Interface 116 Go to an individual sensor s or actuator s data setup page by clicking its name...
Страница 290: ...Chapter 6 Using the Web Interface 278 If wanted you can customize the subject and content of this email in this action...
Страница 291: ...Chapter 6 Using the Web Interface 279...
Страница 301: ...Chapter 6 Using the Web Interface 289 6 Click Create to finish the creation...
Страница 311: ...Chapter 6 Using the Web Interface 299...
Страница 312: ...Chapter 6 Using the Web Interface 300 Continued...
Страница 625: ...Appendix H RADIUS Configuration Illustration 613 Note If your SRC uses PAP then select PAP...
Страница 626: ...Appendix H RADIUS Configuration Illustration 614 10 Select Standard to the left of the dialog and then click Add...
Страница 627: ...Appendix H RADIUS Configuration Illustration 615 11 Select Filter Id from the list of attributes and click Add...
Страница 630: ...Appendix H RADIUS Configuration Illustration 618 14 The new attribute is added Click OK...
Страница 631: ...Appendix H RADIUS Configuration Illustration 619 15 Click Next to continue...
Страница 661: ...Appendix I Additional SRC Information 649...


