


Chapter 6: Using the Web Interface
196
To swap the master and slave device:
In the Bridging mode, you can swap the master and slave devices by
simply disconnecting ALL cascading cables from them, and then
reconnecting cascading cables. No changes to software settings are
required.
In the Port Forwarding mode, you must follow the procedure below:
a.
Access the slave device that will replace the master device, and
set its role to 'Master', and correctly set the downstream
interface.
b.
Access the master device, set its role to 'Slave'.
c.
Swap the master and slave device now.
You must disconnect the LAN cable and ALL cascading
cables connected to the two devices first before swapping
them, and then reconnecting all cables.
To change the cascading mode applied to a chain:
1.
Access the last slave device, and change its cascading mode.
If the new cascading mode is 'Port Forwarding', you must also
set its role to 'Slave'.
2.
Access the second to last, third to last and so on until the first slave
device to change their cascading modes one by one.
3.
Access the master device, and change its cascading mode.
If the new cascading mode is 'Port Forwarding', you must also
set its role to 'Master', and correctly select the downstream
interface.
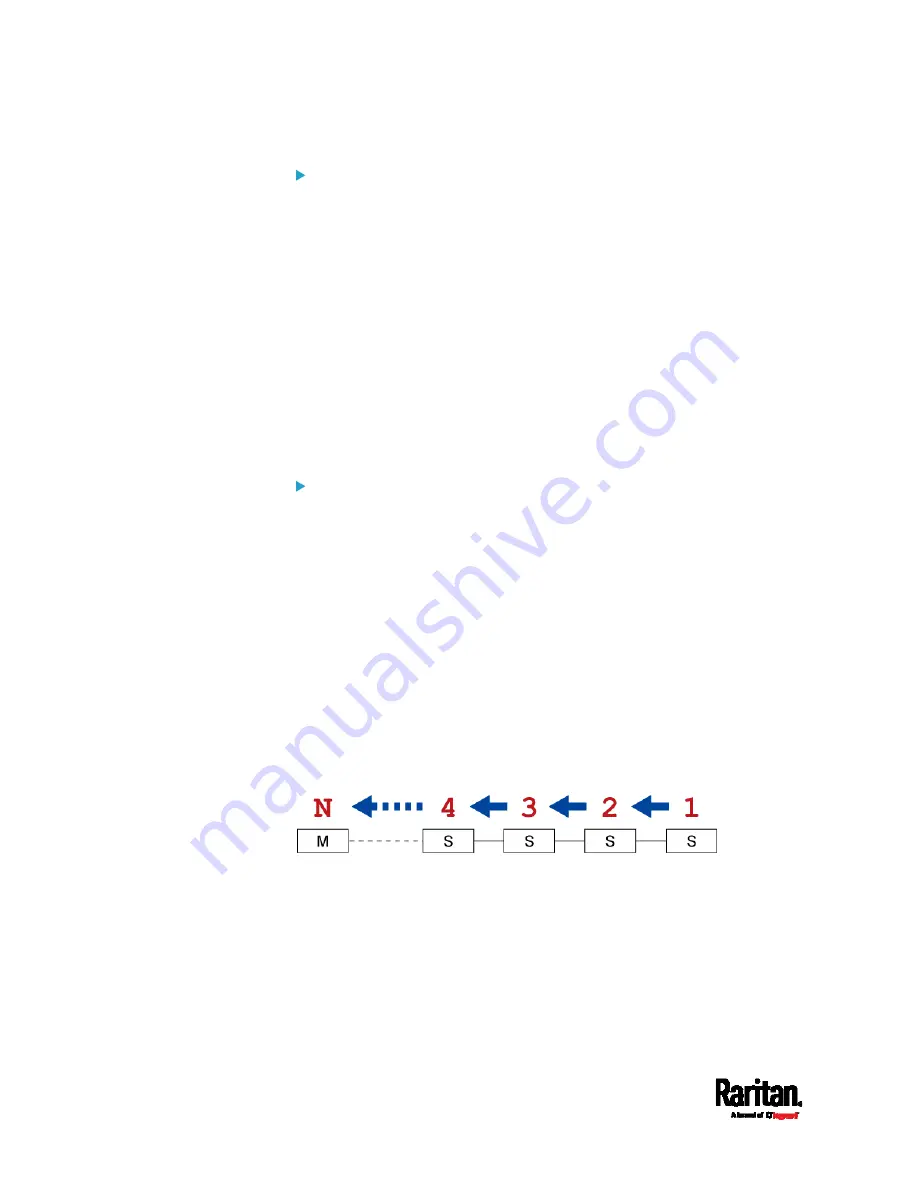
The following diagram indicates the correct sequence. 'N' is the final
one.
M = Master device
S = Slave device
Содержание Raritan SRC-0100
Страница 42: ...Chapter 3 Initial Installation and Configuration 30 Number Device role Master device Slave 1 Slave 2 Slave 3...
Страница 113: ...Chapter 6 Using the Web Interface 101 4 To return to the main menu and the Dashboard page click on the top left corner...
Страница 114: ...Chapter 6 Using the Web Interface 102...
Страница 128: ...Chapter 6 Using the Web Interface 116 Go to an individual sensor s or actuator s data setup page by clicking its name...
Страница 290: ...Chapter 6 Using the Web Interface 278 If wanted you can customize the subject and content of this email in this action...
Страница 291: ...Chapter 6 Using the Web Interface 279...
Страница 301: ...Chapter 6 Using the Web Interface 289 6 Click Create to finish the creation...
Страница 311: ...Chapter 6 Using the Web Interface 299...
Страница 312: ...Chapter 6 Using the Web Interface 300 Continued...
Страница 625: ...Appendix H RADIUS Configuration Illustration 613 Note If your SRC uses PAP then select PAP...
Страница 626: ...Appendix H RADIUS Configuration Illustration 614 10 Select Standard to the left of the dialog and then click Add...
Страница 627: ...Appendix H RADIUS Configuration Illustration 615 11 Select Filter Id from the list of attributes and click Add...
Страница 630: ...Appendix H RADIUS Configuration Illustration 618 14 The new attribute is added Click OK...
Страница 631: ...Appendix H RADIUS Configuration Illustration 619 15 Click Next to continue...
Страница 661: ...Appendix I Additional SRC Information 649...


