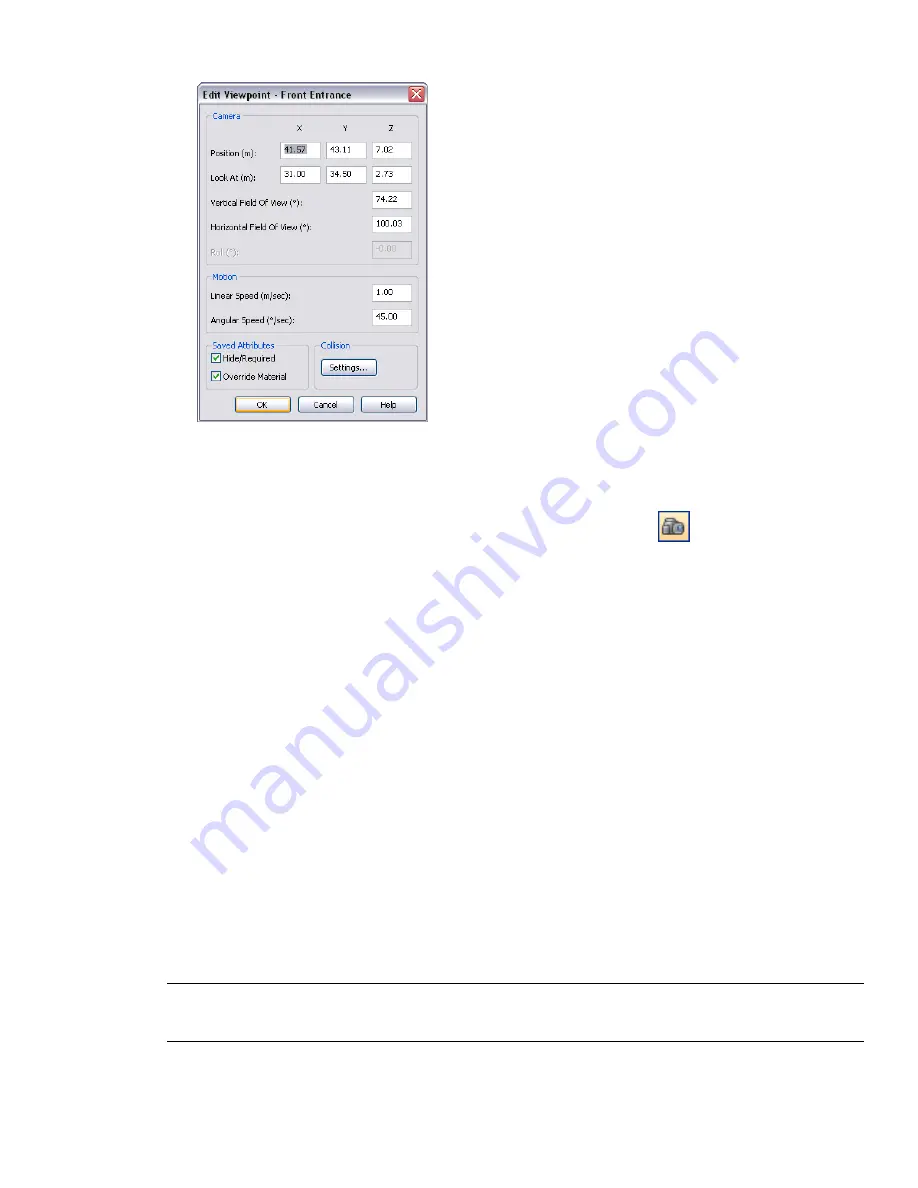
3
to adjust the viewpoint’s attributes.
4
Click OK.
To delete a viewpoint
1
If the Saved Viewpoints window is not displayed, click Saved Viewpoints
on the Workspace toolbar.
2
Right-click the viewpoint you want to remove, and click Delete.
Default Viewpoint Options
Two view attributes can be saved with a viewpoint:
■
Hide/Required - whether items are hidden or required.
■
Override Materials - the color and transparency of items.
You can set a viewpoint to save either attribute by
the viewpoint. To update changes to overridden
material or hide/required, use the Update option on the viewpoints shortcut menu. Be careful, though, as this
also updates the point of view as well, which may disrupt any redline information stored with the viewpoint.
By default these attributes are not stored with new saved viewpoints. If you do wish them to be saved by default,
then this can be set in the Options Editor.
Default collision settings can also be saved with a viewpoint, including whether collision, gravity, crouching,
and third person view are enabled.
You can set a viewpoint to save any of these settings by editing the viewpoint, in the same way as the view
attributes.
By default, all of the collision settings are disabled. If you want to save your preferred collision setting defaults,
use the Options Editor.
NOTE
When you modify the default viewpoint settings, your changes do not affect the currently opened Autodesk
Navisworks file. They are used as soon as you open a new Autodesk Navisworks file, or start a new Autodesk Navisworks
session.
To set the default view attributes
1
Click Tools
➤
Global Options.
242 | Chapter 9 Use Viewpoints and Sectioning Modes
Summary of Contents for 507B1-90A211-1301 - NavisWorks Manage 2010
Page 1: ...Autodesk Navisworks Manage 2010 User Guide March 2009 ...
Page 12: ...xii Contents ...
Page 14: ...2 Part 1 Welcome to Autodesk Navisworks Manage 2010 ...
Page 64: ...52 Chapter 3 Installation ...
Page 97: ...Get a Whole Project View 85 ...
Page 98: ...86 Part 2 Get a Whole Project View ...
Page 136: ...124 Chapter 5 Work with Files ...
Page 178: ...To toggle ViewCube Click View Head Up Display ViewCube 166 Chapter 6 Explore Your Model ...
Page 262: ...250 Chapter 9 Use Viewpoints and Sectioning Modes ...
Page 270: ...258 Chapter 11 Work Within a Team ...
Page 282: ...270 Chapter 12 Share Data ...
Page 346: ...334 Chapter 14 Create Photorealistic Visualizations ...
Page 460: ...448 Chapter 17 Autodesk Navisworks Reference ...
Page 466: ...454 Glossary ...


