Export a Rendered Image
Scenes rendered in Presenter can be exported out as images, so they can be used in presentations, on websites,
in print, and so on. For more information, see “
Photo-Realistic Scene Rendering
” on page 301.
Export an Animation
To export an animation to an .avi file, or a sequence of image files
1
Click File
➤
Export
➤
Animation.
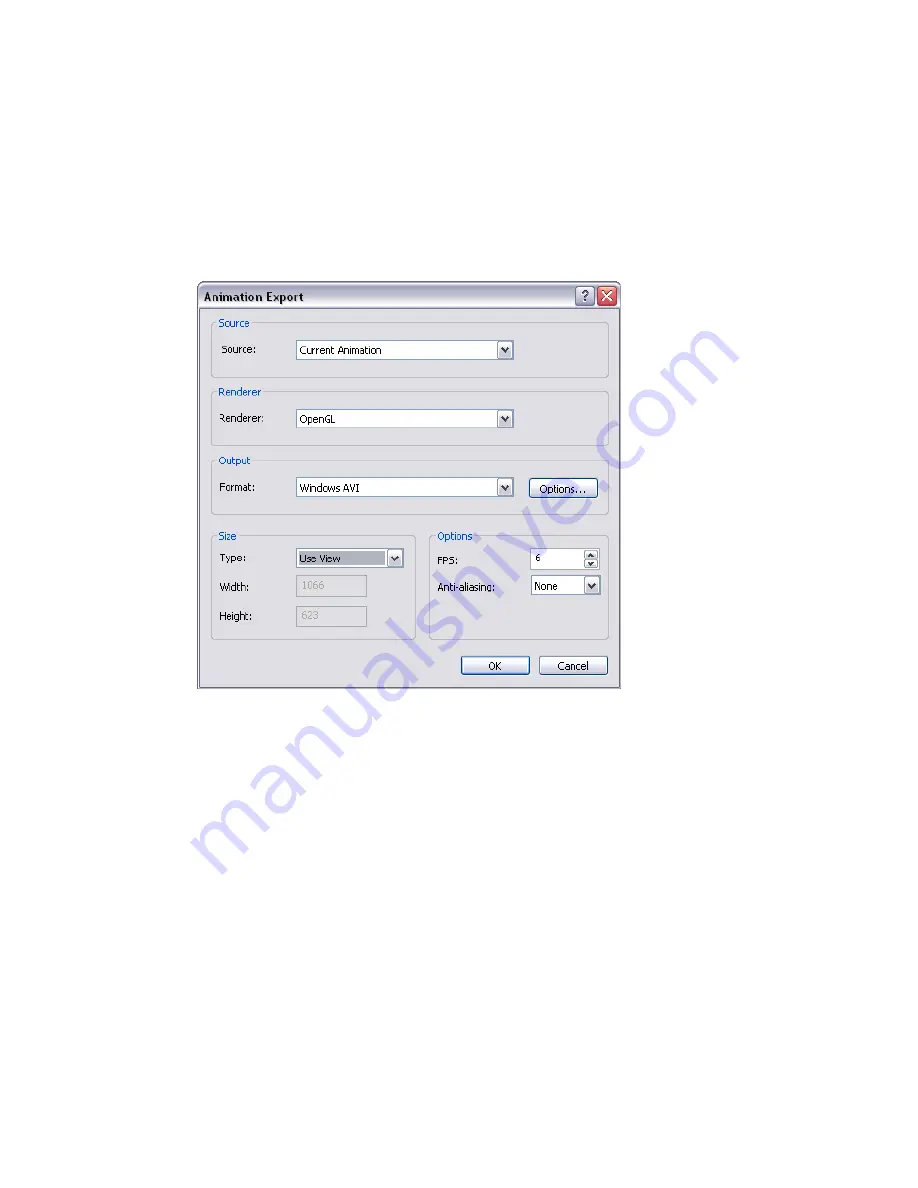
The Animation Export dialog box opens.
2
To export the currently selected viewpoint animation, select Current Animation in the Source box.
To export the currently selected object animation, select Current Animator Scene in the Source box.
To export a TimeLiner sequence, select TimeLiner Simulation in the Source box.
3
Set up the rest of the boxes in the Animation Export dialog box, and click OK. For more information, see
“
” on page 446.
4
In the Save As dialog box, enter a new filename and location, if you want to change from those suggested.
5
Click Save.
Viewpoints Files
Viewpoints can be exported from Autodesk Navisworks to an .xml file.
These viewpoints contain all associated data, including camera positions, sections, hidden items and material
overrides, redlines, comments, tags and collision detection settings.
Once the viewpoint data is exported to this text-based file format, it can either be imported into other Autodesk
Navisworks sessions, or it can be accessed and used in other applications. For example, you may want to set up
the same viewpoints in your CAD application.
268 | Chapter 12 Share Data
Summary of Contents for 507B1-90A211-1301 - NavisWorks Manage 2010
Page 1: ...Autodesk Navisworks Manage 2010 User Guide March 2009 ...
Page 12: ...xii Contents ...
Page 14: ...2 Part 1 Welcome to Autodesk Navisworks Manage 2010 ...
Page 64: ...52 Chapter 3 Installation ...
Page 97: ...Get a Whole Project View 85 ...
Page 98: ...86 Part 2 Get a Whole Project View ...
Page 136: ...124 Chapter 5 Work with Files ...
Page 178: ...To toggle ViewCube Click View Head Up Display ViewCube 166 Chapter 6 Explore Your Model ...
Page 262: ...250 Chapter 9 Use Viewpoints and Sectioning Modes ...
Page 270: ...258 Chapter 11 Work Within a Team ...
Page 282: ...270 Chapter 12 Share Data ...
Page 346: ...334 Chapter 14 Create Photorealistic Visualizations ...
Page 460: ...448 Chapter 17 Autodesk Navisworks Reference ...
Page 466: ...454 Glossary ...


