2
Use the File Options dialog box to customize various file settings.
3
Click OK to save the changes.
See also:
■
“
” on page 401
To configure global options
1
Click Tools
➤
Global Options.
2
In the Options Editor, expand the desired node, and click the option you want to configure.
3
Click OK to save the changes.
See also:
■
“
” on page 405
To export global options
1
Click Tools
➤
Global Options.
2
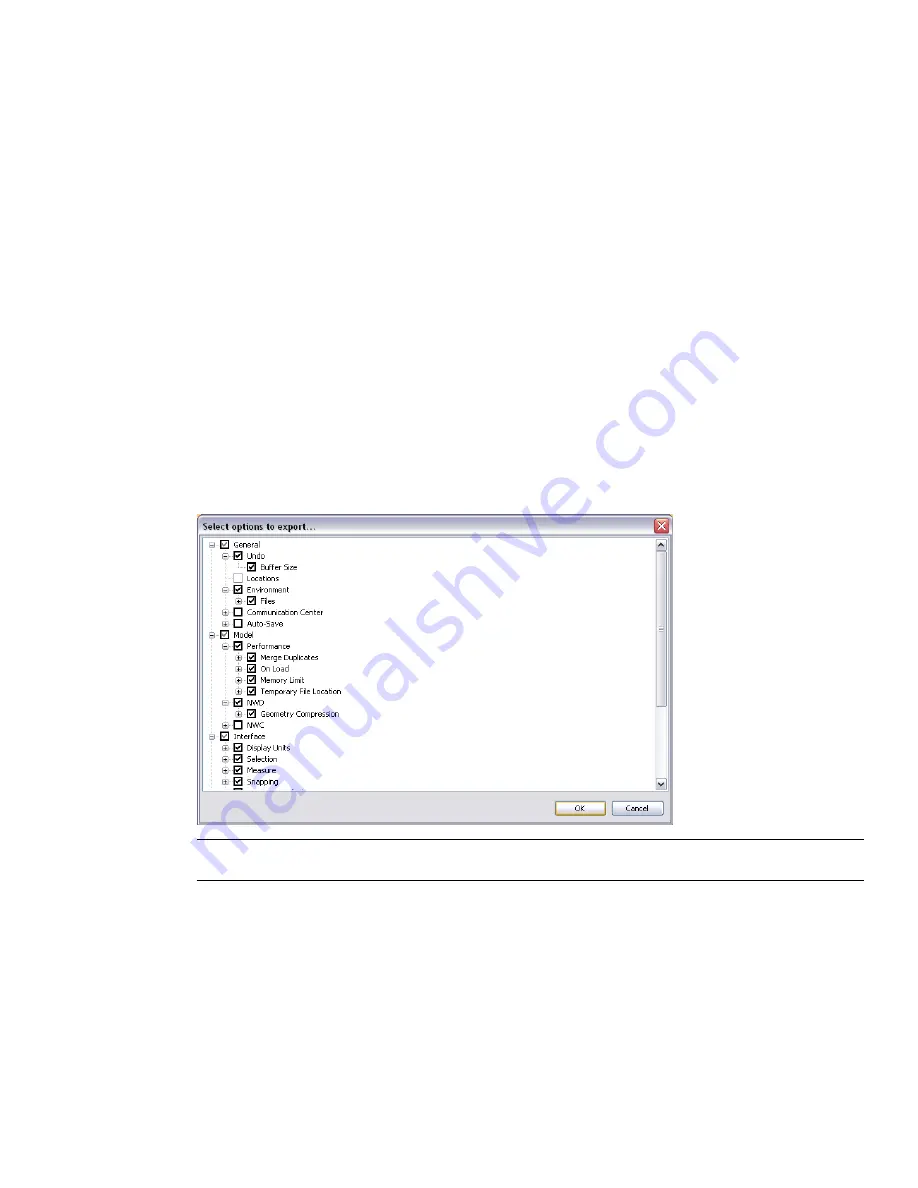
In the Options Editor, click the Export button.
3
In the Select Options to Export dialog box, select the check boxes for all options you want to be exported
(or 'serialized'). If an option cannot be exported, it is greyed out.
TIP
To quickly select/deselect all options for a given category, use the top-level check boxes. For example, selecting
the General check box, instantly selects all options under this node.
4
Click OK to export the selected settings.
5
In the Save As dialog box, enter a name for the settings file. You can also select the name of an existing
settings file to overwrite it with your modified configuration.
80 | Chapter 4 Quick Start
Summary of Contents for 507B1-90A211-1301 - NavisWorks Manage 2010
Page 1: ...Autodesk Navisworks Manage 2010 User Guide March 2009 ...
Page 12: ...xii Contents ...
Page 14: ...2 Part 1 Welcome to Autodesk Navisworks Manage 2010 ...
Page 64: ...52 Chapter 3 Installation ...
Page 97: ...Get a Whole Project View 85 ...
Page 98: ...86 Part 2 Get a Whole Project View ...
Page 136: ...124 Chapter 5 Work with Files ...
Page 178: ...To toggle ViewCube Click View Head Up Display ViewCube 166 Chapter 6 Explore Your Model ...
Page 262: ...250 Chapter 9 Use Viewpoints and Sectioning Modes ...
Page 270: ...258 Chapter 11 Work Within a Team ...
Page 282: ...270 Chapter 12 Share Data ...
Page 346: ...334 Chapter 14 Create Photorealistic Visualizations ...
Page 460: ...448 Chapter 17 Autodesk Navisworks Reference ...
Page 466: ...454 Glossary ...


