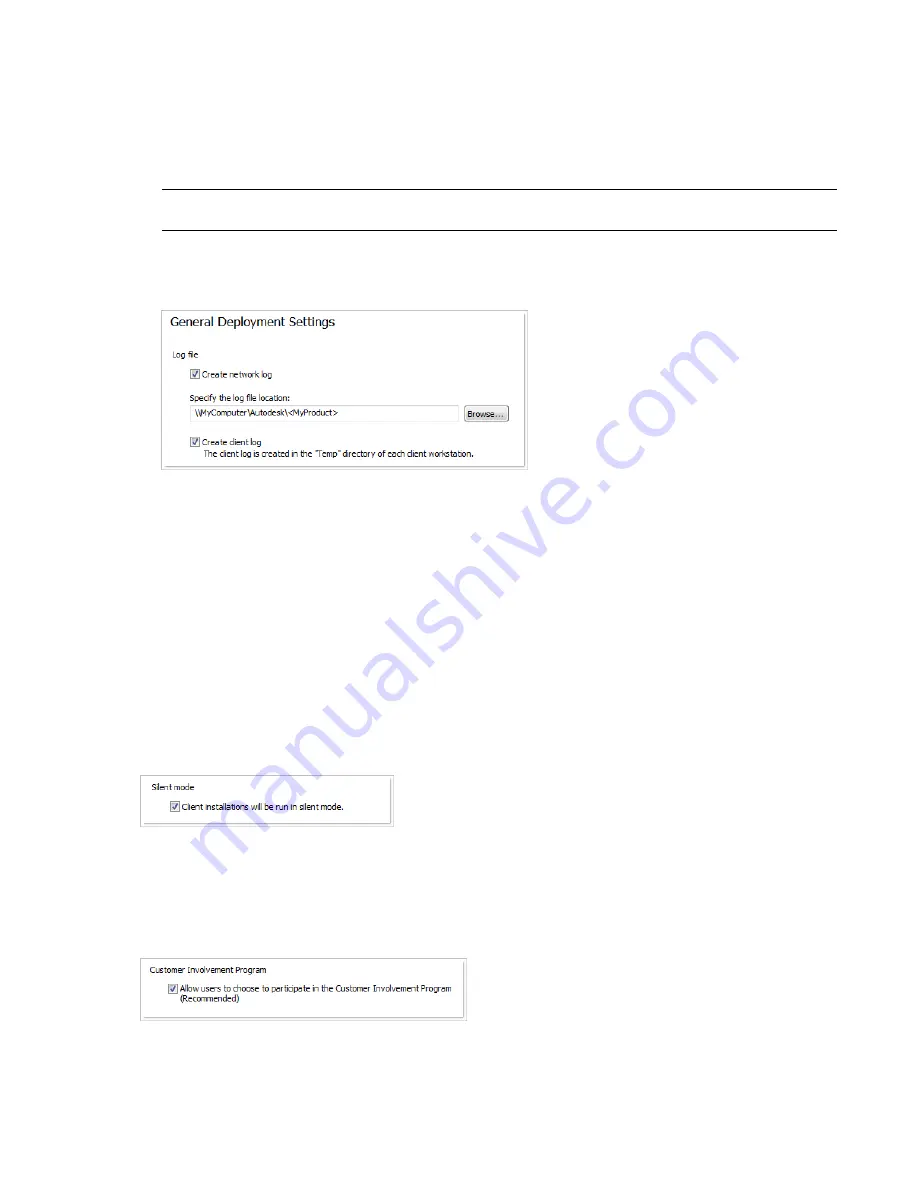
file. The log lists the user name, workstation name, and the status of the installation. Refer to this file for
status information and details about problems that users encountered during installation (for example, low
disc space or inadequate permissions).
The network log is named with the same name you chose for your deployment. You can specify where the
log file is created by entering either a valid UNC (universal naming convention) path or hard-coded path on
your network, for example
\\MyComputer\Autodesk\<Autodesk product>
. Users should use their actual computer
name in place of
MyComputer
.
NOTE
The folder where the network log resides must be a shared folder where users who install the program have
Change permissions. Otherwise, successes or failures for user installations cannot be written to the log file.
■
Client log
. The client log contains detailed installation information for each workstation. This information
may be useful in diagnosing installation problems. The client log is located in the %Temp% directory of each
client workstation.
To specify a log file location
1
While creating a deployment, on the General Deployment Settings page, select the check box next to the
Create Network Log box. Enter the name of the folder where you want the network log to be located.
2
If you want to create a client log, select the Create Client Log option.
3
Click Next.
What Is Silent Mode?
When silent mode is active and a user initiates the deployment, the installation proceeds without any explicit
user input.
No dialog boxes are presented that require interaction from the user. This includes all error and warning dialog
boxes. Check the log file for errors that may occur in the event of installation problems.
Customer Involvement Program (CIP)
If you choose to have your clients participate in the Customer Involvement Program, Autodesk Navisworks
Manage 2010 will automatically send Autodesk information about system configuration, what features you use
most, any problems that you encounter, and other information helpful to the future direction of the product.
Set Up a Deployment | 37
Summary of Contents for 507B1-90A211-1301 - NavisWorks Manage 2010
Page 1: ...Autodesk Navisworks Manage 2010 User Guide March 2009 ...
Page 12: ...xii Contents ...
Page 14: ...2 Part 1 Welcome to Autodesk Navisworks Manage 2010 ...
Page 64: ...52 Chapter 3 Installation ...
Page 97: ...Get a Whole Project View 85 ...
Page 98: ...86 Part 2 Get a Whole Project View ...
Page 136: ...124 Chapter 5 Work with Files ...
Page 178: ...To toggle ViewCube Click View Head Up Display ViewCube 166 Chapter 6 Explore Your Model ...
Page 262: ...250 Chapter 9 Use Viewpoints and Sectioning Modes ...
Page 270: ...258 Chapter 11 Work Within a Team ...
Page 282: ...270 Chapter 12 Share Data ...
Page 346: ...334 Chapter 14 Create Photorealistic Visualizations ...
Page 460: ...448 Chapter 17 Autodesk Navisworks Reference ...
Page 466: ...454 Glossary ...


