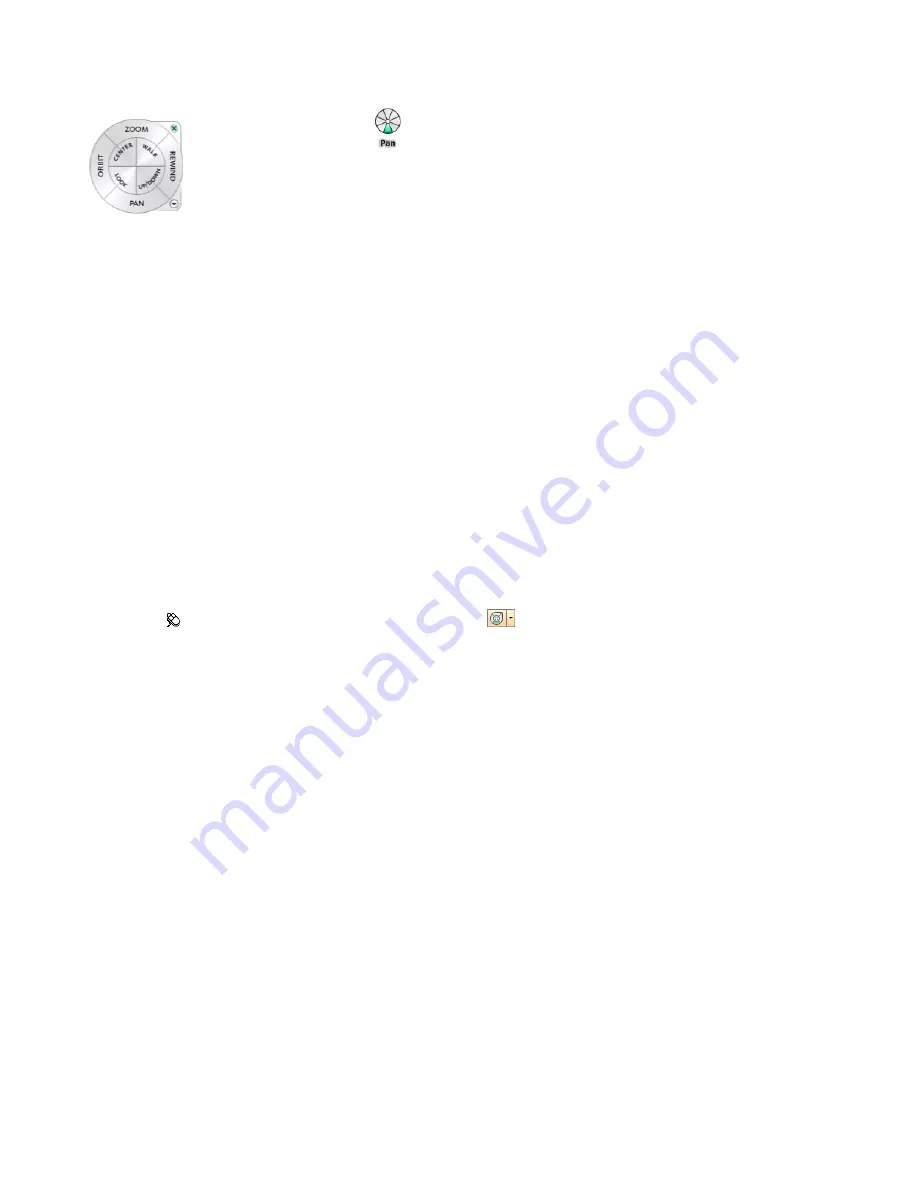
big wheel is larger than the cursor, and labels are shown on the wheel wedges. The mini wheel is about the same
size as the cursor, and labels are not displayed on the wheel wedges.
Mini
Full
Big Full Naviga-
tion Wheel
Navig-
ation
Wheel
The size of a wheel controls how large or small the wedges and labels appear on the wheel; the opacity level
controls the visibility of the objects in the model behind the wheel.
Control Tooltips for Wheels and Messages for Tools
Tooltips are displayed for each button on a wheel as the cursor is moved over them. The tooltips appear below
the wheel and identify what action will be performed if the wedge or button is clicked.
Similar to tooltips, tool messages and cursor text are displayed when you use one of the navigation tools from
a wheel. Tool messages are displayed when a navigation tool is active; they provide basic instructions about
using the tool. Tool cursor text displays the name of the active navigation tool near the cursor. Disabling tool
messages and cursor text only affects the messages that are displayed when using the mini wheels or the big Full
Navigation wheel.
To display a wheel
1
Click View
➤
SteeringWheels.
2
Click the wheel you want to display, for example Full Navigation Wheel.
Toolbar: Navigation Mode
➤
SteeringWheels
To close a wheel
Use one of the following methods to close a wheel:
■
Press
SHIFT
+
W
■
Click the Close button.
■
Right-click the wheel, and click Close Wheel.
To change the size of a wheel
1
Display a wheel.
2
Right-click the wheel, and click SteeringWheels Options.
3
In the Options Editor, the SteeringWheels page under the Interface node, select an option from the Size
drop-down list in the Big Wheels or Mini Wheels area.
4
Click OK.
To change the opacity of a wheel
1
Display a wheel.
2
Right-click the wheel, and click SteeringWheels Options.
3
In the Options Editor, the SteeringWheels page under the Interface node, select an option from the Opacity
drop-down list in the Big Wheels or Mini Wheels area.
134 | Chapter 6 Explore Your Model
Summary of Contents for 507B1-90A211-1301 - NavisWorks Manage 2010
Page 1: ...Autodesk Navisworks Manage 2010 User Guide March 2009 ...
Page 12: ...xii Contents ...
Page 14: ...2 Part 1 Welcome to Autodesk Navisworks Manage 2010 ...
Page 64: ...52 Chapter 3 Installation ...
Page 97: ...Get a Whole Project View 85 ...
Page 98: ...86 Part 2 Get a Whole Project View ...
Page 136: ...124 Chapter 5 Work with Files ...
Page 178: ...To toggle ViewCube Click View Head Up Display ViewCube 166 Chapter 6 Explore Your Model ...
Page 262: ...250 Chapter 9 Use Viewpoints and Sectioning Modes ...
Page 270: ...258 Chapter 11 Work Within a Team ...
Page 282: ...270 Chapter 12 Share Data ...
Page 346: ...334 Chapter 14 Create Photorealistic Visualizations ...
Page 460: ...448 Chapter 17 Autodesk Navisworks Reference ...
Page 466: ...454 Glossary ...


