Shortcut Menu
You can display a shortcut menu for any item in the tree by right-clicking the item. The following commands
are available on the shortcut menu whenever they are applicable:
Purpose
Command
Adds a new script to the tree view.
Add New Script
Adds a folder to the tree view. Folders can
hold scripts and other folders.
Add New Folder
Enables you to rename the currently selec-
ted item in the tree view.
Rename Item
Deletes the currently selected item in the
tree view.
Delete Item
Selects the Active check box for the cur-
rently selected item in the tree view. Only
active scripts will be executed.
Activate
Clears the Active check box for the cur-
rently selected item in the tree view. Only
active scripts will be executed.
Deactivate
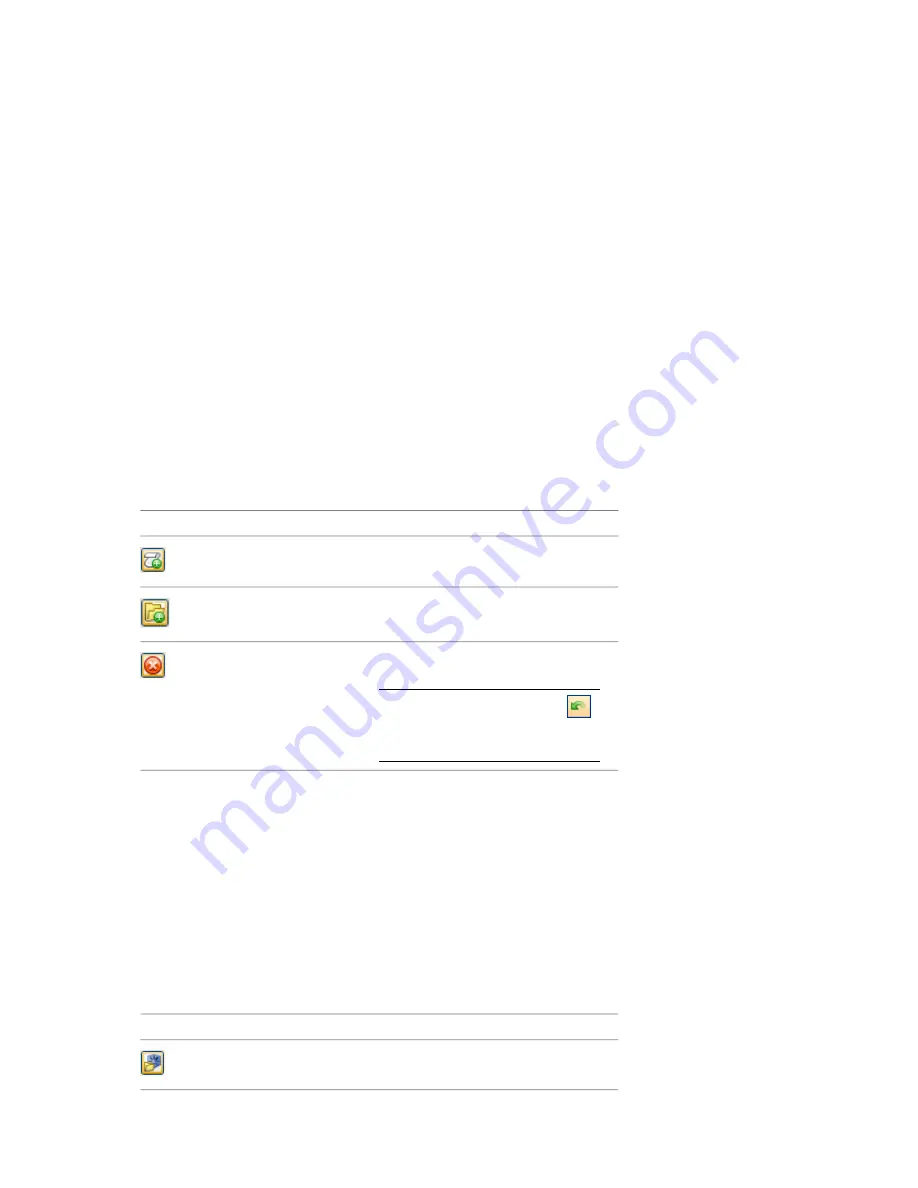
Icons
Purpose
Icon
Adds new scripts to the tree view.
Adds new folders to the tree view.
Deletes the currently selected item in the
tree view.
NOTE
If you made a mistake, click
on the Standard toolbar to restore the de-
leted item.
Check Boxes
Active
Use this check box to specify which scripts you want to use. Only active scripts are executed.
If you organized your scripts into folders, you can quickly turn the scripts on and off by using the Active check
box next to the top-level folder.
The Events View
The events view shows all events associated with the currently selected script.
Use the events view to define, manage, and test events.
Icons
Purpose
Icon
Adds start events.
Scripter Window | 279
Summary of Contents for 507B1-90A211-1301 - NavisWorks Manage 2010
Page 1: ...Autodesk Navisworks Manage 2010 User Guide March 2009 ...
Page 12: ...xii Contents ...
Page 14: ...2 Part 1 Welcome to Autodesk Navisworks Manage 2010 ...
Page 64: ...52 Chapter 3 Installation ...
Page 97: ...Get a Whole Project View 85 ...
Page 98: ...86 Part 2 Get a Whole Project View ...
Page 136: ...124 Chapter 5 Work with Files ...
Page 178: ...To toggle ViewCube Click View Head Up Display ViewCube 166 Chapter 6 Explore Your Model ...
Page 262: ...250 Chapter 9 Use Viewpoints and Sectioning Modes ...
Page 270: ...258 Chapter 11 Work Within a Team ...
Page 282: ...270 Chapter 12 Share Data ...
Page 346: ...334 Chapter 14 Create Photorealistic Visualizations ...
Page 460: ...448 Chapter 17 Autodesk Navisworks Reference ...
Page 466: ...454 Glossary ...


