H
The hour in 24-hour clock format. Single digit hours will NOT have a leading zero.
HH
The hour in 24-hour clock format. Single digit hour will have a leading zero.
m, %m
The minute. Single-digit minutes will NOT have a leading zero.
mm
The minute. Single-digit minutes will have a leading zero.
s, %s
The second. Single-digit seconds will NOT have a leading zero.
ss
The second. Single-digit seconds will have a leading zero.
t, %t
The first character of the AM/PM designator, if any.
tt
The AM/PM designator, if any.
z
The GMT time zone offset ("+" or "-" followed by the hour only). Single-digit hours will NOT have a leading
zero.
zz
The time zone offset. Single digit hours will have a leading zero.
zzz
The full time zone offset in hours and minutes. Single digit hours and minutes will have leading zeros. For
example, "-8:00".
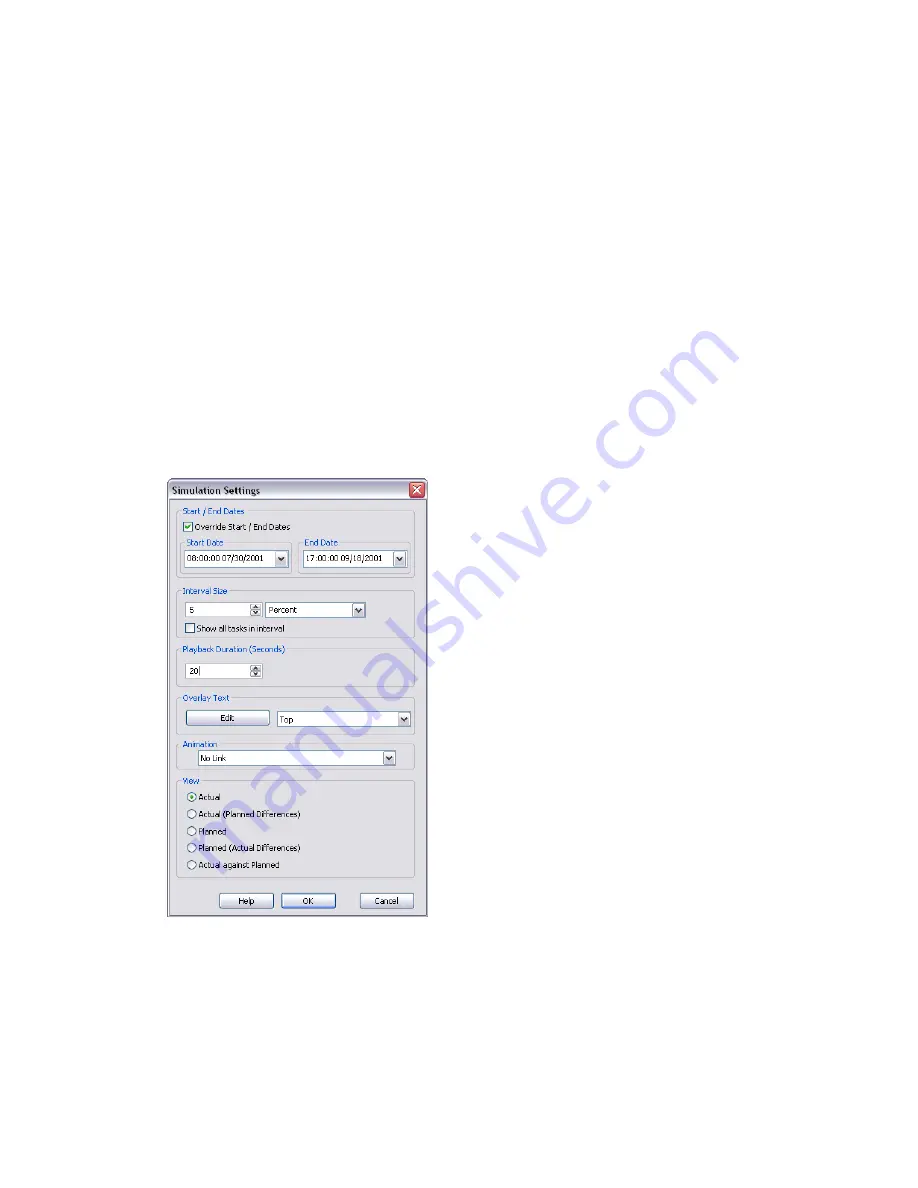
Simulation Settings Dialog Box
The Settings button on the Simulate tab provides access to the Simulation Settings dialog box.
It is possible to override the Start and End dates that the simulation runs between. Selecting the Override Start/End
dates check box enables the date boxes and allows you to choose the start and end dates. By doing this, you can
simulate a small sub-section of the overall project. The dates will be shown on the Simulate tab. These dates will
also be used when exporting animations.
You can define the Interval Size to use when stepping through the simulation using the playback controls. The
interval size can be set either as a percentage of the overall simulation duration or to an absolute number of days
or weeks, and so on.
Use the drop-down list to select the interval unit, then use the Up and Down arrow buttons to increase or decrease
the interval size.
346 | Chapter 15 Simulate Construction Scheduling
Summary of Contents for 507B1-90A211-1301 - NavisWorks Manage 2010
Page 1: ...Autodesk Navisworks Manage 2010 User Guide March 2009 ...
Page 12: ...xii Contents ...
Page 14: ...2 Part 1 Welcome to Autodesk Navisworks Manage 2010 ...
Page 64: ...52 Chapter 3 Installation ...
Page 97: ...Get a Whole Project View 85 ...
Page 98: ...86 Part 2 Get a Whole Project View ...
Page 136: ...124 Chapter 5 Work with Files ...
Page 178: ...To toggle ViewCube Click View Head Up Display ViewCube 166 Chapter 6 Explore Your Model ...
Page 262: ...250 Chapter 9 Use Viewpoints and Sectioning Modes ...
Page 270: ...258 Chapter 11 Work Within a Team ...
Page 282: ...270 Chapter 12 Share Data ...
Page 346: ...334 Chapter 14 Create Photorealistic Visualizations ...
Page 460: ...448 Chapter 17 Autodesk Navisworks Reference ...
Page 466: ...454 Glossary ...


