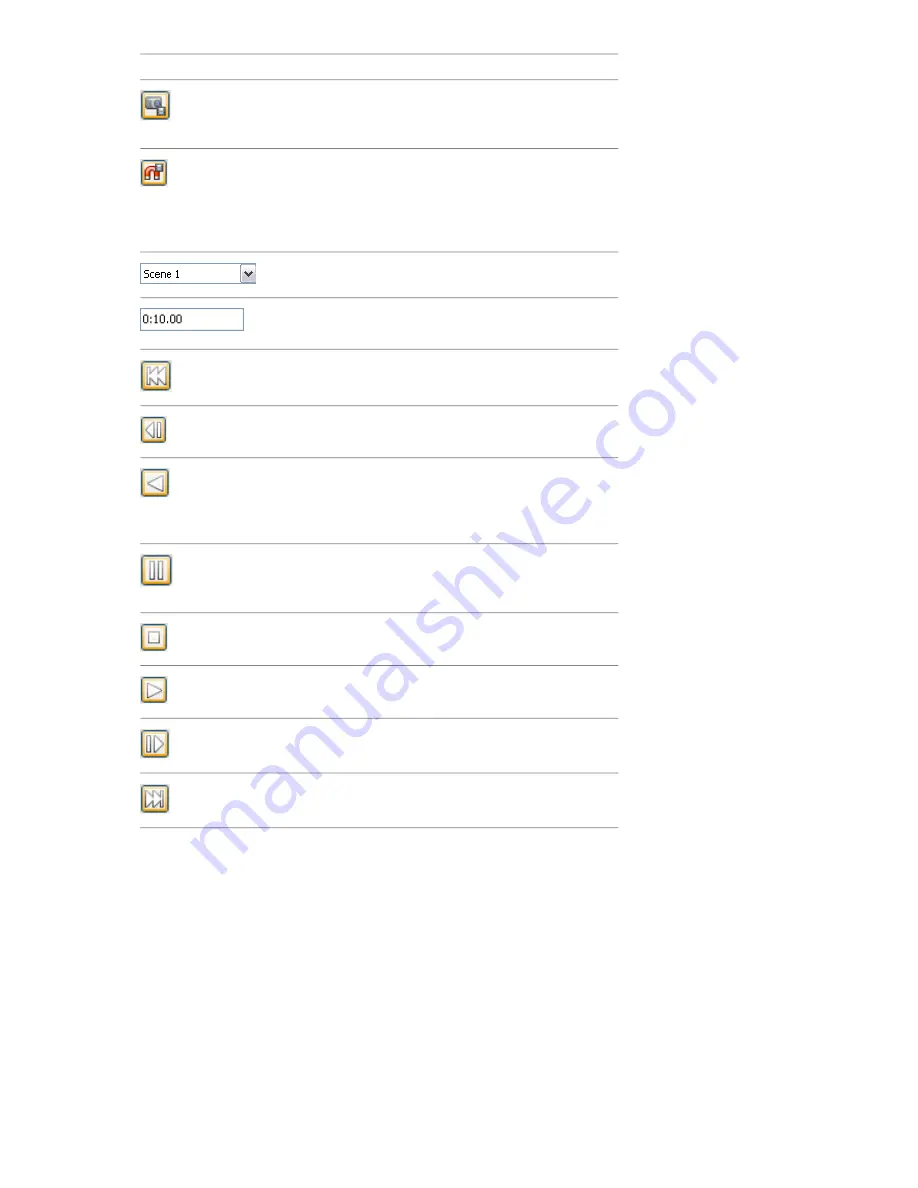
Purpose
Control
Takes a snapshot of the current change to
the model as a new keyframe in the
timeline view.
Enables/disables snapping. Snapping only
comes into effect when moving objects by
dragging the gizmos in the Scene Area,
and has no effect on numerical entry or
keyboard control.
Selects the active scene.
Controls the current position of the time
slider in the timeline view.
Rewinds the animation back to the begin-
ning.
Steps one second backwards.
Plays the animation backwards from the
end point to the start, and then stops. This
does not alter the direction that the anim-
ated elements face.
Pauses the animation at the point you press
it at. To continue playing from where you
paused, click Play again.
Stops the animation playing and rewinds
it back to the beginning.
Plays the animation forward from the
starting point to the end, then stops.
Steps one second forwards.
Fast forwards the animation to the end.
The Animator Tree View
The Animator tree view lists all scenes and scene components in a hierarchical list view.
Use it to create and manage animation scenes.
Hierarchical List
You can use the Animator tree view to create and manage your animation scenes. The scene trees display the
scene components such as animation sets, cameras, and section planes in a hierarchical structure.
To work with an item in the tree view, you must first select it.
Selecting a scene component in the tree view selects all the elements contained within that component in the
Scene Area. For example, selecting an animation set in the tree view automatically selects all geometry objects
contained within that animation set.
Animator Window | 273
Summary of Contents for 507B1-90A211-1301 - NavisWorks Manage 2010
Page 1: ...Autodesk Navisworks Manage 2010 User Guide March 2009 ...
Page 12: ...xii Contents ...
Page 14: ...2 Part 1 Welcome to Autodesk Navisworks Manage 2010 ...
Page 64: ...52 Chapter 3 Installation ...
Page 97: ...Get a Whole Project View 85 ...
Page 98: ...86 Part 2 Get a Whole Project View ...
Page 136: ...124 Chapter 5 Work with Files ...
Page 178: ...To toggle ViewCube Click View Head Up Display ViewCube 166 Chapter 6 Explore Your Model ...
Page 262: ...250 Chapter 9 Use Viewpoints and Sectioning Modes ...
Page 270: ...258 Chapter 11 Work Within a Team ...
Page 282: ...270 Chapter 12 Share Data ...
Page 346: ...334 Chapter 14 Create Photorealistic Visualizations ...
Page 460: ...448 Chapter 17 Autodesk Navisworks Reference ...
Page 466: ...454 Glossary ...


