■
Linking to TimeLiner to have different TimeLiner tasks trigger animations that depend on each other (e.g. one task moves
crane to a specific point, another task moves arm of crane).
■
Real-time collision checking where you turn it on, play an animation and have animation stop when moving object first
hits something.
Overview of the Animator Tool
The Animator and Scripter windows are the two dockable windows that are used to create and edit object
animation in Autodesk Navisworks Manage 2010.
Animator Window
Use the Animator window to create animated objects in your model.
Menu: Tools
➤
Animator
Toolbar: Workspace
➤
Animator
The Animator Toolbar
The Animator toolbar is located at the top of the Animator window.
Use this toolbar to create, edit and play animations.
Purpose
Control
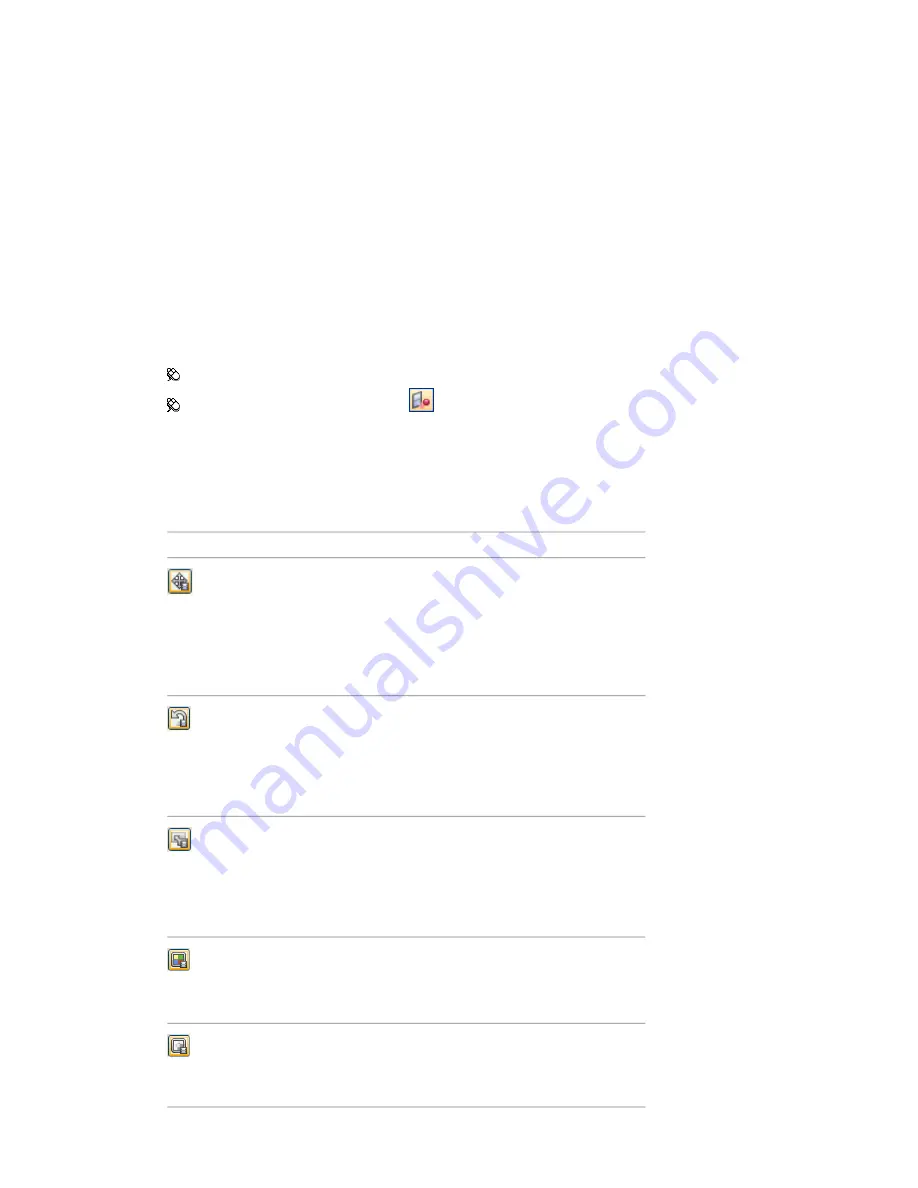
Puts Animator into translation mode. The
translation gizmo is displayed in the Scene
Area, and enables you to modify the posi-
tion of the geometry objects. This mode
remains active until you select a different
object manipulation mode from the tool-
bar.
Puts Animator into rotation mode. The ro-
tation gizmo is displayed in the Scene Area,
and enables you to modify the rotation of
the geometry objects. This mode remains
active until you select a different object
manipulation mode from the toolbar.
Puts Animator into scale mode. The scaling
gizmo is displayed in the Scene Area, and
enables you to modify the size of the geo-
metry objects. This mode remains active
until you select a different object manipu-
lation mode from the toolbar.
Puts Animator into color mode. A color
palette is shown in the Manual Entry bar,
and enables you to modify the color of the
geometry objects.
Puts Animator into transparency mode. A
transparency slider is shown in the Manual
Entry bar, and enables you to modify the
transparency of the geometry objects.
272 | Chapter 13 Animate Objects
Summary of Contents for 507B1-90A211-1301 - NavisWorks Manage 2010
Page 1: ...Autodesk Navisworks Manage 2010 User Guide March 2009 ...
Page 12: ...xii Contents ...
Page 14: ...2 Part 1 Welcome to Autodesk Navisworks Manage 2010 ...
Page 64: ...52 Chapter 3 Installation ...
Page 97: ...Get a Whole Project View 85 ...
Page 98: ...86 Part 2 Get a Whole Project View ...
Page 136: ...124 Chapter 5 Work with Files ...
Page 178: ...To toggle ViewCube Click View Head Up Display ViewCube 166 Chapter 6 Explore Your Model ...
Page 262: ...250 Chapter 9 Use Viewpoints and Sectioning Modes ...
Page 270: ...258 Chapter 11 Work Within a Team ...
Page 282: ...270 Chapter 12 Share Data ...
Page 346: ...334 Chapter 14 Create Photorealistic Visualizations ...
Page 460: ...448 Chapter 17 Autodesk Navisworks Reference ...
Page 466: ...454 Glossary ...


