4
Browse to the Autodesk Navisworks installation directory, for example:
C:\Program
Files\Autodesk\Navisworks Manage 2010\avatars\my_new_folder_name
.
5
Type in the new name for your avatar file, and click Save.
6
Restart Autodesk Navisworks, and open any file.
7
Click Tools
➤
Global Options.
8
In the Options Editor, expand the Interface node, and click the Viewpoint Defaults option.
9
Click the Settings button.
10
In the Default Collision dialog box, slect the Enable check box in the Third Person area.
11
Select your avatar in the Avatar drop-down list.
12
Click OK to return to the Options Editor.
13
You can also change the size of the avatar by changing the Height and the Radius values in the Viewer area.
14
Click OK.
15
Restart Autodesk Navisworks.
Head-Up Display
Head-up display elements are on-screen displays that provide information about your location and orientation
in the 3D world.
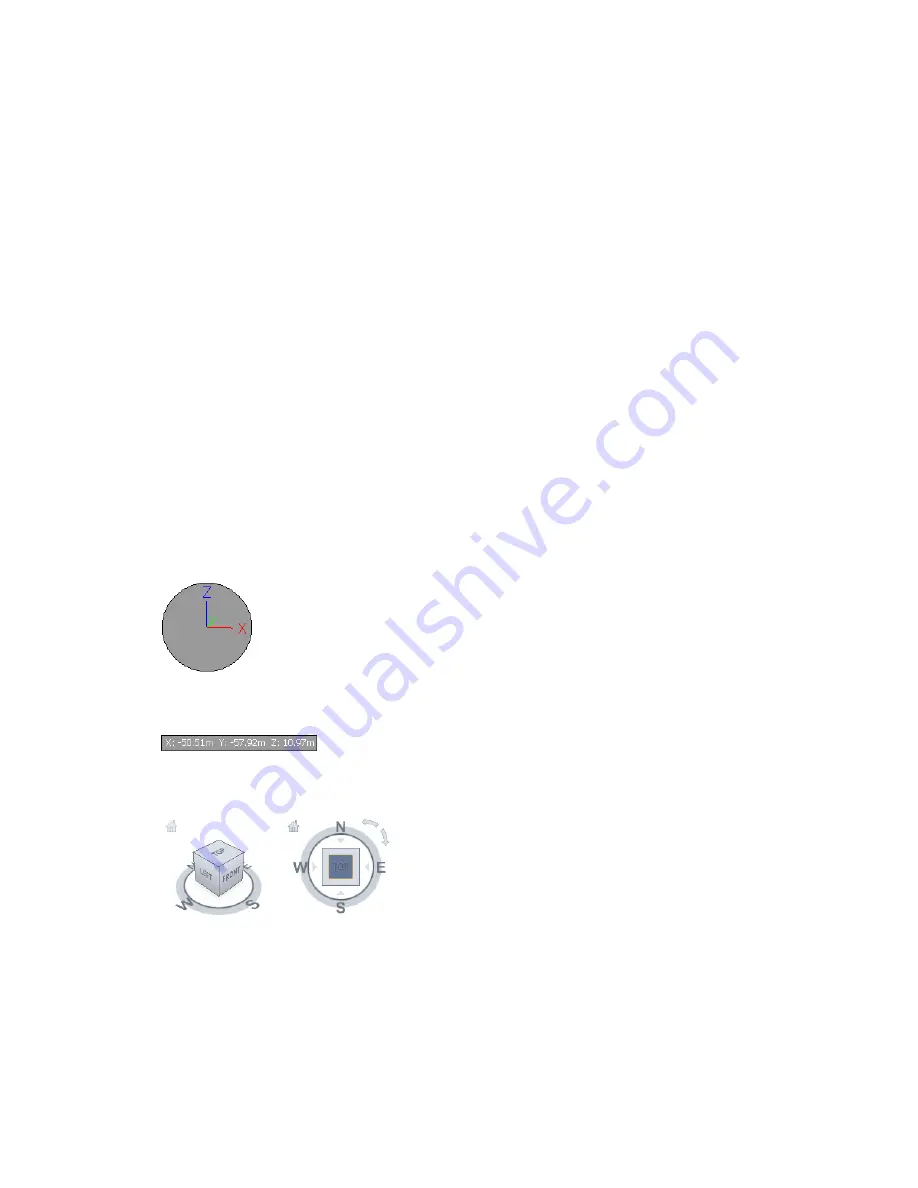
In Autodesk Navisworks, you can use the following head-up display (HUD) elements:
■
XYZ Axes
- shows the X, Y, Z orientation of the camera (or the avatar’s eye if the avatar is visible). The XYZ
Axes indicator is located at the bottom-left of the Scene Area.
■
Position Readout
- shows the absolute X, Y, Z position of the camera (or the avatar's eye position if the avatar
is visible). The Position Readout is located at the bottom-left of the Scene Area.
■
ViewCube
- provides visual feedback about the current camera viewing angle in relation to the model world.
The ViewCube is located at the top-right of the Scene Area.
To toggle XYZ Axes
➤
Click View
➤
Head-Up Display
➤
XYZ Axes.
To toggle Position Readout
➤
Click View
➤
Head-Up Display
➤
Position Readout.
Head-Up Display | 165
Summary of Contents for 507B1-90A211-1301 - NavisWorks Manage 2010
Page 1: ...Autodesk Navisworks Manage 2010 User Guide March 2009 ...
Page 12: ...xii Contents ...
Page 14: ...2 Part 1 Welcome to Autodesk Navisworks Manage 2010 ...
Page 64: ...52 Chapter 3 Installation ...
Page 97: ...Get a Whole Project View 85 ...
Page 98: ...86 Part 2 Get a Whole Project View ...
Page 136: ...124 Chapter 5 Work with Files ...
Page 178: ...To toggle ViewCube Click View Head Up Display ViewCube 166 Chapter 6 Explore Your Model ...
Page 262: ...250 Chapter 9 Use Viewpoints and Sectioning Modes ...
Page 270: ...258 Chapter 11 Work Within a Team ...
Page 282: ...270 Chapter 12 Share Data ...
Page 346: ...334 Chapter 14 Create Photorealistic Visualizations ...
Page 460: ...448 Chapter 17 Autodesk Navisworks Reference ...
Page 466: ...454 Glossary ...


