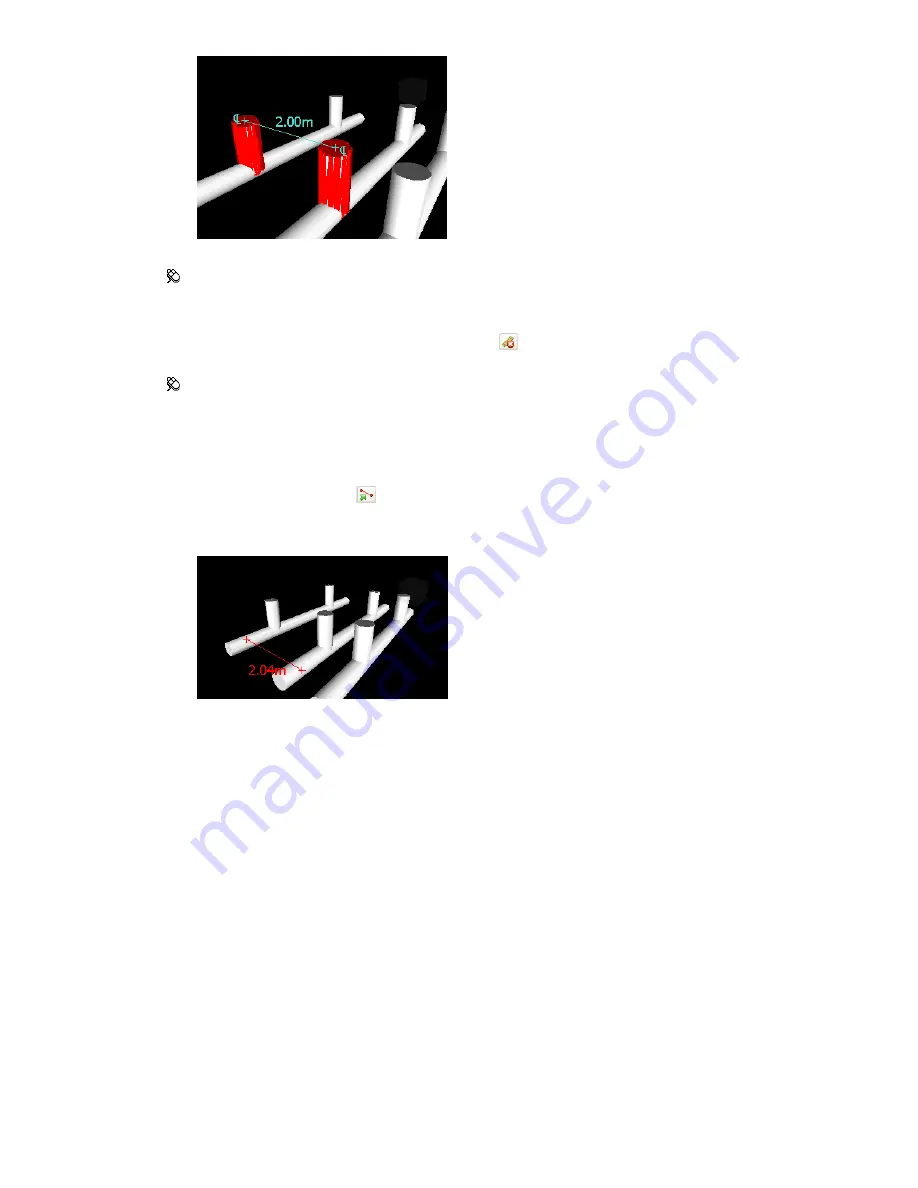
Menu: Review
➤
Measure
➤
Measure Shortest Distance
To clear measuring lines
■
Open the Measure Tools window, and click Clear
.
Menu: Review
➤
Measure
➤
Clear
To convert measurements into redlines
1
Open the Measure Tools window, and take the desired measurements, for example, distance between two
points.
2
Click Convert to Redline
in the Measure Tools window.
The end markers, lines, and dimension label (if any) of your current measurement are now converted to a
redline, and stored in the current viewpoint.
Comments and Redlines
Add Comments and Redlines
You can add comments to viewpoints, viewpoint animations, selection and search sets, clash results, and timeliner
tasks.
Redline tools enable you to add review annotations to viewpoints, and clash detection results.
Using redline tools is mutually exclusive to using
redlining you cannot navigate and vice versa.
Redline Tags
Redline tags combine the features of redlining, viewpoints and comments into a single, easy to use review tool.
This allows you to tag anything you want to identify in the model scene. A viewpoint is automatically created
for you, and you can add a comment and status to the tag.
For example, during a review session, you locate an item in the scene that is incorrectly sized or positioned. You
can tag this item, stating the problem, save your review results as an NWF file, and pass the file to the design
team. The design team can search the file, for any tags of status 'new', and locate your review comments. Once
216 | Chapter 8 Review Your Model
Summary of Contents for 507B1-90A211-1301 - NavisWorks Manage 2010
Page 1: ...Autodesk Navisworks Manage 2010 User Guide March 2009 ...
Page 12: ...xii Contents ...
Page 14: ...2 Part 1 Welcome to Autodesk Navisworks Manage 2010 ...
Page 64: ...52 Chapter 3 Installation ...
Page 97: ...Get a Whole Project View 85 ...
Page 98: ...86 Part 2 Get a Whole Project View ...
Page 136: ...124 Chapter 5 Work with Files ...
Page 178: ...To toggle ViewCube Click View Head Up Display ViewCube 166 Chapter 6 Explore Your Model ...
Page 262: ...250 Chapter 9 Use Viewpoints and Sectioning Modes ...
Page 270: ...258 Chapter 11 Work Within a Team ...
Page 282: ...270 Chapter 12 Share Data ...
Page 346: ...334 Chapter 14 Create Photorealistic Visualizations ...
Page 460: ...448 Chapter 17 Autodesk Navisworks Reference ...
Page 466: ...454 Glossary ...


