any necessary modifications are made to the drawing files, these can be reloaded into the *.nwf file, and the tag
status can be changed accordingly. You can review this latest version of the NWF file, ensure all tags have been
resolved and finally 'approve' them.
Comments Window
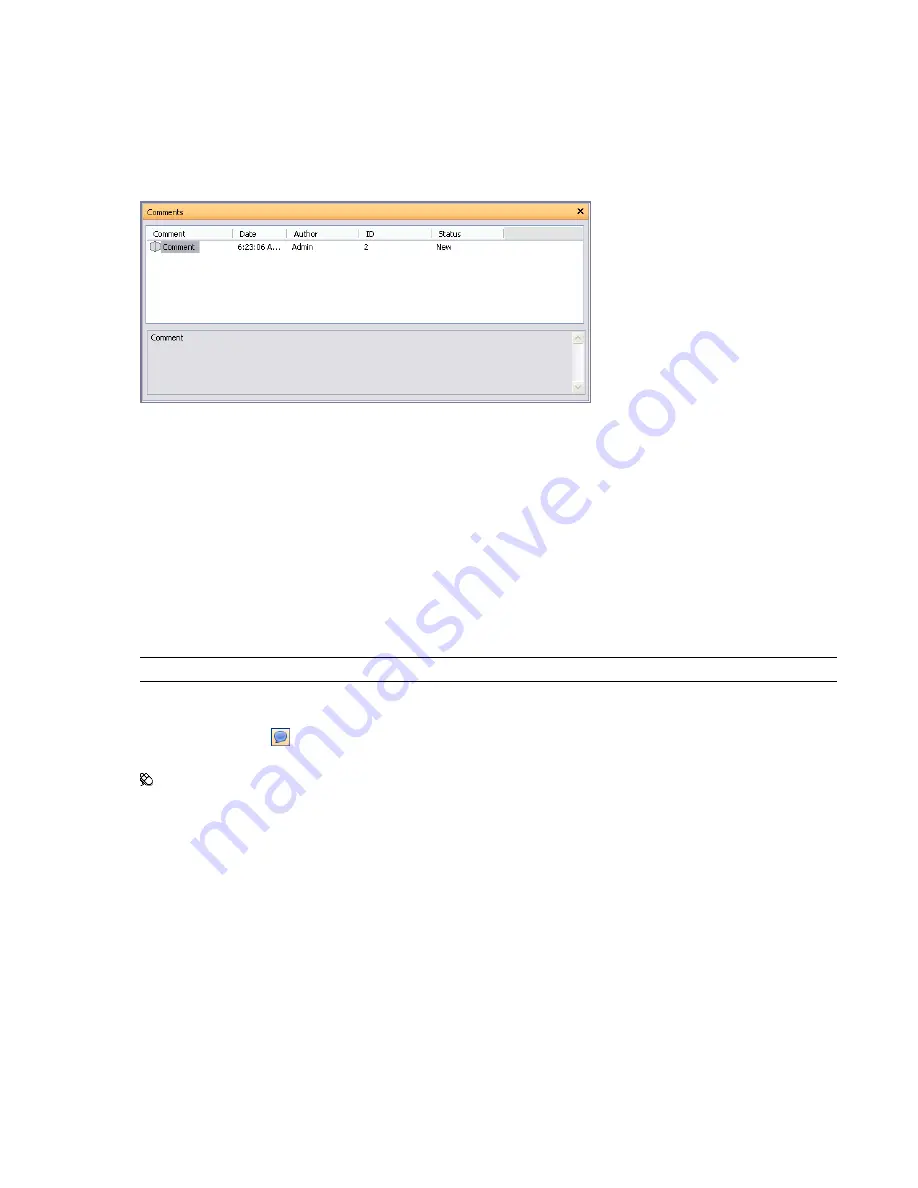
The Comments window is a dockable window that enables you to view and manage comments.
The Comments window shows the name, time and date, author, ID, status, and subject (or first line) of each
comment. There are different icons helping you to identify the source of each comment at a glance.
The Comment shortcut menu has the following options:
■
Add Comment.
Opens the Add Comment dialog box.
■
Edit Comment.
Opens the Edit Comment dialog box for the selected item.
■
Delete Comment.
Deletes the selected comment.
■
Help.
Launches the online Help system and displays the topic for comments.
You can add as many comments as you wish to a source, either from the Comments window, or from the source
itself.
TIP
To add a comment to a specific object in the Scene Area, use redline tags.
To toggle the Comments window
■
Click Comments
on the Workspace toolbar.
Menu: View
➤
Control Bars
➤
Comments
To add a comment to a viewpoint
1
Open the Viewpoints window.
2
Right-click the desired viewpoint, and click Add Comment.
3
In the Comments window, type in your comment. By default, it is assigned New status.
4
Click OK.
To add a comment to a viewpoint animation
1
Open the Viewpoints window.
2
Right-click the desired viewpoint animation, and click Add Comment.
3
In the Comments window, type in your comment. By default, it is assigned New status.
4
Click OK.
Add Comments and Redlines | 217
Summary of Contents for 507B1-90A211-1301 - NavisWorks Manage 2010
Page 1: ...Autodesk Navisworks Manage 2010 User Guide March 2009 ...
Page 12: ...xii Contents ...
Page 14: ...2 Part 1 Welcome to Autodesk Navisworks Manage 2010 ...
Page 64: ...52 Chapter 3 Installation ...
Page 97: ...Get a Whole Project View 85 ...
Page 98: ...86 Part 2 Get a Whole Project View ...
Page 136: ...124 Chapter 5 Work with Files ...
Page 178: ...To toggle ViewCube Click View Head Up Display ViewCube 166 Chapter 6 Explore Your Model ...
Page 262: ...250 Chapter 9 Use Viewpoints and Sectioning Modes ...
Page 270: ...258 Chapter 11 Work Within a Team ...
Page 282: ...270 Chapter 12 Share Data ...
Page 346: ...334 Chapter 14 Create Photorealistic Visualizations ...
Page 460: ...448 Chapter 17 Autodesk Navisworks Reference ...
Page 466: ...454 Glossary ...


