On the other hand, whenever you need to share the scene you created and review markups with others, it is best
to distribute a published NWD file, which includes additional features such as password protection and file
expiration date. The published files can be viewed in both Autodesk Navisworks Manage 2010 and Autodesk
Navisworks Freedom 2010 (a free viewer).
IMPORTANT
When you publish an NWD file, you cannot include any RPCs added to your scene.
To save a file
1
Click File
➤
Save. If your file has been saved previously, Navisworks overwrites the file with the new data.
2
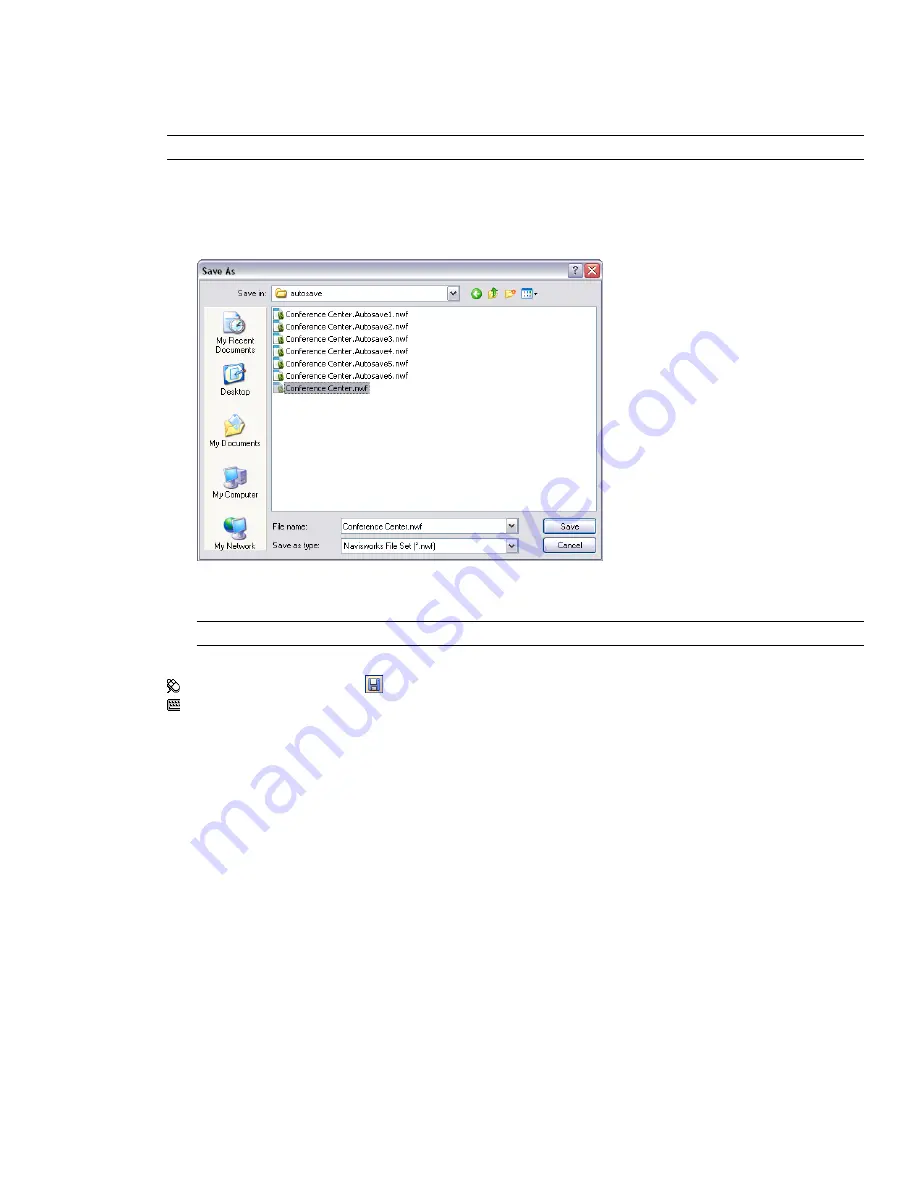
If you file has not been previously saved, the Save As dialog box opens.
Enter the file name, use the Files of Type box to select one of the native Navisworks formats (NWF or NWD),
select the location for the file, and click Save.
TIP
If you need to open your file with an earlier versions of Autodesk Navisworks, save it as that version type.
Toolbar: Standard
➤
Save
Command entry: CTRL + S
To rename a file
1
Click File
➤
Save As.
2
In the Save As dialog box, enter the new name for your file.
118 | Chapter 5 Work with Files
Summary of Contents for 507B1-90A211-1301 - NavisWorks Manage 2010
Page 1: ...Autodesk Navisworks Manage 2010 User Guide March 2009 ...
Page 12: ...xii Contents ...
Page 14: ...2 Part 1 Welcome to Autodesk Navisworks Manage 2010 ...
Page 64: ...52 Chapter 3 Installation ...
Page 97: ...Get a Whole Project View 85 ...
Page 98: ...86 Part 2 Get a Whole Project View ...
Page 136: ...124 Chapter 5 Work with Files ...
Page 178: ...To toggle ViewCube Click View Head Up Display ViewCube 166 Chapter 6 Explore Your Model ...
Page 262: ...250 Chapter 9 Use Viewpoints and Sectioning Modes ...
Page 270: ...258 Chapter 11 Work Within a Team ...
Page 282: ...270 Chapter 12 Share Data ...
Page 346: ...334 Chapter 14 Create Photorealistic Visualizations ...
Page 460: ...448 Chapter 17 Autodesk Navisworks Reference ...
Page 466: ...454 Glossary ...


