Review Clash Results
Autodesk Navisworks Manage 2010 provides tools to add comments and redlines to clash results. If multiple
clashes are associated with a single design issue, consider manually grouping them together at the beginning of
your review process. See “
” on page 391.
Visually Identify Clashes in a Model
As you click on a clash result, you are automatically zoomed into the clash location in the Scene Area. The Clash
Detective tool contains a number of Display options that enable you to adjust the way clashes are rendered in
the model.
For example, you can visually isolate the clashing items in the Scene Area making it easier to focus on them.
You can also adjust the viewing context to visually identify where each clash is within the model, and customize
the way Autodesk Navisworks transitions between clashes.
To show only the clash results that involve your current selection
1
Select the desired geometry on the Selection Tree or in the Scene Area.
2
In the Clash Detective window click the Results tab, select the Select Filter check box.
Only those clashes that involve the selected items are now shown in the Results area.
To change how the clashing items are highlighted
1
In the Clash Detective window, click the Results tab.
2
Select the Highlight check boxes for Item 1 and Item 2 to override the color of the clashing items in the
Scene Area with the color of the status of the selected clash.
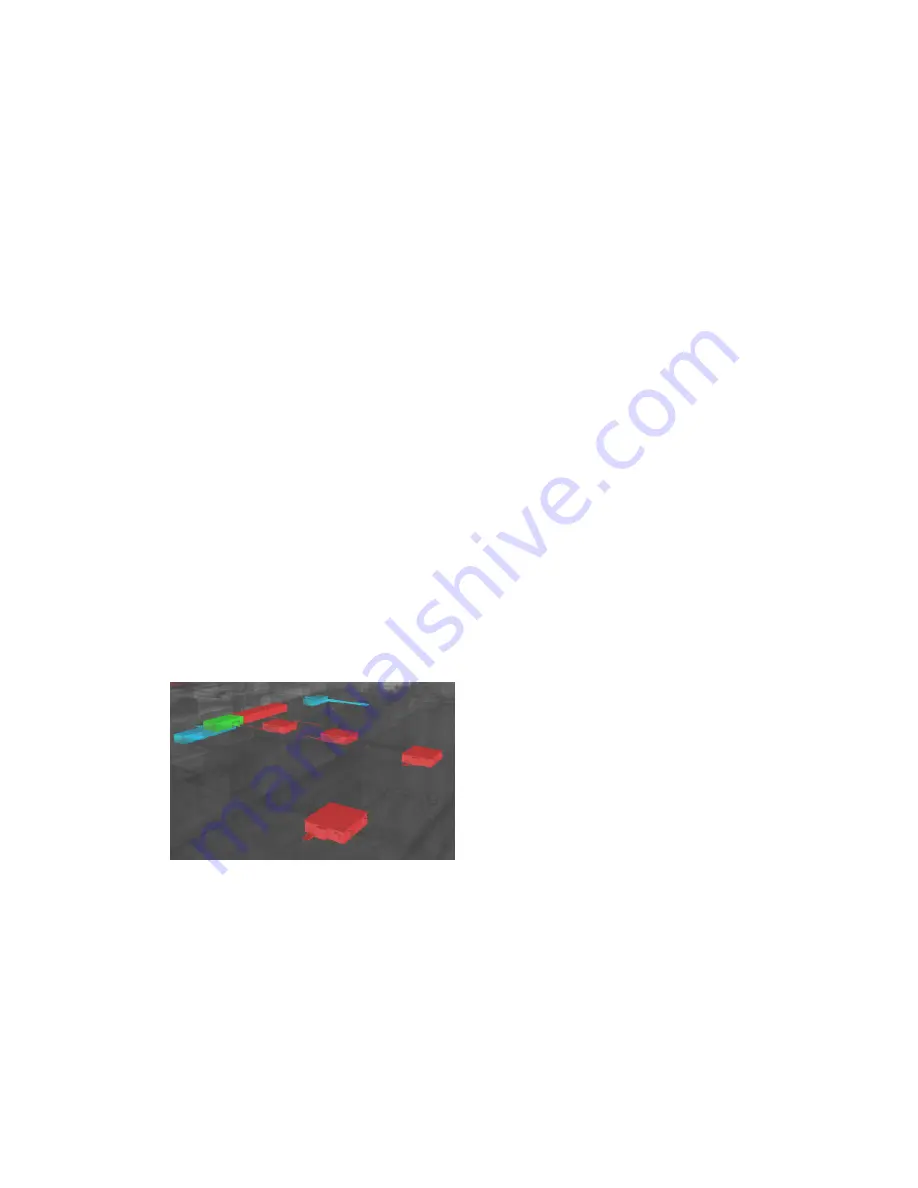
To highlight all clashes in the Scene Area
1
In the Clash Detective window, click the Results tab.
2
Select the Highlight All check box in the Display area. All found clashes are highlighted in the color of their
status.
Clear the check box to return to default view of highlighting only the items involved in the clash selected
in the Results area.
To isolate clash results in the Scene Area
1
In the Clash Detective window, click the Results tab.
Review Clash Results | 393
Summary of Contents for 507B1-90A211-1301 - NavisWorks Manage 2010
Page 1: ...Autodesk Navisworks Manage 2010 User Guide March 2009 ...
Page 12: ...xii Contents ...
Page 14: ...2 Part 1 Welcome to Autodesk Navisworks Manage 2010 ...
Page 64: ...52 Chapter 3 Installation ...
Page 97: ...Get a Whole Project View 85 ...
Page 98: ...86 Part 2 Get a Whole Project View ...
Page 136: ...124 Chapter 5 Work with Files ...
Page 178: ...To toggle ViewCube Click View Head Up Display ViewCube 166 Chapter 6 Explore Your Model ...
Page 262: ...250 Chapter 9 Use Viewpoints and Sectioning Modes ...
Page 270: ...258 Chapter 11 Work Within a Team ...
Page 282: ...270 Chapter 12 Share Data ...
Page 346: ...334 Chapter 14 Create Photorealistic Visualizations ...
Page 460: ...448 Chapter 17 Autodesk Navisworks Reference ...
Page 466: ...454 Glossary ...


