Probes and Biopsy 13-57
Note:
Keep the magnetic navigator and patient still after mark is added. Otherwise, space
navigation GPS result is affected.
Make sure only one mark is left on the ultrasound image during needle navigation guidance
procedure. If there are multiple marks on the image, hide the marks.
1.
Connect all accessories of magnetic navigator. Perform accuracy verification procedure. Refer to
chapter “13.3.2 Installation” and “13.3.3 Accuracy Verification” for details.
2.
Perform ultrasound image scanning and confirm position/size/structure of tumor/lesion. Switch to
the section with maximum size of the lesion.
3.
Mark the lesion: Tap [Tissue Mark] and press <Cursor> to acquire the cursor. Roll the trackball to
move the cross onto the center of the lesion and press <Set> to anchor the center. Roll the trackball
until the whole lesion is enveloped and double-click <Set> to add the mark.
Rotate the knob under [Ablative Margin] to add a safe boundary for the mark. Refer to chapter
“5.17.6 Marks” for details.
Note:
Be sure to use the section displaying the maximum of the lesion for
marking.
4. The lesion is enveloped by 3 circles from the inside and out: real-time mark, maximum diameter
mark and safety boundary.
Perform the marking steps repeatedly for multiple marks. Marked color are displayed in green, red
and blue in cycle and result window displays the diameter of the marked circle.
Refer to chapter “5.17.6 Marks” for details about moving/deleting/displaying/hiding marks.
Marking procedure under Fusion imaging mode:
Tap [Register CT/MR] and tap [Add Mark]->[Display Mark] to turn on the mark function. Refer to chapter
“5.17.6 Marks” for details.
13.3.5 Screen Display in the Guiding
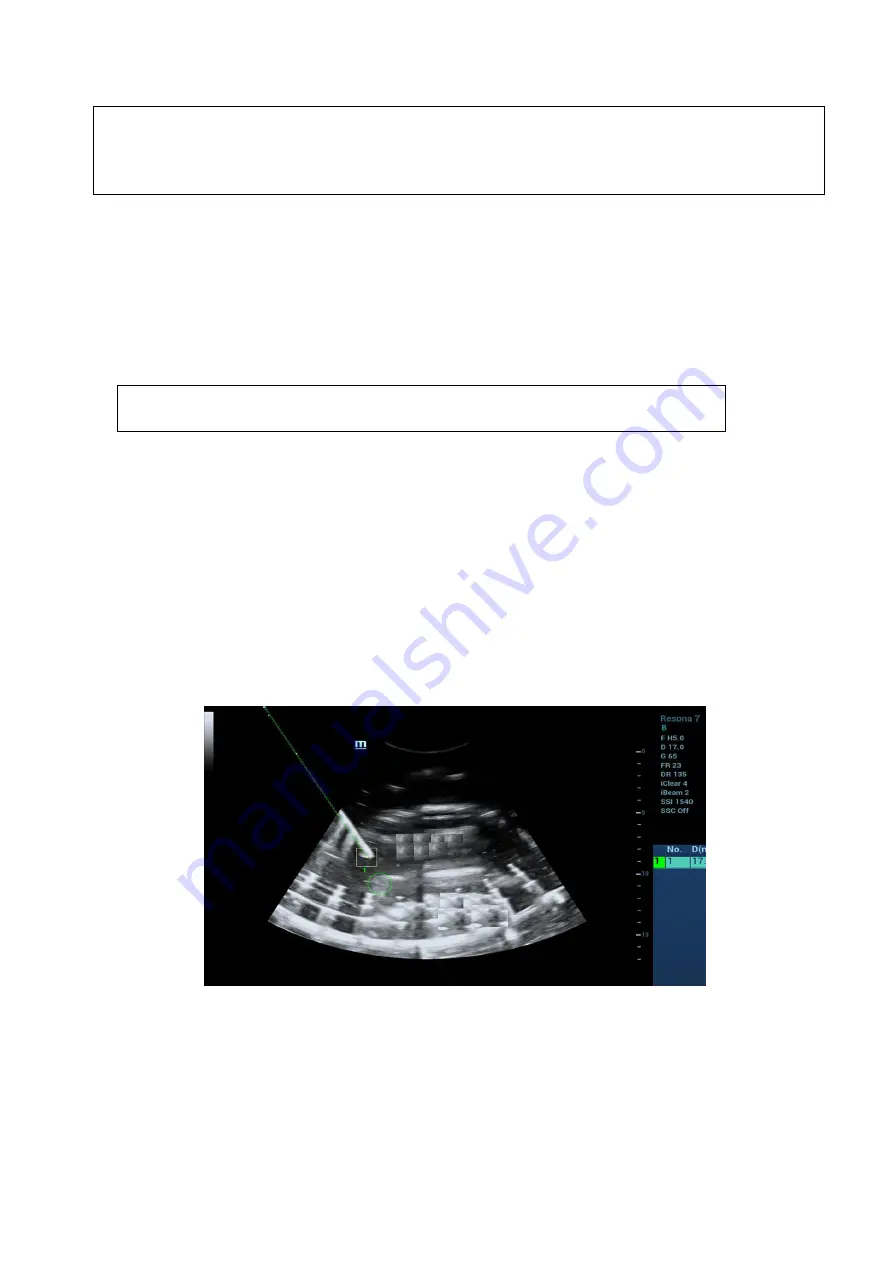
In-plane biopsy
In-plane navigation applies to needle path inside the ultrasound image plane:
Out-plane biopsy
Out-plane navigation applies to needle path not inside the ultrasound image plane.


