C-2 Wireless LAN
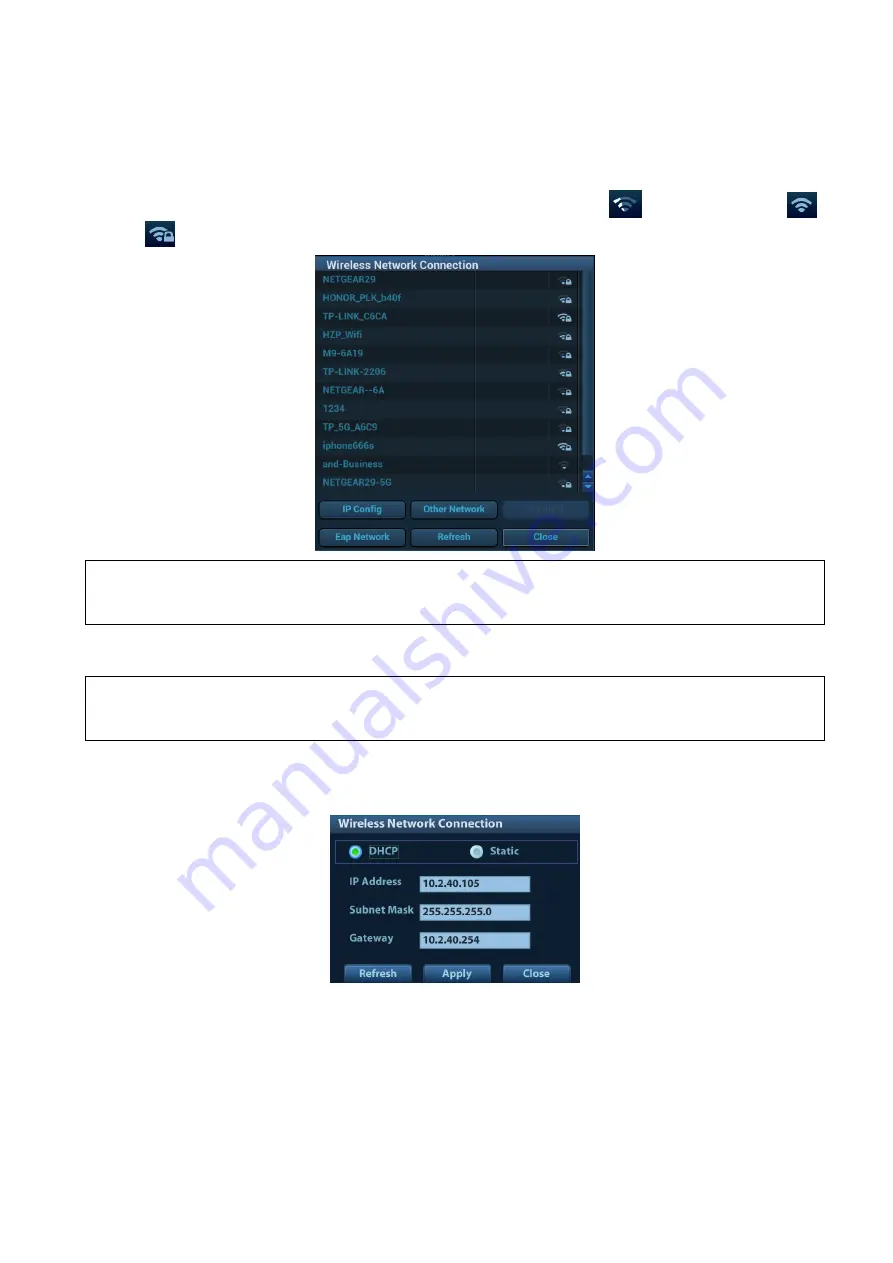
2. Roll the trackball and press <Set> to select the target network, click [Connect] to connect to the
network.
When connecting an encrypted network, enter the password in the box first.You can select to hide
password characters or not.
3. The system tries to connect and the wireless manager icon turns into
. The icon turns into
or
after successful connection.
NOTE:
When the system background is processing network task (DICOM sending for example),
please do not enter network setting to change the IP or Eap, otherwise the background task
may fail. You can check if there are tasks undergoing in the task manager.
IP Config
NOTE:
When the system background is processing network task (DICOM sending for example),
please do not enter network setting to change the IP, otherwise the background task may fail.
You can check if there are tasks undergoing in the task manager.
IP config is used for setting local network parameters, which is also applied to DICOM connection.
1. In Wireless network manager screen, click [IP Config] to open the page:
If “DHCP” is selected, the IP address will be automatically obtained from the DNS server.
Click [Refresh] to check current IP address.
If “Static” is selected (using a static IP address), enter the IP address.
IP address of the system should be in the same network segment with the server.
Subnet Mask: set different network segment.
Gateway: set the gateway IP.
NOTE: the name of the device is saved under the service name by default. The system
remembers the service name of the ultrasound system when sending the image, the report


