Probes and Biopsy 13-55
5.
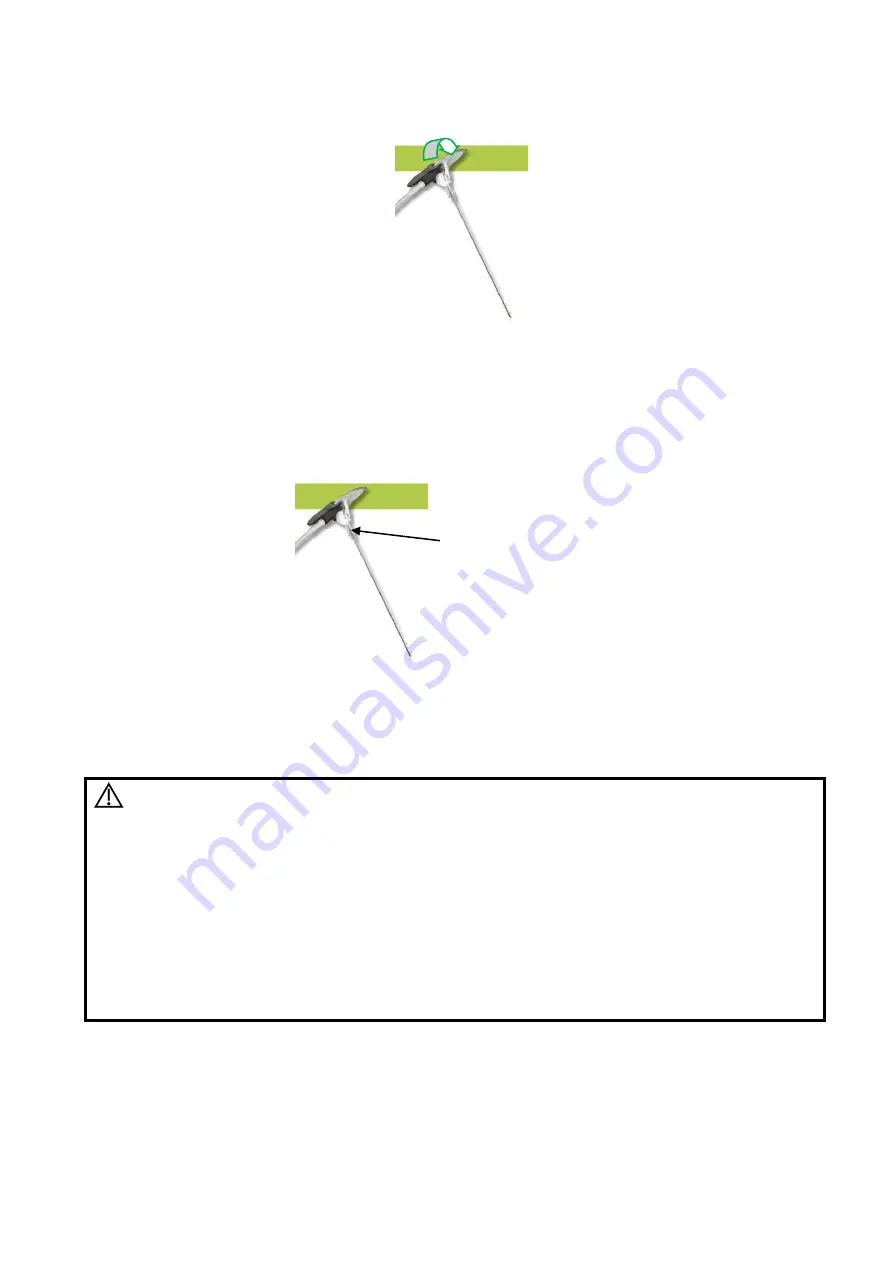
Tighten the knob, and make sure not to breake the sterile sheath.
6.
Turn on the magnetic navigator power and perform needle navigation guiding operation after the signal is
stabilized. Refer
to “5.17.2 Screen Description” for details.
7.
Perform needle navigation guiding; refer to
“13.3.1 Basic Procedures for Needle Navigation
Guiding
” for details.
8.
Anticlockwise eTRAX needle interface to take out the needle from trocar after the eTRAX needle
access the target tissue.
9.
Select the proper Biopsy/melt needle according to the actual situation.
13.3.3 Accuracy Verification
WARNING:
This manual describes simple accuracy verification only.
Perform elaborate accuracy verification procedure based
on clinical scenario if necessary.
If the needle is bent, projective line of the needle and
projective point of the tip will not suit the actual
situation.
Be sure to conduct accuracy verification before needle
navigation. Perform needle navigation when the measured
result is in the acceptable range.
Accuracy error is measured by comparing actual biopsy depth and the measured depth in the ultrasound
image.Needle navigation guidance feature should be activated only when the error is acceptable.
1.
Connect all accessories of magnetic navigator. Refer to “13.3.2 Installation” for details.
2.
Precisely measure the distance between tip to the bottom.
Anticlockwise interface


