4-8 Exam Preparation
Sele
ct “DICOM server”. You can search via patient ID, accession #, key words, AE title, worklist
server or exam date.
Select HL7 server. Search via patient ID, patient name.
b) Click [Query].The scheduled patients, which meet the criteria, are displayed in the lower part of
the screen.
After the first query, you can perform the second query based on the preview results.The
scheduled patients in the list will update in real time.
Enter patient ID, patient name, accession # and exam date, the system affords the result in
real-time.
Or select the keyword type, enter the keywords and then click [Query] to search.
To reset the criteria, click [Clear] button.
5. Select the desired patient from the list.
Click [Start Exam], the patient information is imported into the system and then an exam is
started.
Click [Transfer], the patient information is imported into the "Patient Info" screen and it is opened.
After you edit the patient information in the "Patient Info" screen, click [OK] to start a new exam.
Click [Show Detail] to see details of patient data.
6. Click [Exit] to exit the Worklist.
4.2
Select Exam Mode and Probe
CAUTION:
If the exam mode is changed during a measurement, all measurement calipers
on the image will be cleared. The data of general measurements will be lost,
but the data of application measurements will be stored in the reports.
Selecting exam modes
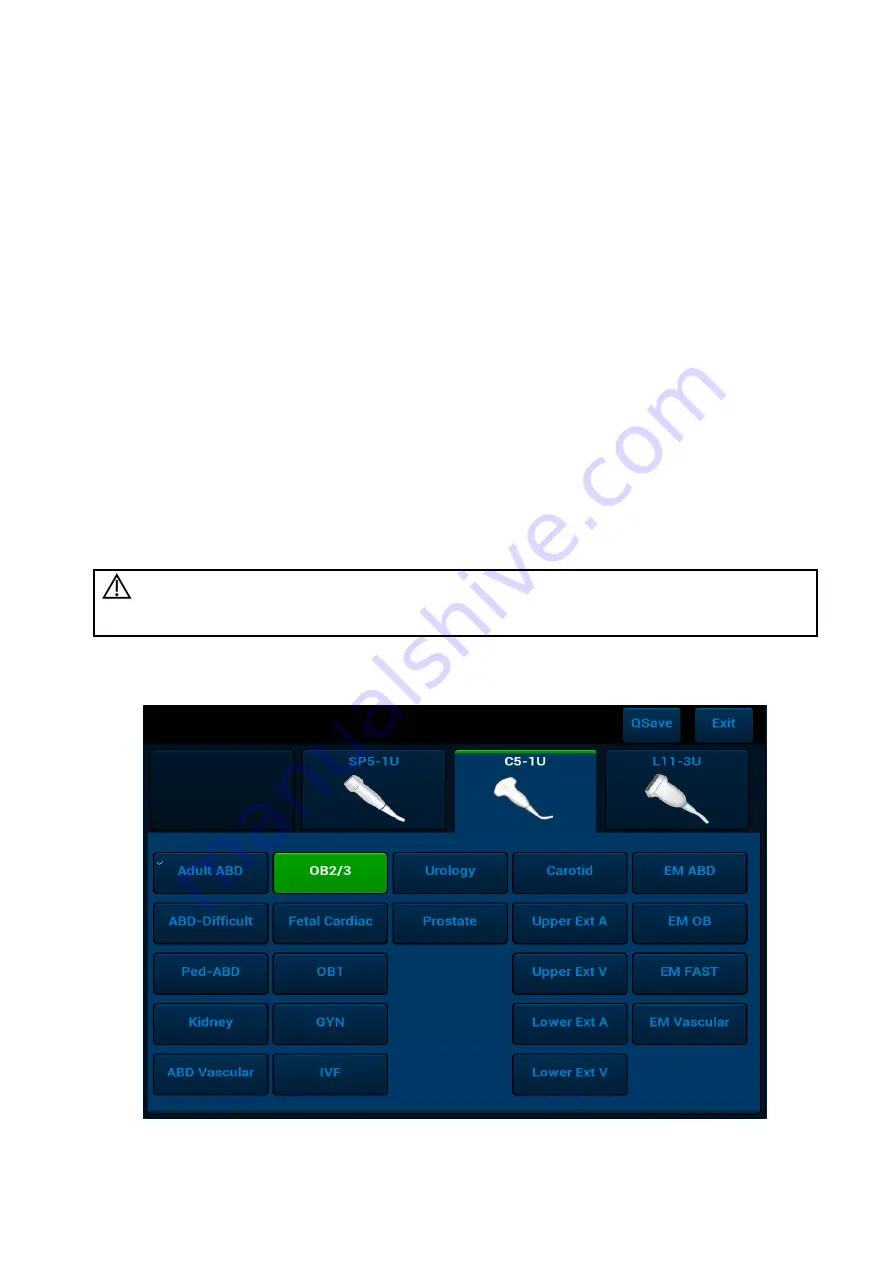
1. Connect proper probes to the system, and tap [Probe] on the touch screen, the touch screen
displays the following dialog box:


