11-20 DICOM/HL7
3.
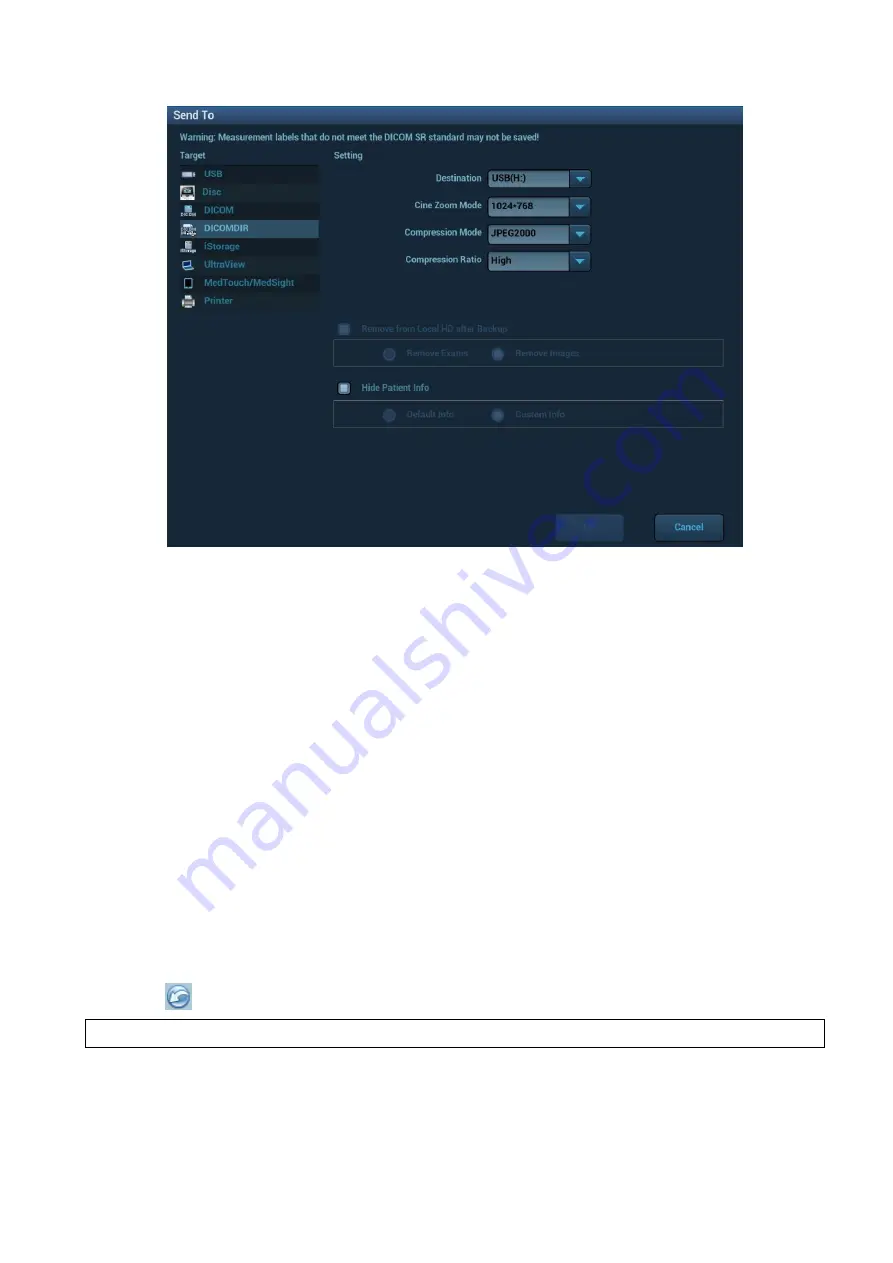
Select the destination to “DICOMDIR” and DICOM Format as well as compression mode. You can
select to delete the exam or the image after the backup, and select to hide patient information..
4. Click [OK]. The image from the current exam is sent to the external storage media in DICOM format.
If the backup is successful, a tick will appear in the Backup list in the iStation screen. If not, there will be
no tick.
There must be no DICOMDIR/DCMIMG/IHE_PDI files on the external storage media of the same name
as the one being backed up. Otherwise, the backup cannot proceed. Ensure there is enough storage
space, or the backup may fail due to shortage of space.
Media review:
1. Connect the external media with DCM files to the system.
2. Select the data source in iStation screen, and the visible data will be shown.
If there are several types of data on the media, the system will ask you to select the format. Then, click
[DICOMDIR].
Data Restore
After the DICOM format data are saved to external media, restore the data to the ultrasound system.
1. Connect the external media containing DCM files to the system.
2. In iStation, review the data stored on the external media.
3. Select the data to be restored in iStation.
4. Click
on the iStation screen.
NOTE
:
Only system-accessible media can be selected.


