Image Optimization 5-87
After the image is frozen, Timer 1 is still timing, and after unfreezing the image, the corresponding time
can be seen.
Timer 2 stops timing when one contrast exam is frozen, and after unfreezing the image, the Timer 2 is
off.
NOTE:
The starting time displayed may be inconsistent with the actual one due to system error or
some other man-made mistakes; please check the agent-injecting time.
Set [Timer
1] as “ON” to start the timing at the moment you inject the contrast agent. Here, the screen
displays the times at the lower corner.
The time begins at 0.
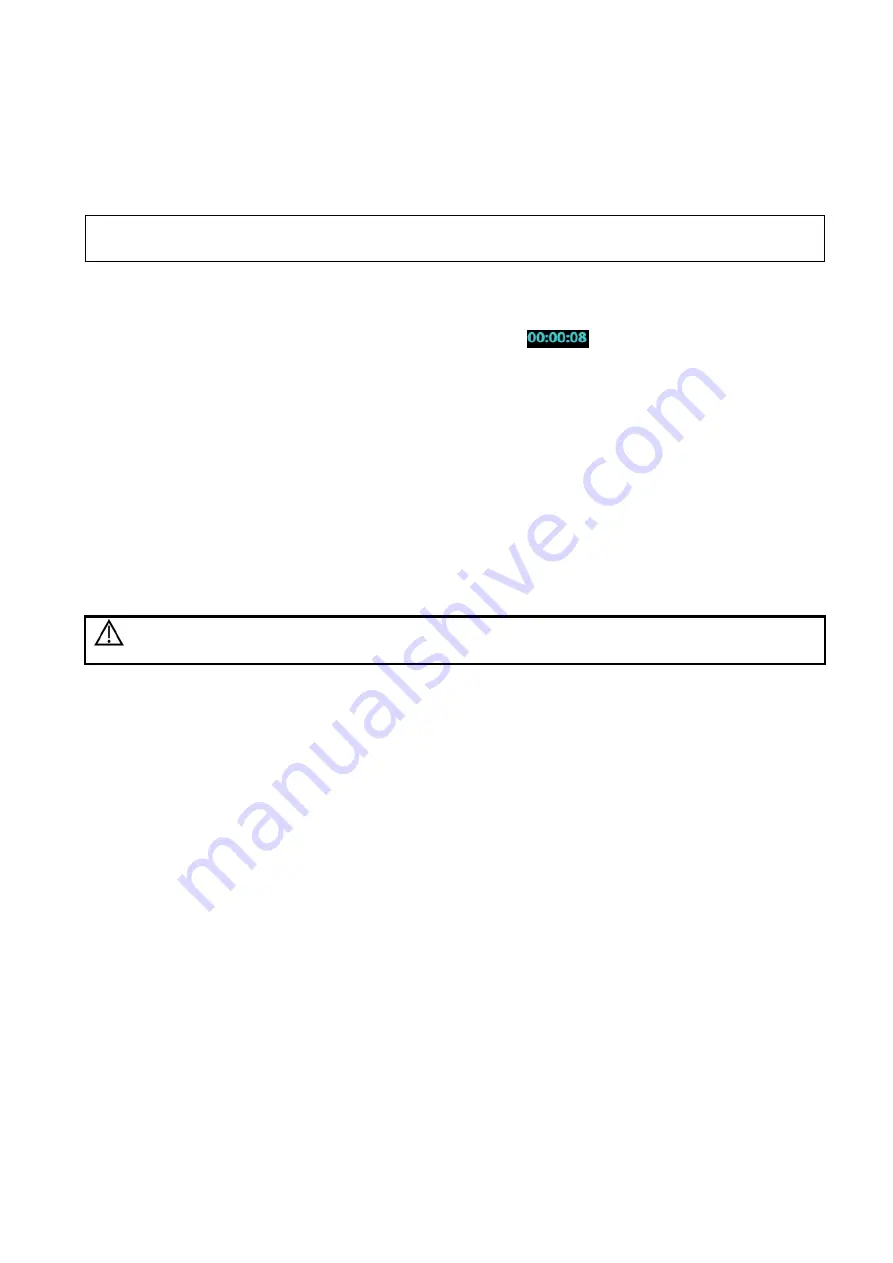
In live mode, there displays the elapsed time. For example,
, it means the elapsed time is 8s.
Freeze the image during the timing, timer 1 continues timing and two times will be displayed on the
screen: frozen time and time duration after the image is frozen; the timer stops working, and there
displays the elapsed time. After unfreezing, the timer 1 restarts working, and the timer 2 exits.
Set [Timer 1] or [Timer 2] as “OFF”, the timer discontinues its work.
5.13.1.4 Micro-bubble Destruction
Function: destruct the micro-bubbles left by the last contrast imaging; or to observe the reinfusion effect
in a continuous agent injecting process.
Entering: Tap [Destruct] on the touch screen to enable the micro-bubble destruction function.
Parameters:
DestructAP: adjust the destruct acoustic power via the touch screen.
DestructTime: adjust the destruct time via the touch screen.
Caution:
Use the contrast imaging according to the residual level of the micro-bubbles,
using contrast imaging continuously may result in human harm.
5.13.1.5 Dual Live
In live mode or freeze mode, set touch screen item [DualLive] as “ON” to enable dual live function. Both
the contrast mode and tissue mode are displayed . The THI and B image are displayed on the screen if
the [Dual Live] is enabled.
Tips:
In dual live mode, the screen displays the contrast image and tissue image
In freeze mode, there displays only one cine review progress bar as the contrast image and
tissue image are reviewed synchronously.
Image position
The contrast appears on the left of the screen if the contrast image position is enabled.
5.13.1.6 Mix Map
This function is to mix the contrast image with the tissue image, so that interested contrast regions can
be located.
Tap [Mix] to select different mixing mode, and select different maps by knobs under [Gray Map]/[Tint
Map]/[Mix Map] on the touch screen.
When dual live function is on, you can see the mixed effect on the contrast image.
When dual live function is off, you can see the mixed effect on the full screen image.
Select the map through the [Mix Map] item.


