Image Optimization 5-133
5.17.6 Marks
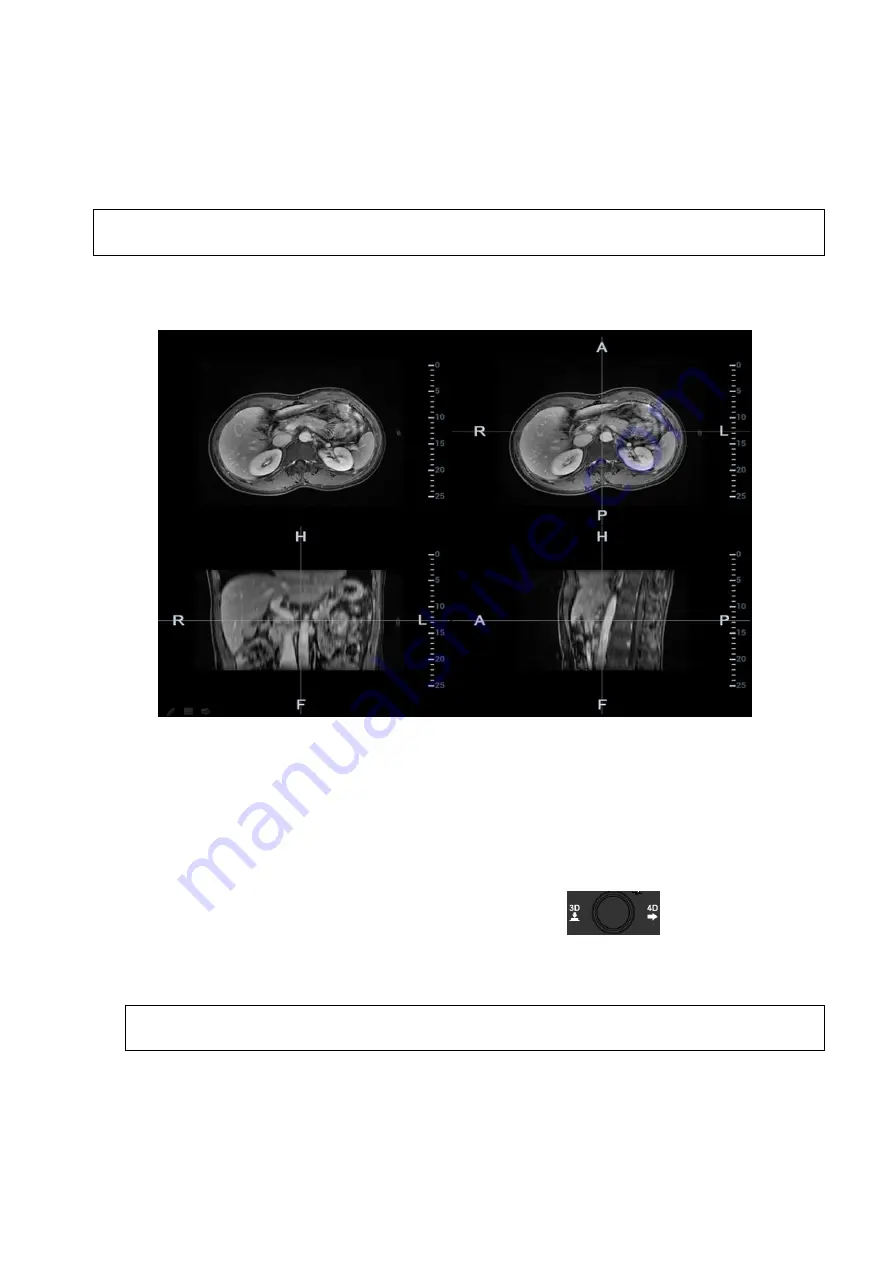
Mark tumor position, lesion position on CT/MR image. Be sure of the lesion appearing on US and CT/MR
image at the same time after the registration is completed.
Note:
Mark the tumor or lesion on CT/MR image after CT/MR data is imported. Generally, it is
available to mark the tumor or lesion before/during/after the registration.
1.
Tap [Mark on CT/MR] to enter the page. Select [Add Marks]
[Display Marks] to activate the mark.
Tap [Axial]/[Coronal]/[Sagittal] to toggle the top-left reference plane.
2.
Press <Cursor> to show the cursor. Mark on the axial plane (top-right)/coronal plane
(bottom-left)/sagittal plane (bottom-right). The procedures to make marks are given below:
Select “Mark (Manual)” or “Mark (Circle)” in the “Mark” drop-down list.
Manual tracing: Press <Set> to locate the center at the core of the lesion. Roll the trackball to
adjust the radius. Envelop the tumor or the lesion with the circle. Double press <Set> to
complete adding the mark.
Circle tracing: roll the trackball to manually envelop the lesion. Scroll the CT/MR image and
continue mark the lesions. Rotate the multifunctional knob
to scroll the CT/MR
image and continue to mark the lesions. After lesions of all the desired CT/MR planes are
marked, tap [Accept Slice Trace] to add marks.
Tips: At least two CT/MR planes should be marked when performing manual tracing.
Note:
The Ultrasound System adds 3-dimesnsional sphere mark to CT/MR volume data. Set
the target mark based on your sphere center and sphere radius.
Rotate [Ablative Margin] to add the ablative margin for this mark. See also “Ablative Margin”
description below.


