


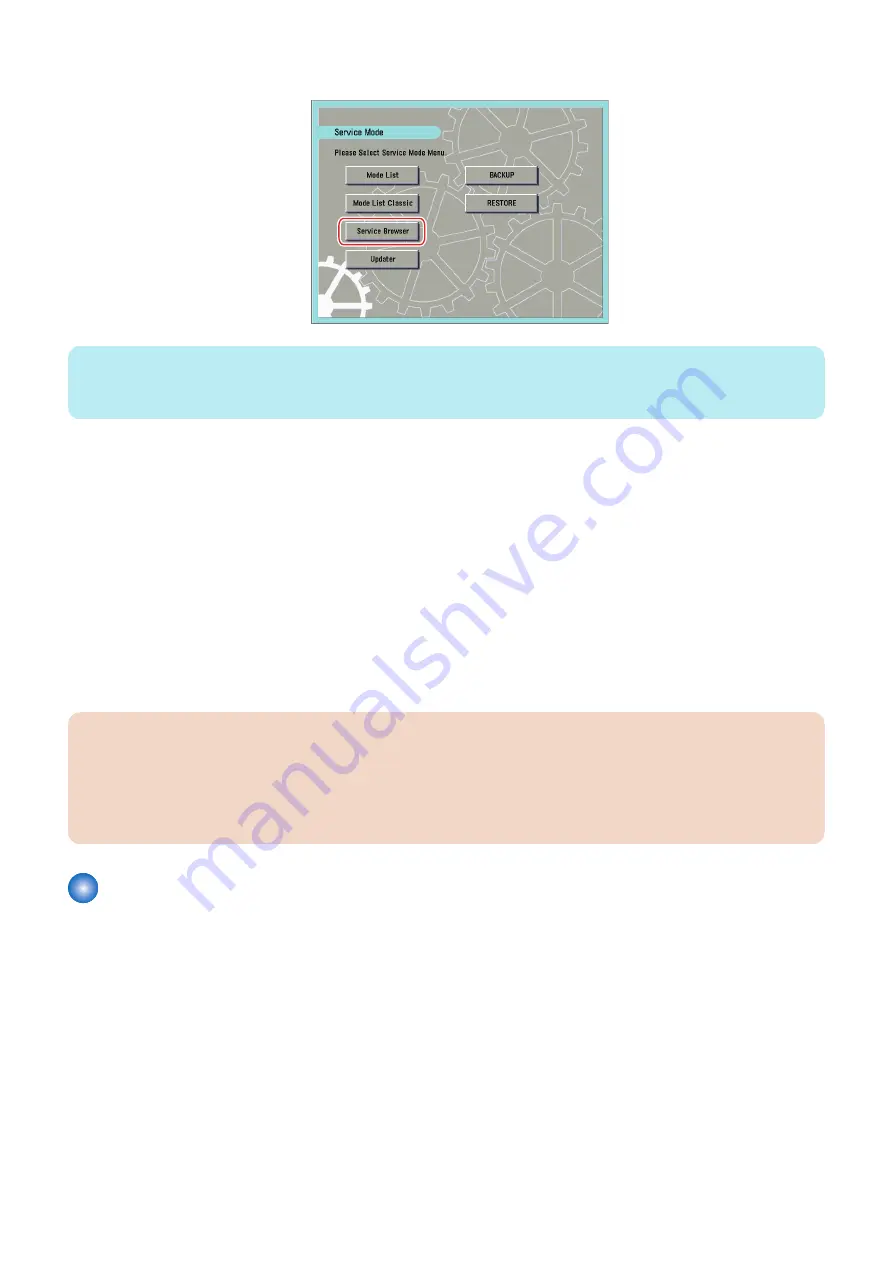
4. When the above-shown setting values are enabled, [Service Browser] is displayed in the Service Mode screen.
NOTE:
Generally, once service browsing is enabled, to stop the service browsing, execute BRWS-ACT again, turn OFF and then ON the
main power of this machine.
■ Initializing E-RDS settings
It is possible to clear the FLASH data of E-RDS and change the E-RDS setting back to the default value.
● Initialization procedure
1. Start Service Mode at Level 1.
2. Select COPIER > Function > CLEAR > ERDS-DAT and then touch [OK].
● Setting values and data to be initialized
The following E-RDS settings, internal data, and Alarm filtering information are initialized.
• COPIER > Function > INSTALL > E-RDS
• COPIER > Function > INSTALL > RGW-ADR
• COPIER > Function > INSTALL > RGW-PORT
• COPIER > Function > INSTALL > COM-LOG
CAUTION:
In case of replacing the CA certificate file, even if initialization of E-RDS is executed, the status is not returned to the factory
default.
When installing the certificate file other than the factory default CA certificate file, it is required to delete the certificate file
after E-RDS initialization and install the factory default CA certificate file.
For detailed procedures, see "
“Steps to E-RDS settings” on page 188
FAQ
No.1
Q: In what case does a communication test with UGW fail?
A: The following cases can be considered in the becoming "NG!" case.
• Name resolution was failed due to an incorrect host name or DNS server has been halted.
• Network cable is blocked off.
• Proxy server settings is not correct.
No.2
Q: When does E-RDS send counter information to UGW? How many data is sent?
A: The schedule of data transmitting, the start time are determined by settings in the UGW side. The send time cannot be specified
on the E-RDS side. Data is sent once every 16 hours.
The data size of counter information is approx. 285 KB.
2. Technology
190
Summary of Contents for imageRUNNER ADVANCE C3330 Series
Page 1: ...Revision 7 0 imageRUNNER ADVANCE C3330 C3325 C3320 Series Service Manual ...
Page 18: ...Product Overview 1 Product Lineup 7 Features 11 Specifications 17 Parts Name 26 ...
Page 518: ...Error Jam Alarm 7 Overview 507 Error Code 511 Jam Code 617 Alarm Code 624 ...
Page 1020: ...9 Installation 1008 ...
Page 1022: ...2 Perform steps 3 to 5 in each cassette 9 Installation 1010 ...
Page 1024: ...5 6 Checking the Contents Cassette Feeding Unit 1x 3x 2x 1x 9 Installation 1012 ...
Page 1027: ...3 4 NOTE The removed cover will be used in step 6 5 2x 2x 9 Installation 1015 ...
Page 1046: ...When the Kit Is Not Used 1 2 Close the Cassette 2 When the Kit Is Used 1 9 Installation 1034 ...
Page 1068: ... Removing the Covers 1 2x 2 1x 9 Installation 1056 ...
Page 1070: ...3 1x 1x 9 Installation 1058 ...
Page 1083: ...6 7 TP M4x8 2x 2x 9 Installation 1071 ...
Page 1084: ...When Installing the USB Keyboard 1 Cap Cover Wire Saddle 9 Installation 1072 ...
Page 1129: ...9 2x 10 2x 11 9 Installation 1117 ...
Page 1135: ...Remove the covers 1 ws 2x 2 1x 9 Installation 1123 ...
Page 1140: ...2 2x 3 Connect the power plug to the outlet 4 Turn ON the power switch 9 Installation 1128 ...
Page 1176: ... A 2x Installing the Covers 1 1x 2 2x 9 Installation 1164 ...
Page 1190: ...14 Install the Cable Guide to the HDD Frame 4 Hooks 1 Boss 9 Installation 1178 ...


